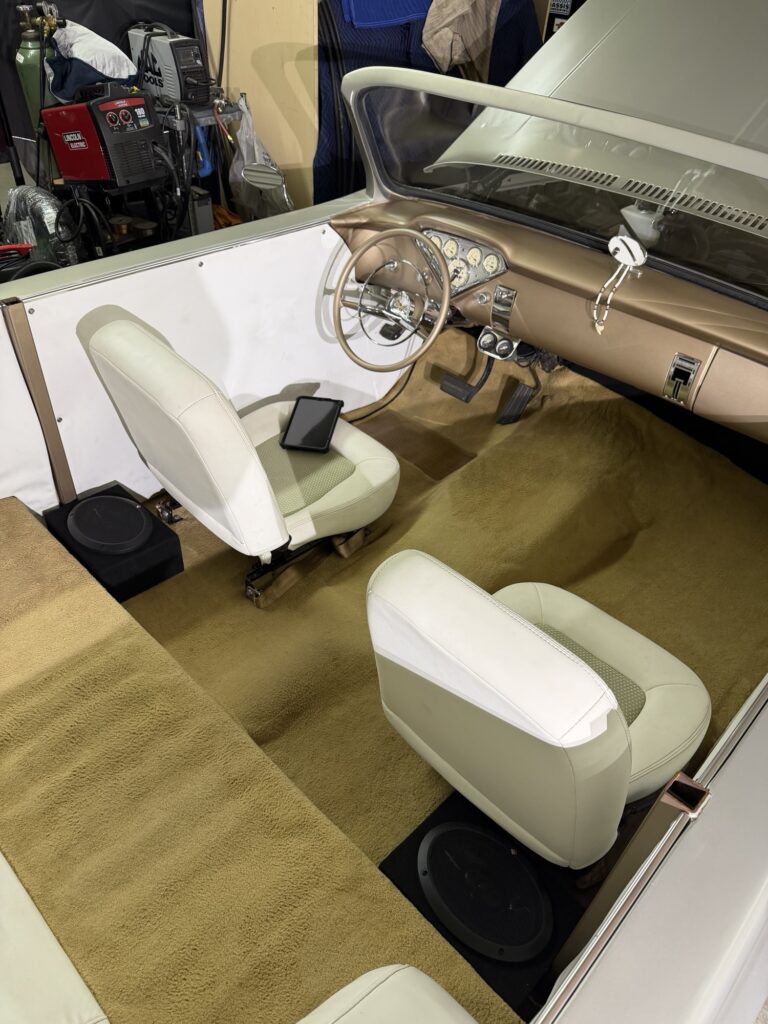
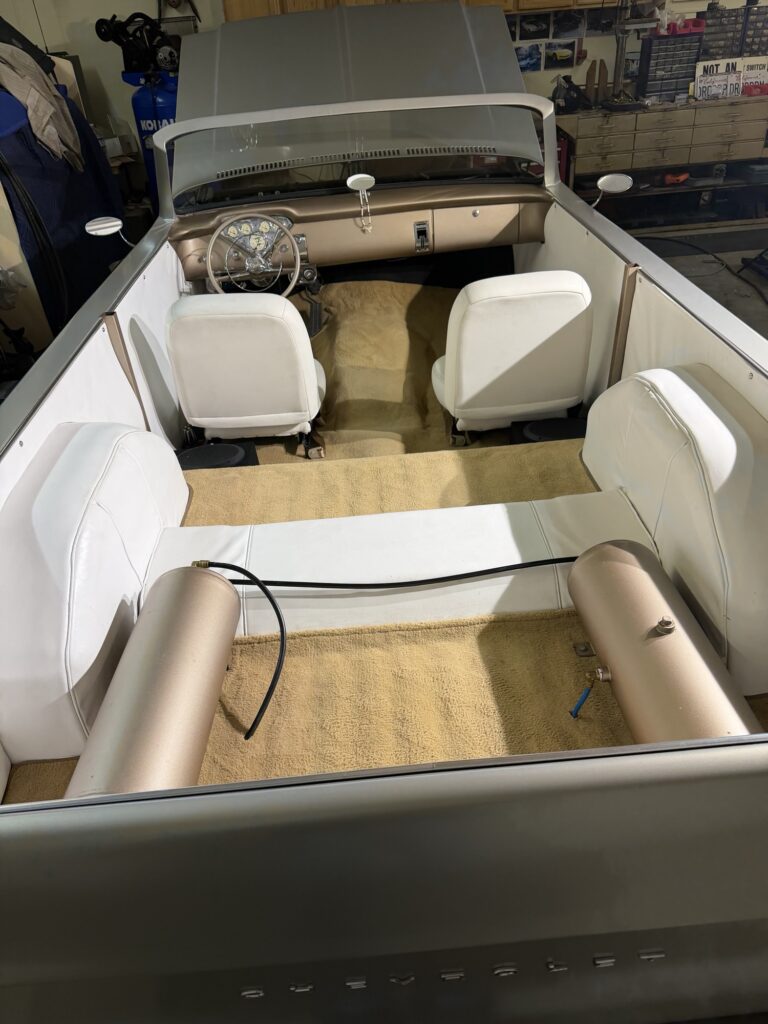
I decided to add music to the Blazer. This system will not be bass bumping, more of a stock stereo sound of that era but using modern technology. It will not have a radio but I can Bluetooth streaming stations using my iPhone app like Sirius XM satellite service which I already subscribe to.
We just need something to listen while cruising around. My Apple Music library is large enough to have a good variety of jams.
The basic setup consist of a Kicker Controller, Crunch compact four channel amplifier and a pair of Fosgate four way 6×9 speaker housed in speaker boxes.
The system setup requires a separate audio source since no deck is being used to keep the interior dash clean.
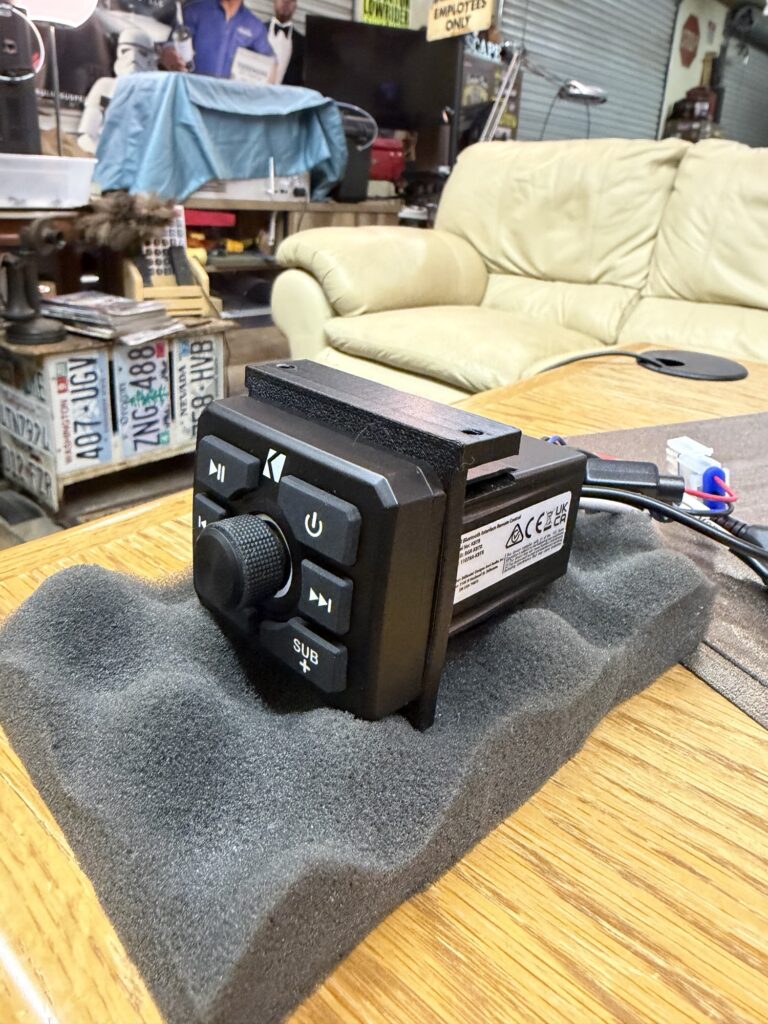
The Kicker 51KBTR module connects via Bluetooth to the audio source. I’m using an iPad mini for my music source. It does have the option to play media using a standard USB-A flash drive.
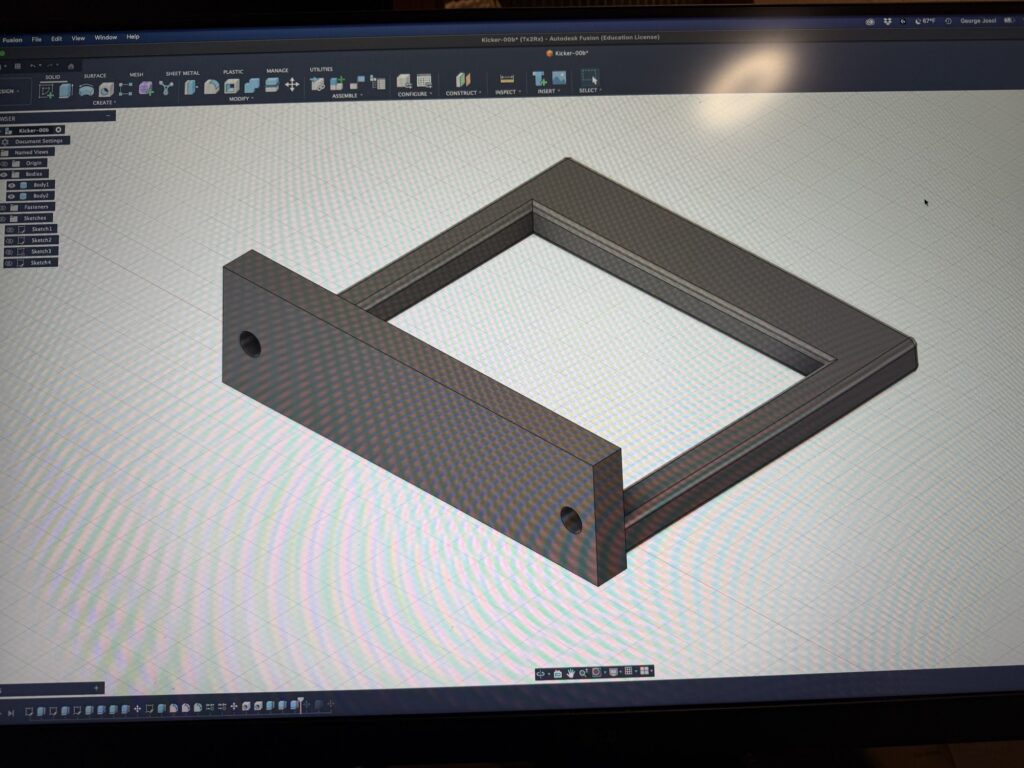
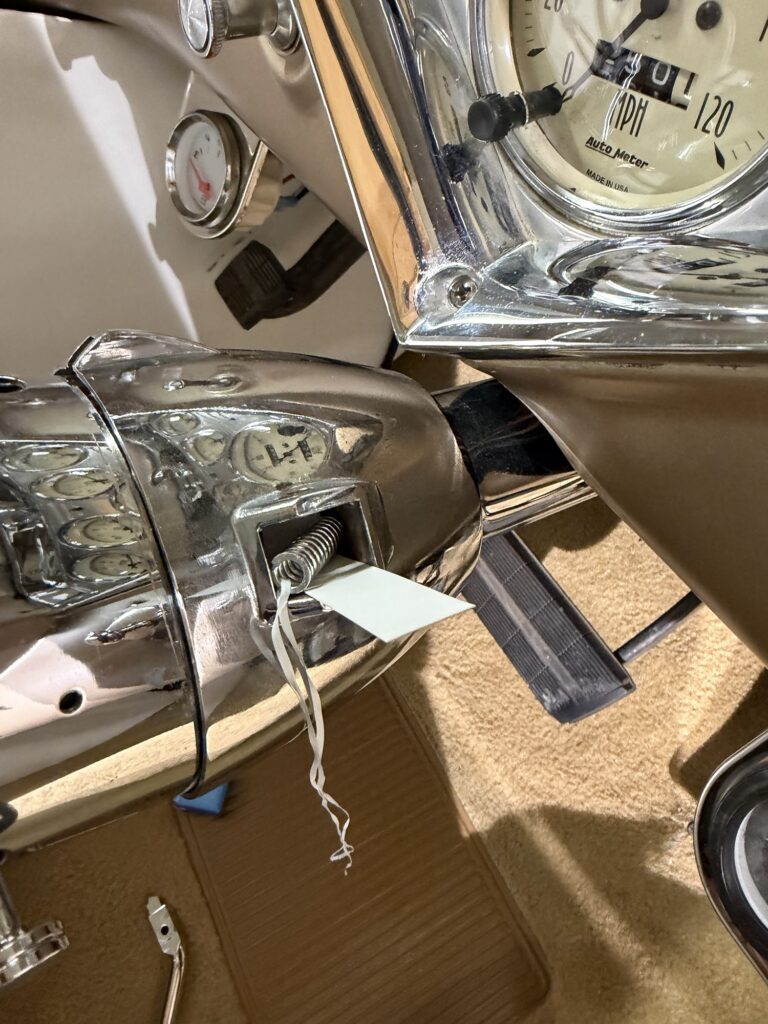
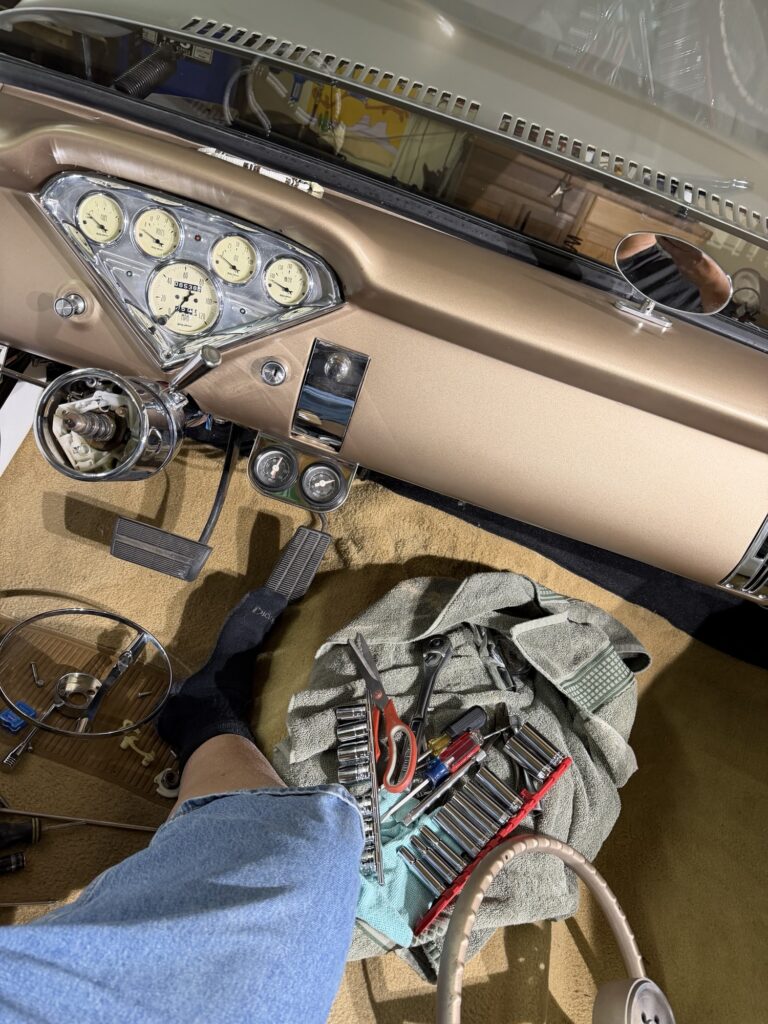
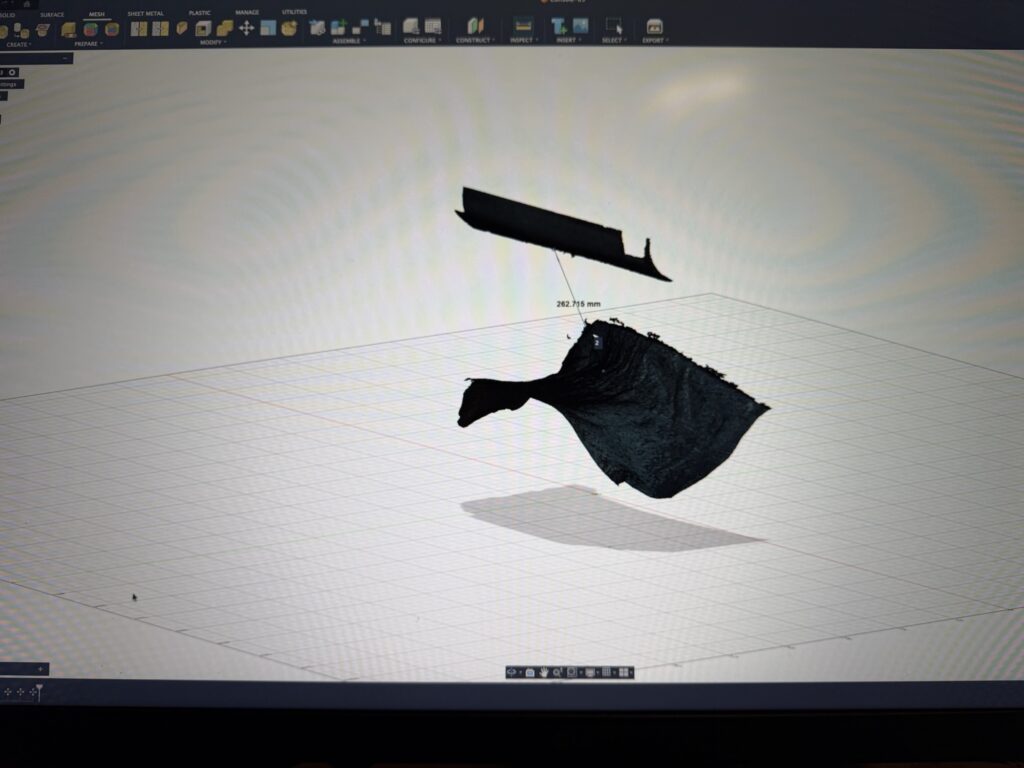
The typical mounting for the Kicker controller would be using 2 knock out switch panel sections. It would slide and lock in place. I definitely wasn’t going to cut a hole in the dash so I had to design a solution.
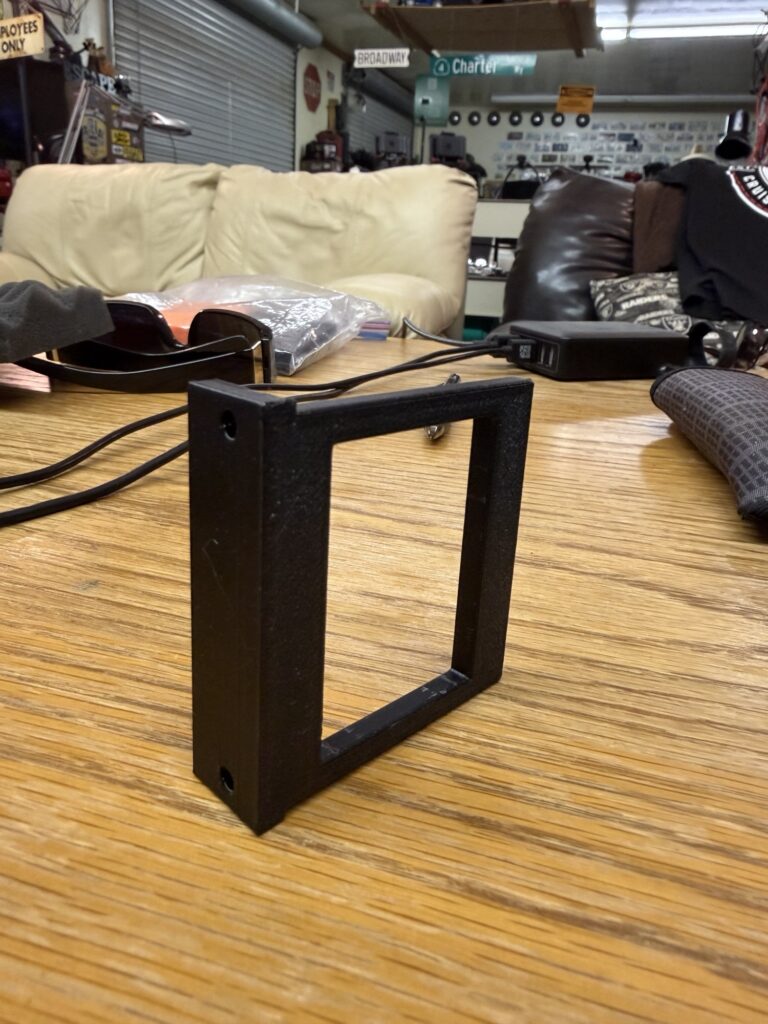
I designed a simple mounting bracket that would house the Kicker controller under the dash. The position is ideal due to the low visibility and convenient reach position.
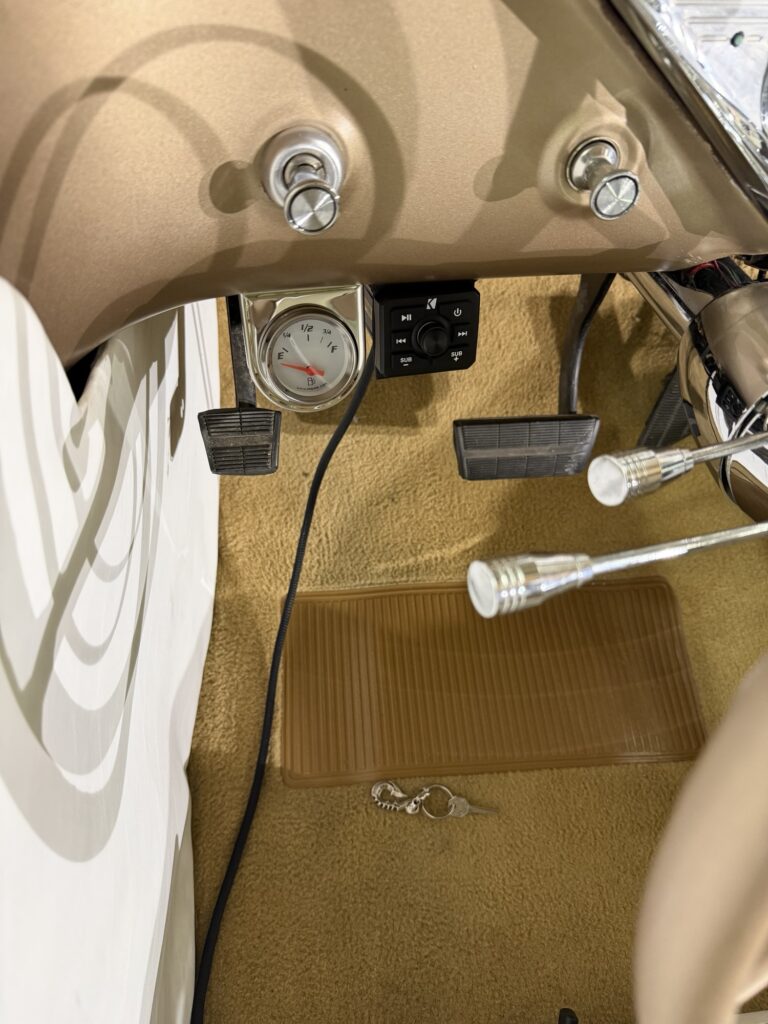
The control has a remote output so you can activate an amplifier when needed. Other features are subwoofer output with separate level control. You can also use auxiliary audio signals if desired.
I still need to work on a secure way for mounting the compact amplifier under the dash.
One other mod I want to later is reupholster the speaker boxes with a vinyl wrap that is color matched to the dash board.