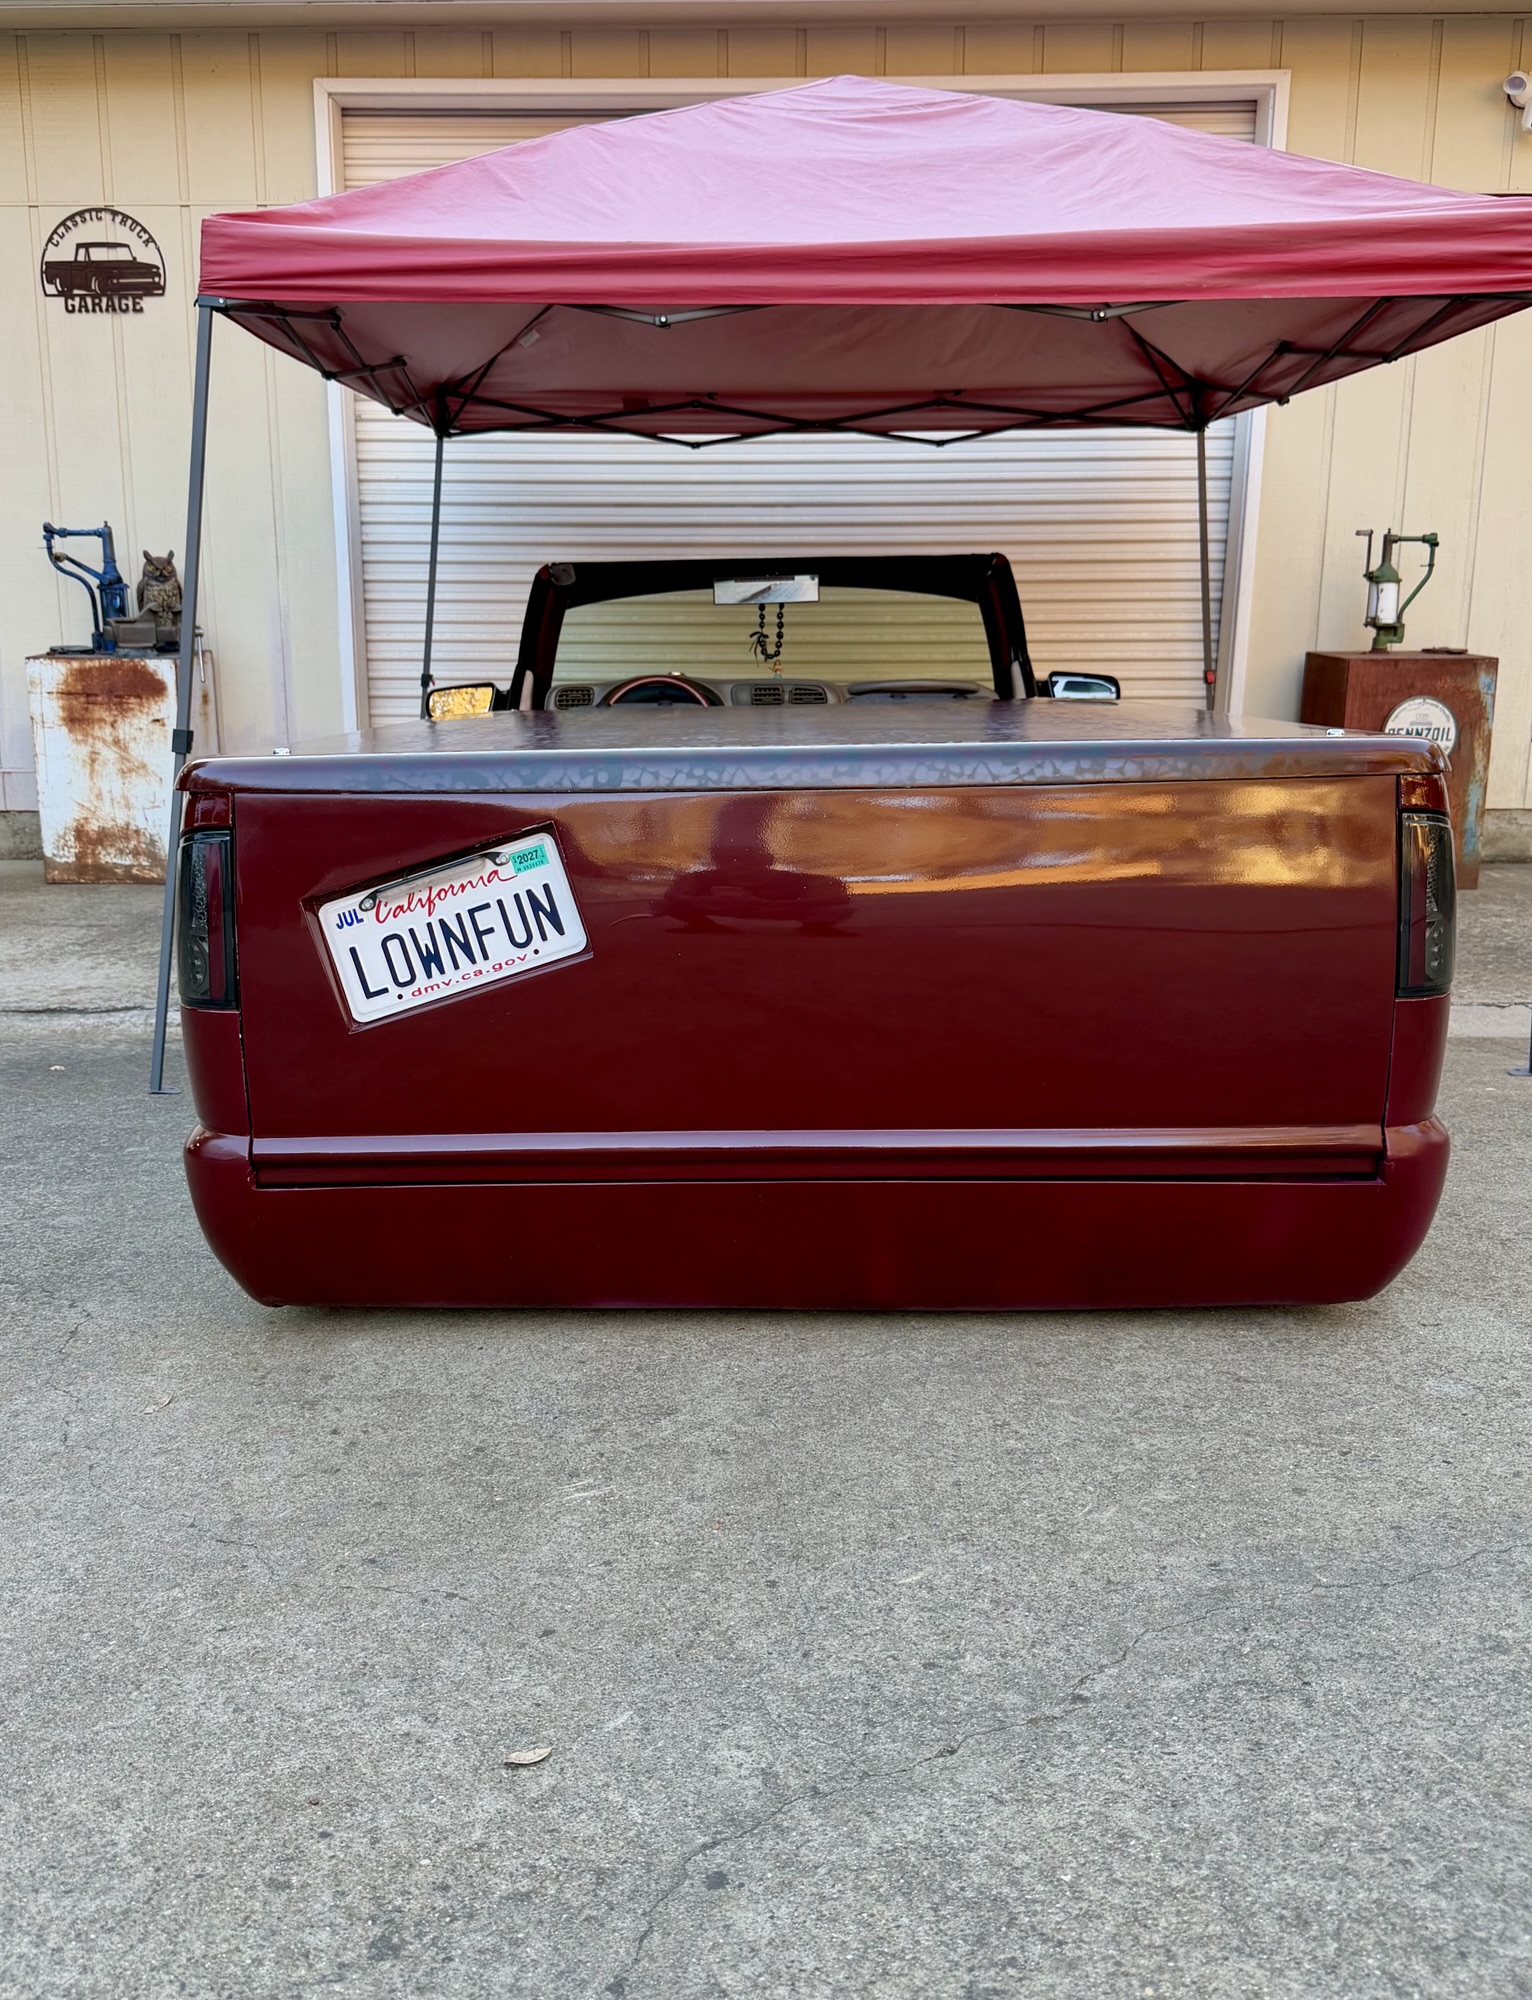
I’ve getting personalized license plates ever since I started messing around with cars, trucks and motorcycles. I’ve had so many different plates I can’t remember what I registered.
What does your plates say?
I’ve getting personalized license plates ever since I started messing around with cars, trucks and motorcycles. I’ve had so many different plates I can’t remember what I registered.
What does your plates say?
I finally got to check the console fitment inside of the Blazer and it fit great. I decided not to do a color match at this time. The finish is ASA-CF.
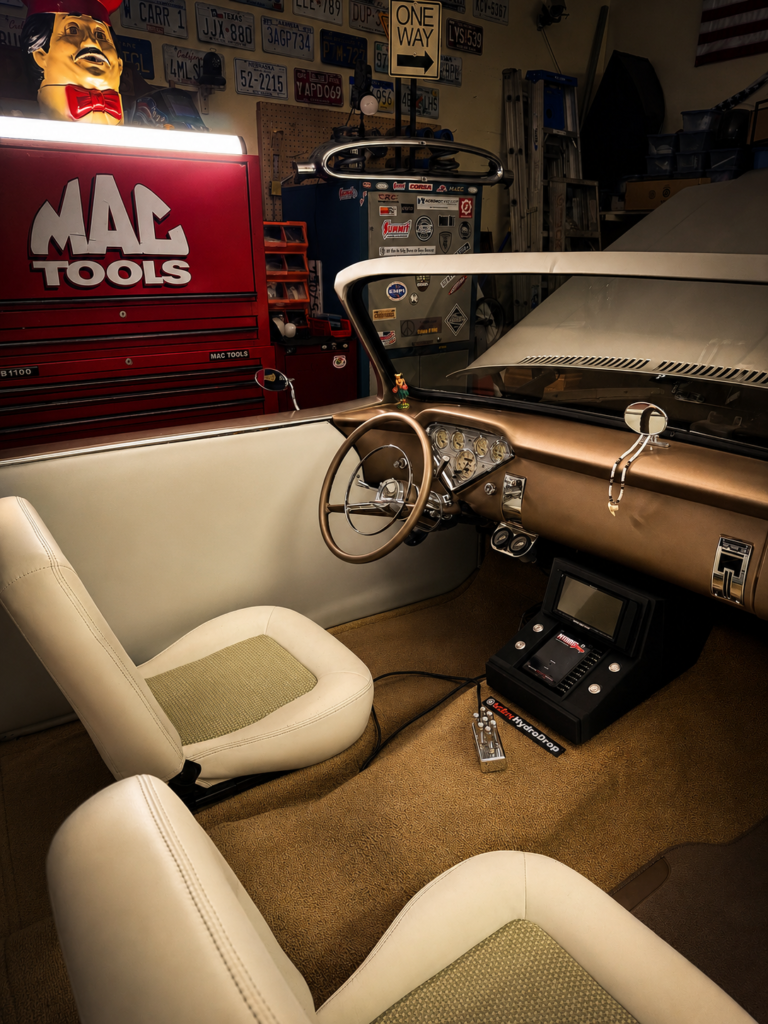
All that remains is the actual wiring to the truck battery, speakers and wired paddle controller (AVS 7 button switch.
EDIT:
The custom center console is installed and 100% functioning as designed. The 4 buttons activate and deactivate the compressor bank (3 compressors) , HydroDrop 2, Pioneer double DIN deck and the AVS handheld control switch.
I’m really pleased how this version came out. I learned a lot about printing large objects and slicing into multiple parts to allow printing with my setup. I also learned about the different filaments types in the ASA family. This particular console was made out of ASA-CF, that is a carbon fiber mix type.
I built this console with the anticipation of changing it later. The electrical wiring is all spade and terminal block or the use of a connector interface. This allows easier console removal.
The
This the latest of ongoing center console project
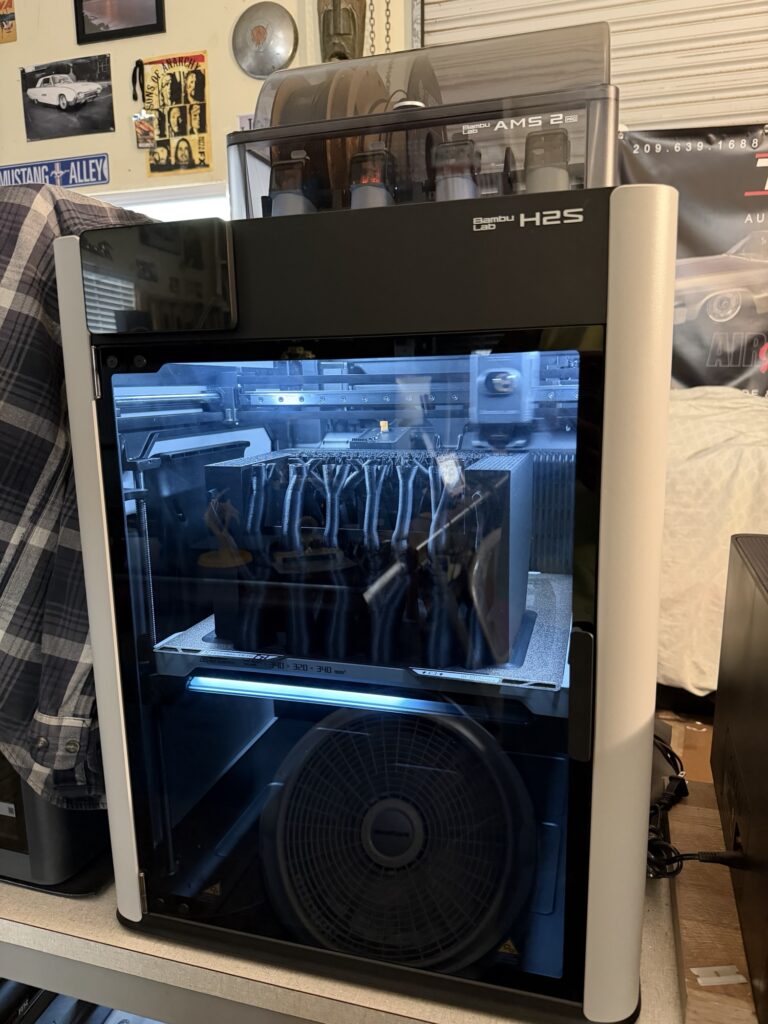
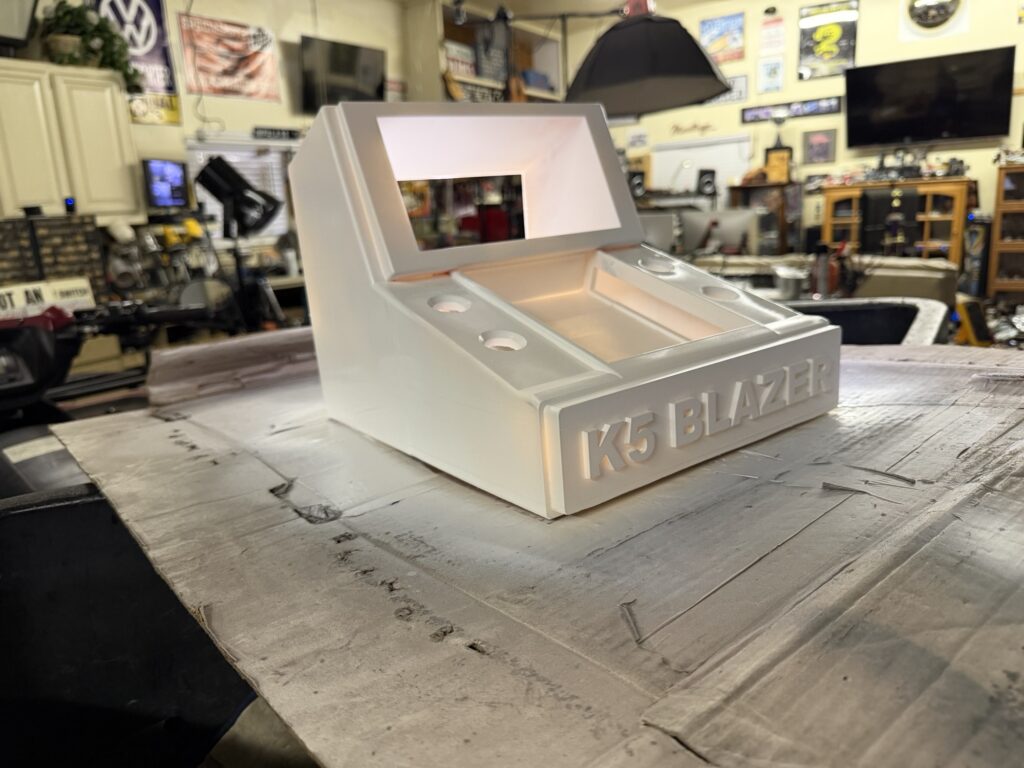
This has been long process and learning curve. There are so many variables when printing with specific type of filaments. I had started off with standard ASA, in the end the end I ended up using ASA-CF. The “CF” is carbon fiber material mixed into the ASA filament.
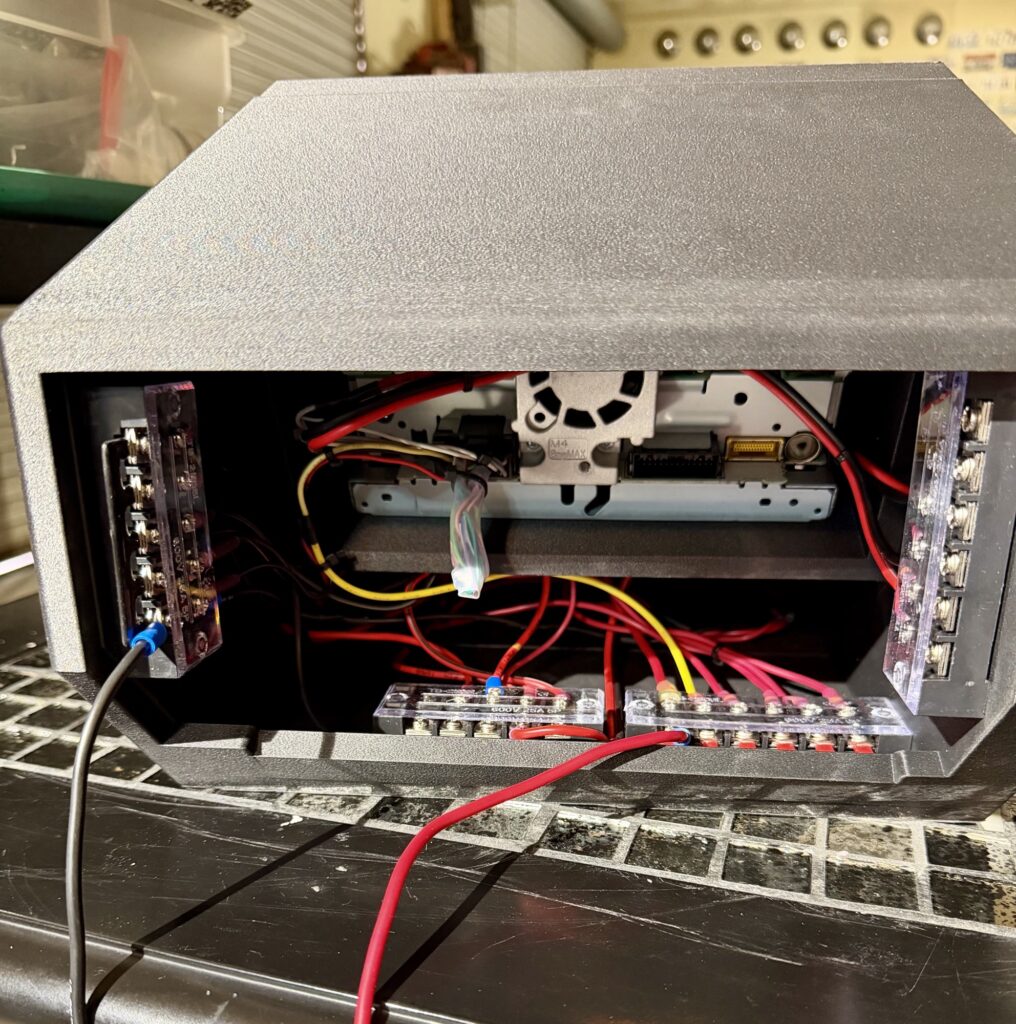
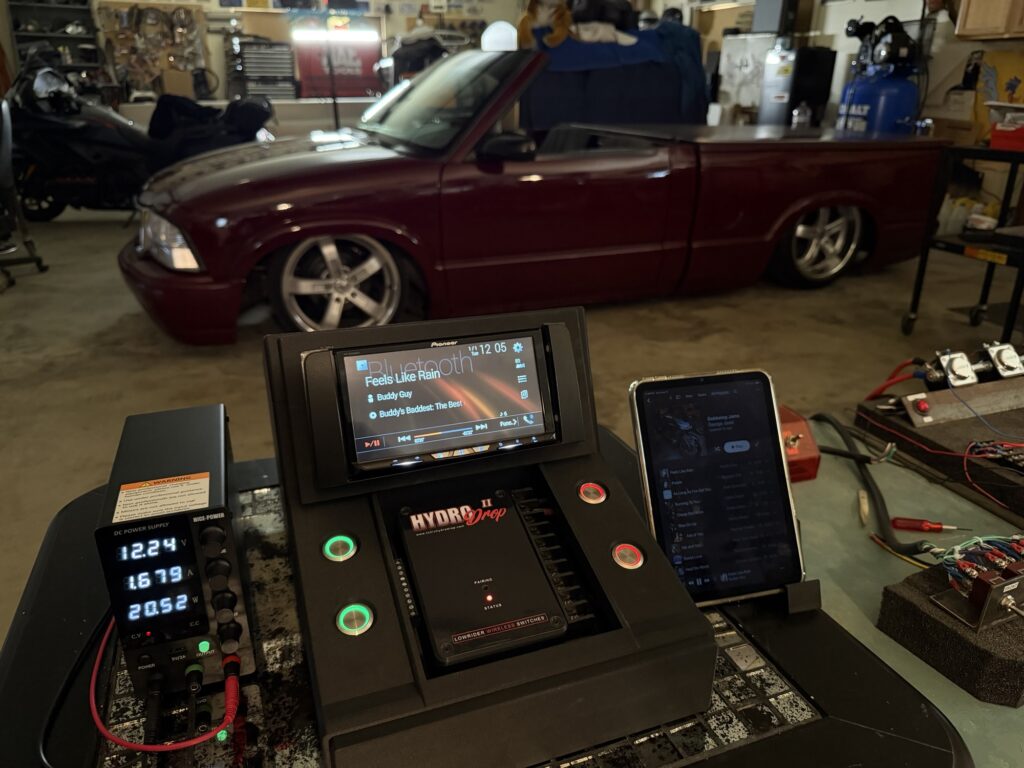
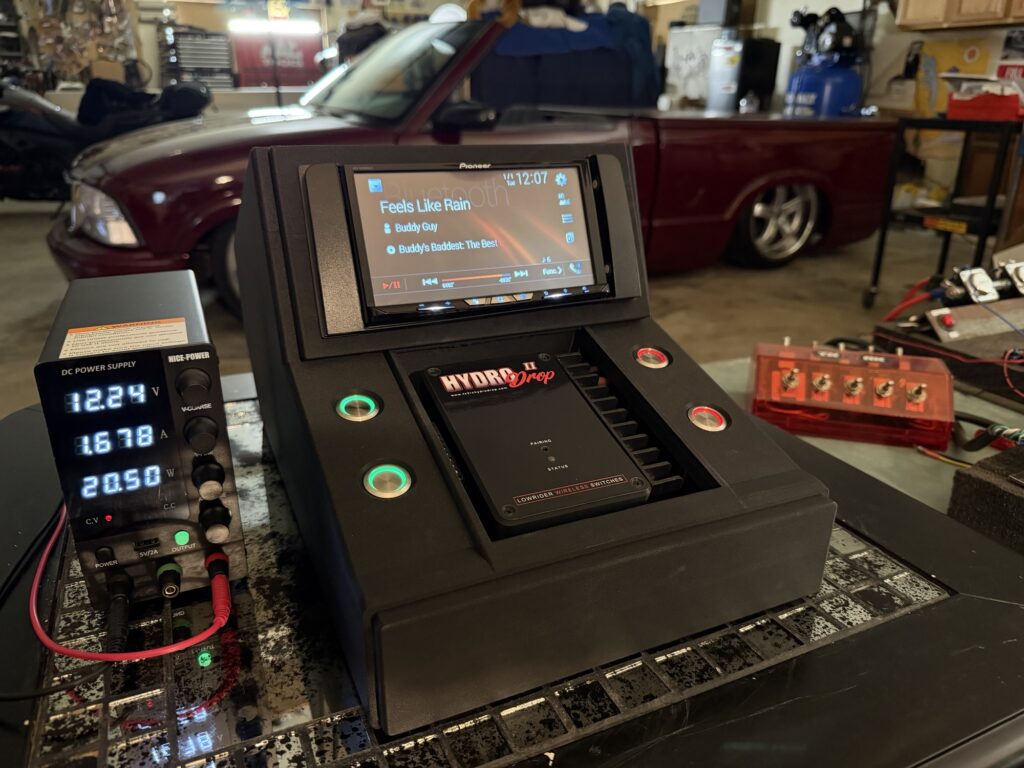
The original run that used ASA had too many visible layers lines. This wasn’t acceptable since the console would very visible at the car shows up and the country roads.
The Blazer center console has been progressing, slower than I wanted but I’m learning the 3D printing part of the project.
Figuring out how to use Autodesk Fusion 360 was time well invested.
This morning I drove to Lodi and registered at the Cars N’ Coffee put on by the Central Valley Classics and Customs.
Long story short I won a cool trophy.
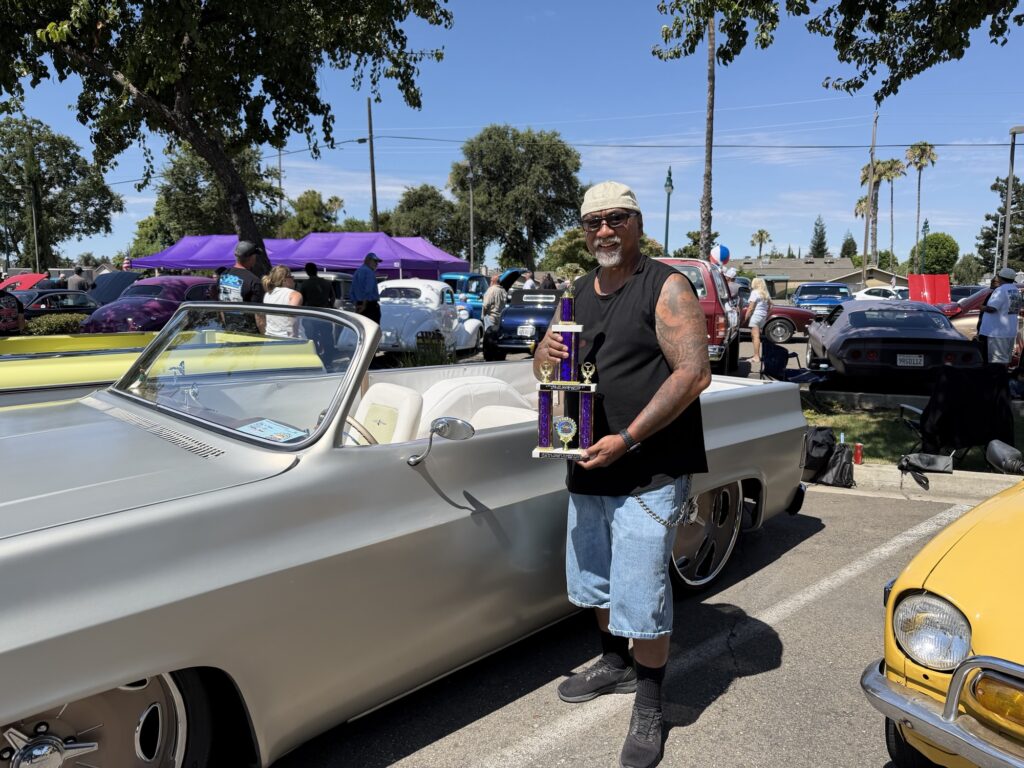
I totally did not expect to win anything, my intentions was to hang out with like minded folks.
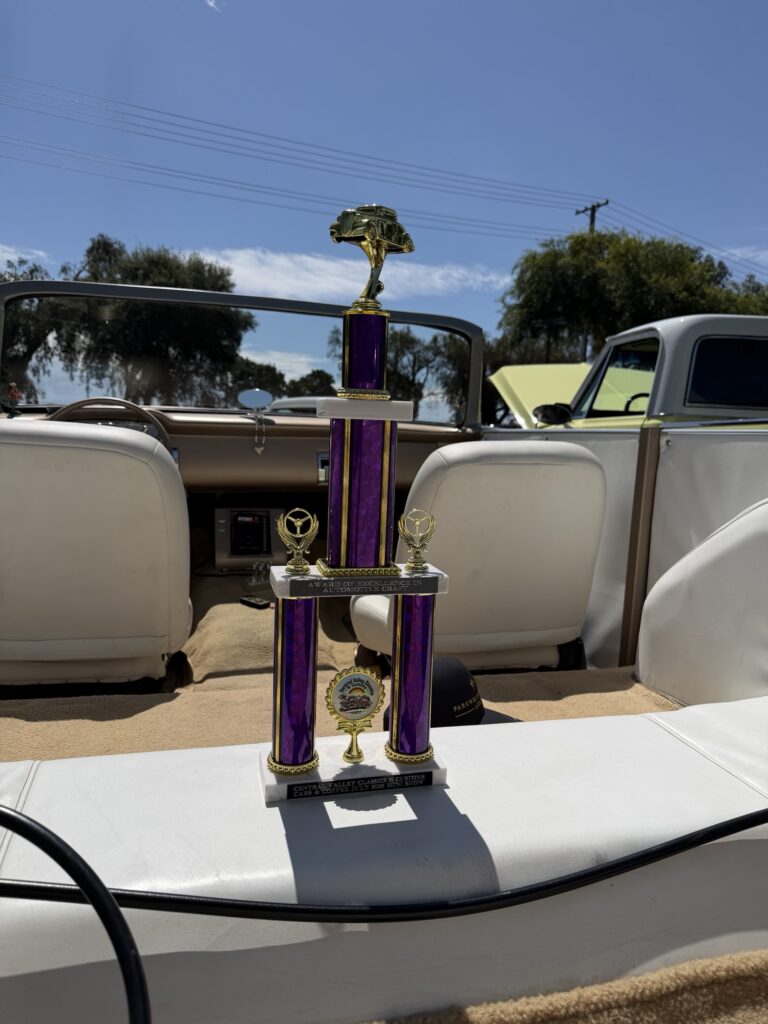
The trophy is very cool, a nice piece of jewelry for my first trophy. Next year I’ll come out with some big changes. Make this ride truly my own.
I took the Minitruck out for a spin, just to the local gas station down the road so I could get the fluids circulating.
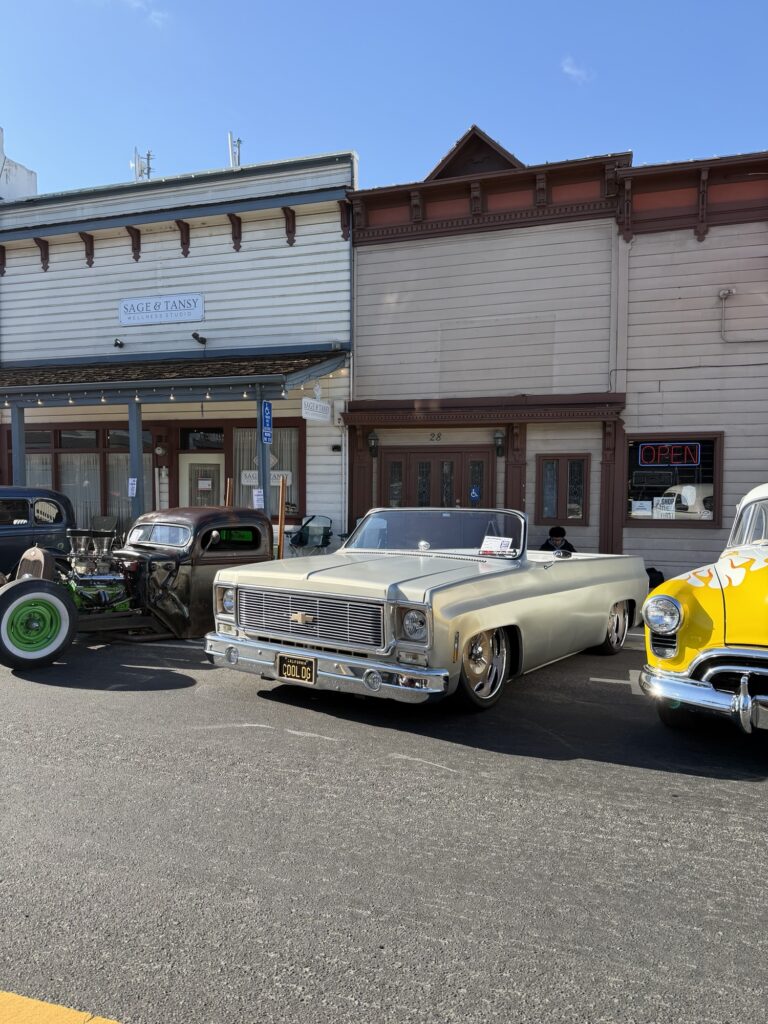
This may be the first out in public photo of the personalized license plate “LOWNFUN”.
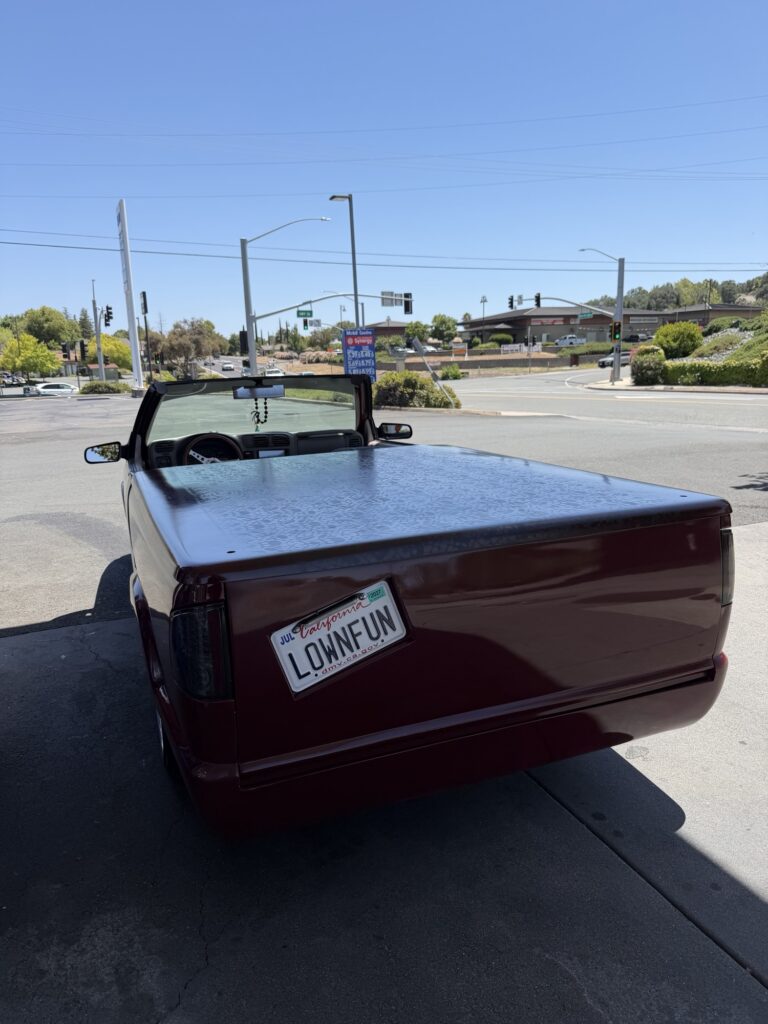
Since I picked up the Blazer I haven’t been putting many miles on the Mini.
In the next few weeks I’ll probably do a bit more driving, I may be revamping the Blazer center console so the Minitruck will be the weekend ride.
I decided to install a Pioneer AVH-4500NEX Double Din Stereo into the Blazer. I couldn’t bring myself to cut up the 1956 Chevrolet 3100 dashboard.
In order to do a legit installation I would need to build a custom console to mount the stereo equipment.
If building a stereo console was my only task that would fairly straight forward. I need to also include an area that I can display HydroDrop 2.
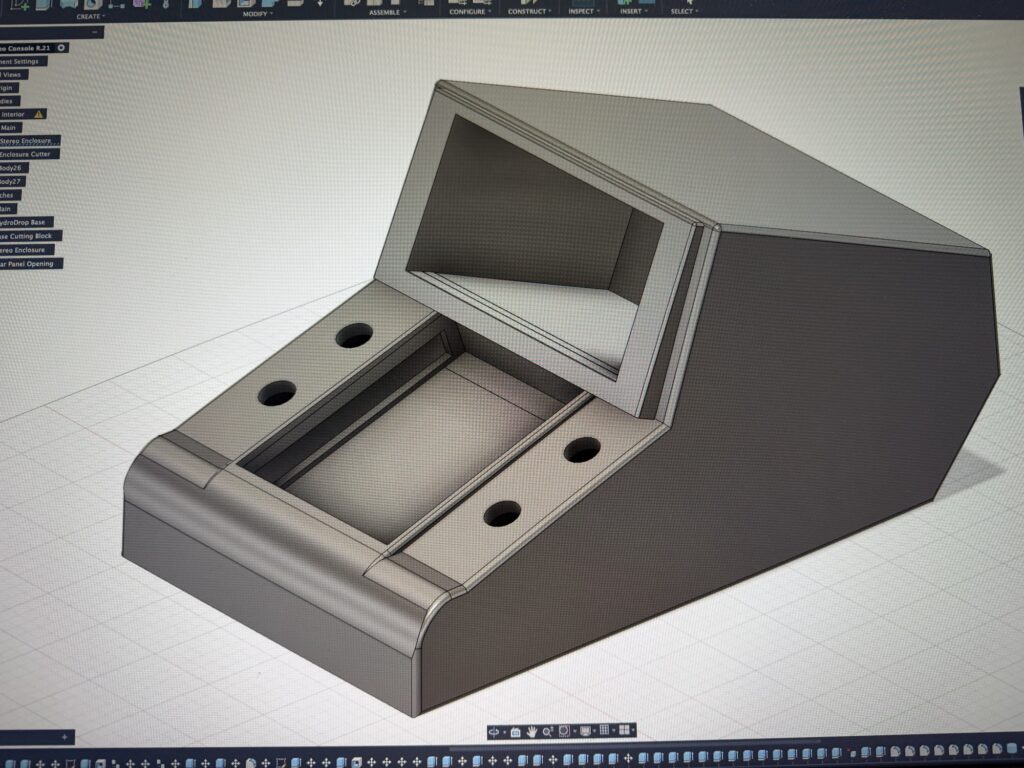
The console cannot be so large that it extends far enough from the under dash and obstruct my in and out access to the driver seat.
My first print didn’t work out as planned. I now know to really scrutinize the 3D model drawing before going to print. I now change the opacity of the main body down to 30%. This allows me to see through the part and all the inner areas.
In the case of this failed part, there was a section that had too thin of material and it came apart at the corner seams.
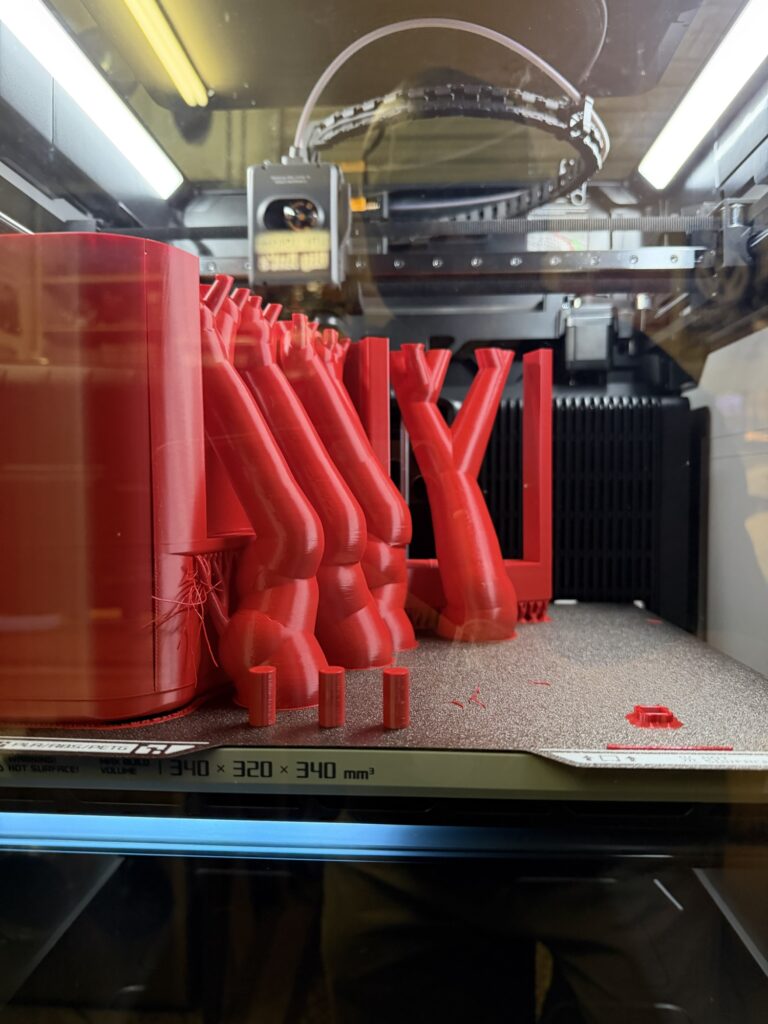
I also found that the opening cutout for the double DIN stereo was 0.4 inches too tall in height and this left a large gap even after the deck was installed.
The next version below corrected the errors made in the previous model.
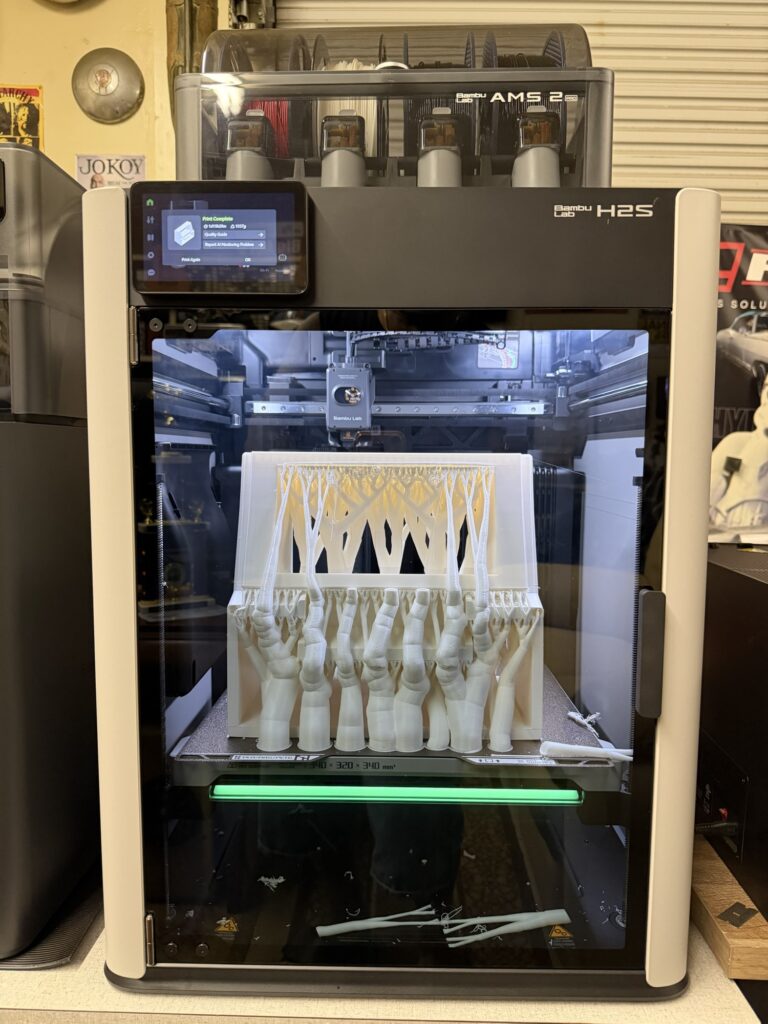
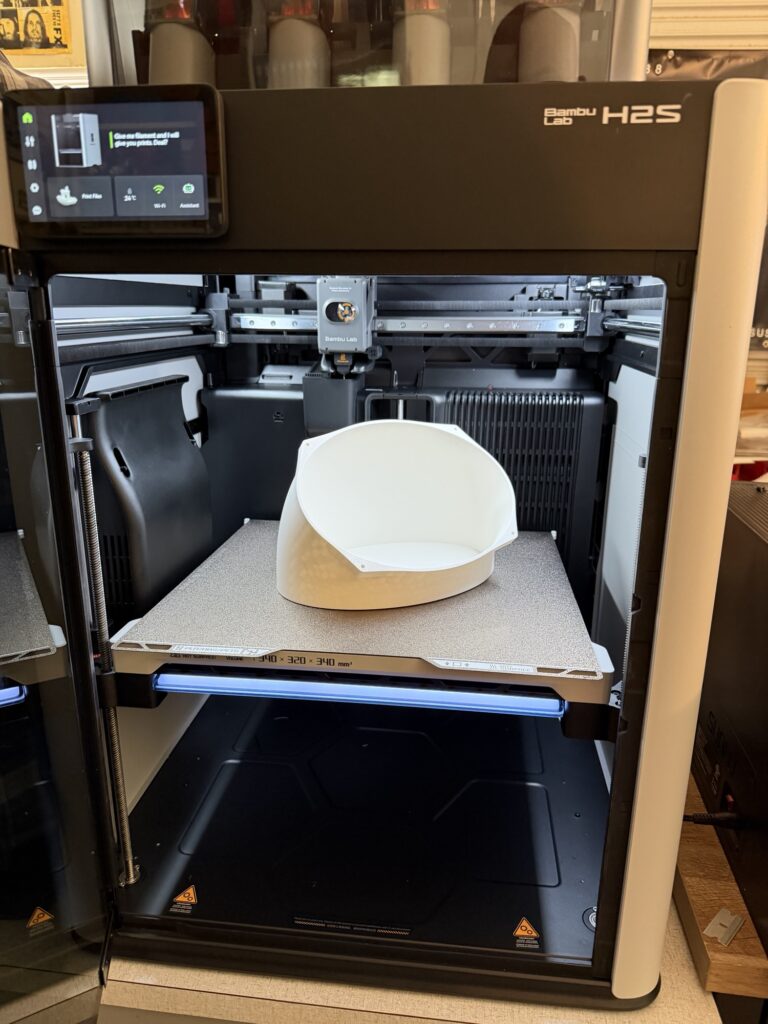
The console is so large the part had to be broken down into 3 sections. The middle section was printed first. There are a lot of support considerations when going through Bambu Studio slicing software. A lot of overhangs are used, each section a support must used to prevent sagging.
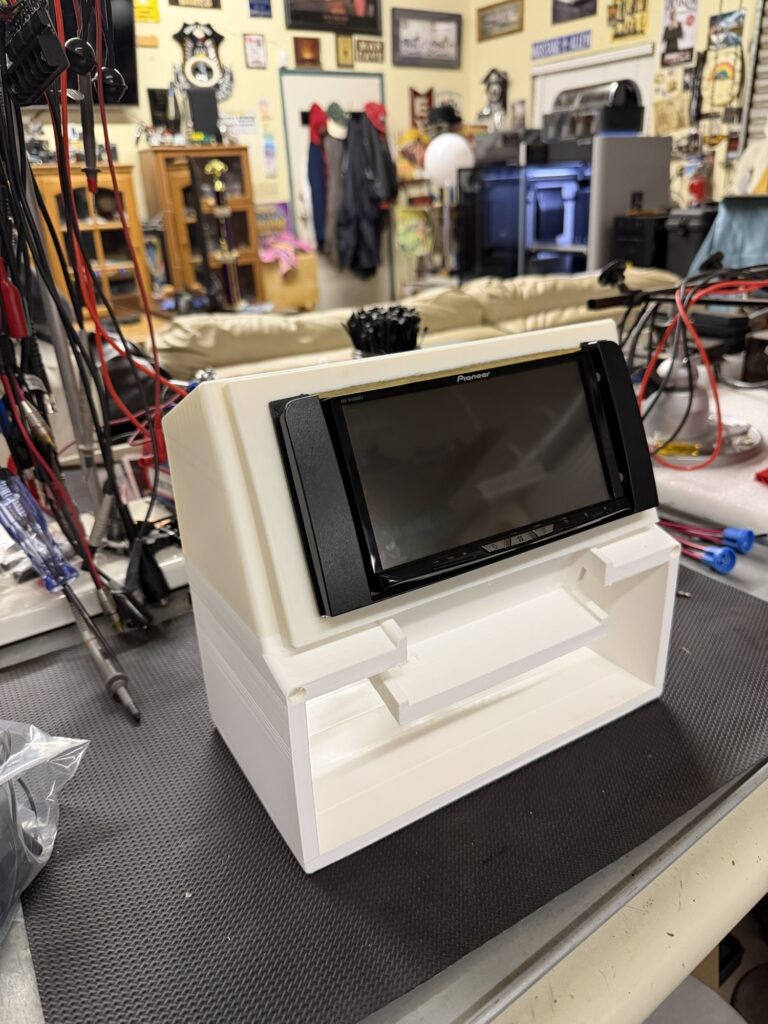
The filament being used is ASA, this was chosen for the durability, heat resistance and able to withstand UV rays. This console will be inside of a roadster so it will be exposed to direct sunlight.
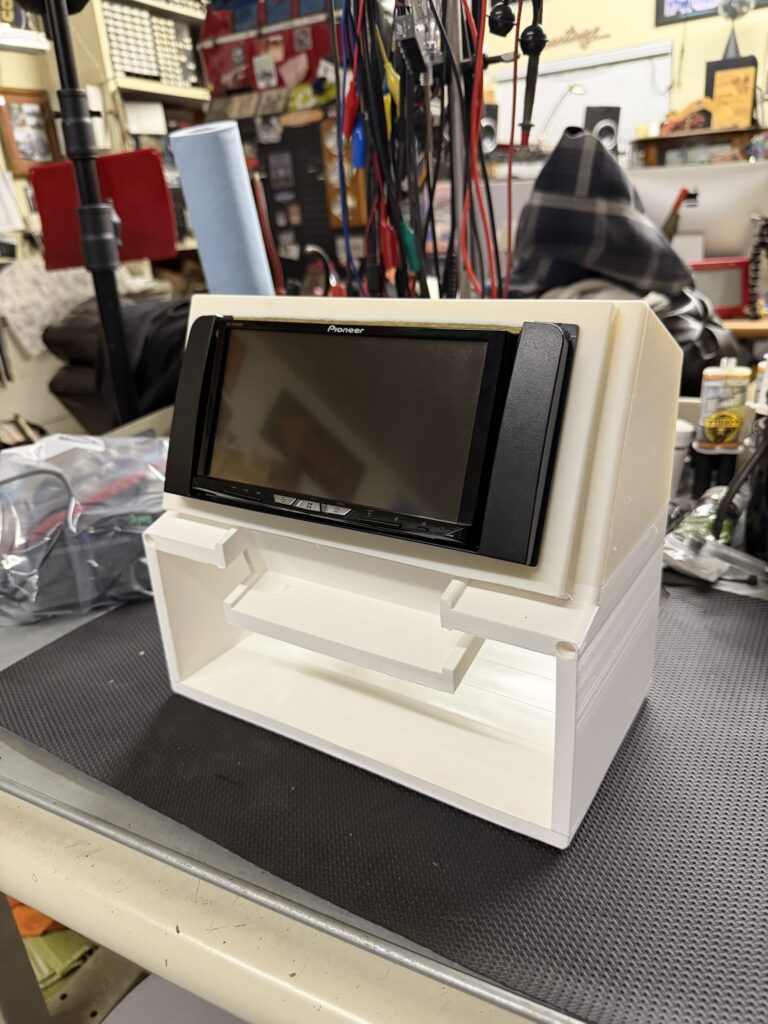
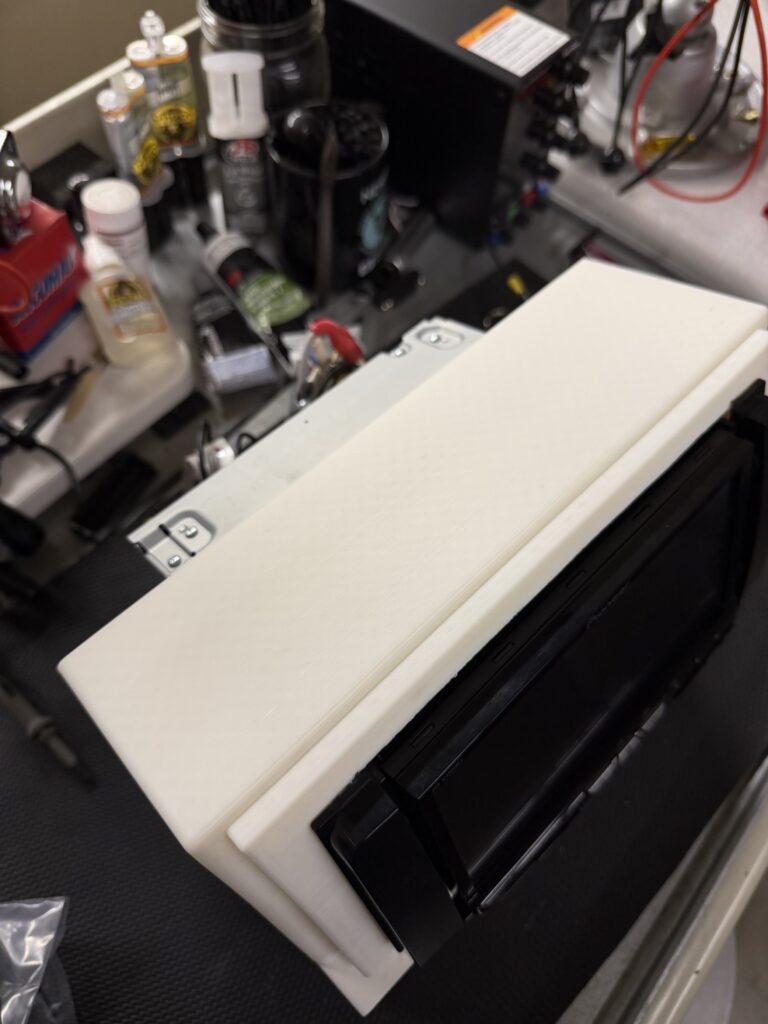
This has literally been a long trial and error learning process. The latest “opportunity” occurred with the dowels placement. I should have sliced all the objects before starting a print. If a dowel created an error the correction may render the completed parts dowel location as inaccurate.
I have been wanting to measure the air ride current on the blazer.
The current probe I have been using was specifically for low current measurements.
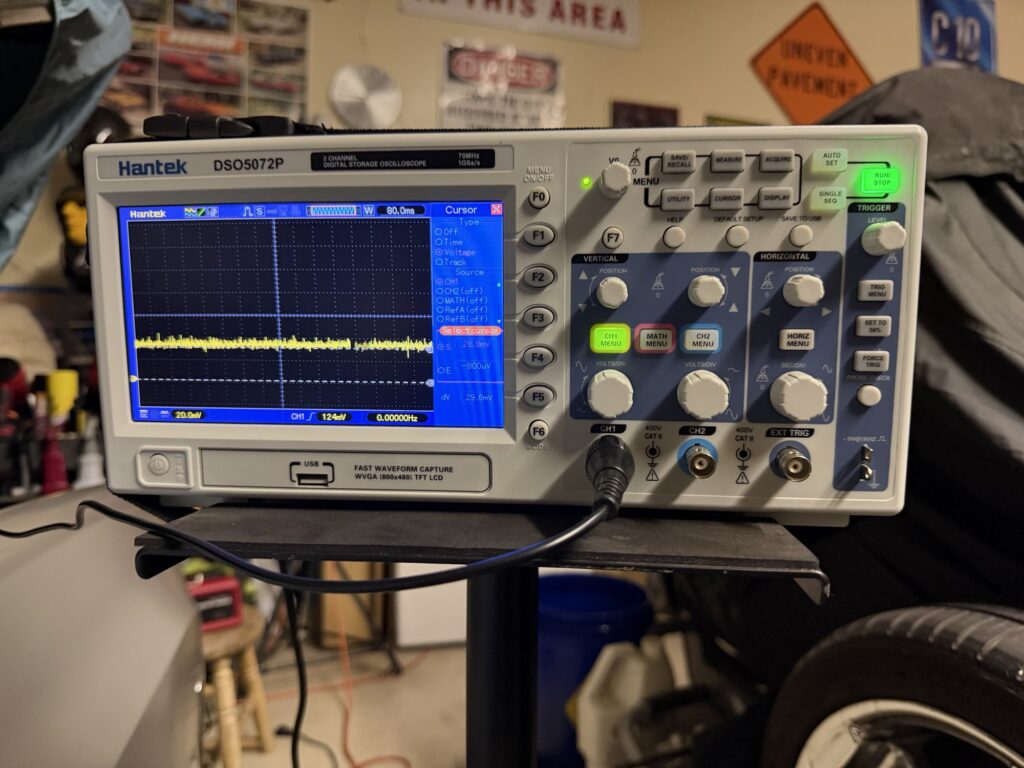
I picked up a high current probe and will perform measurements this weekend.
I took my grandson out the Ione Car Show. The town of Ione is not far but it was the first trip out of town since the fuel pump circuit went out heading to Sacramento a week before.
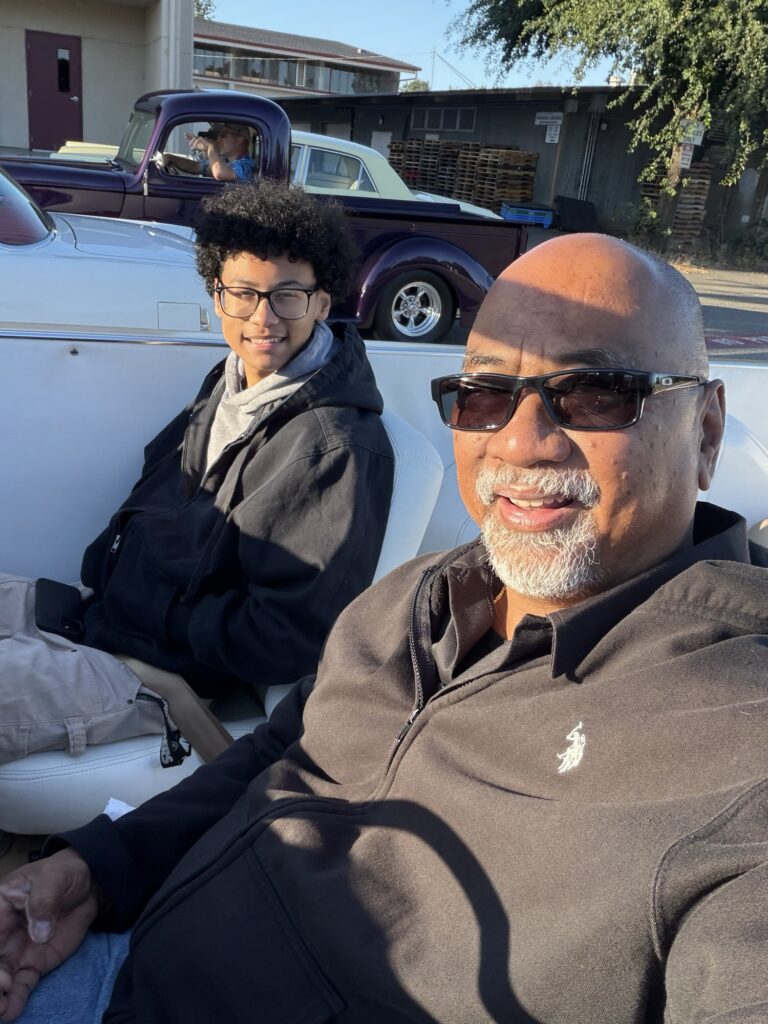
We arrived at the setup location right on time, 7 am. By the time we arrived there were 3 rows of registered vehicles already in place. This turned out to be an advantage for us and worked out great. By arriving at the moment we did we were able to get a nice parking spot on Main Street.
There were a few registered owner that got pissed off because they came and were numbers 3 and 4 in line. They ended up having to park on one of the side streets and not on Main Street.
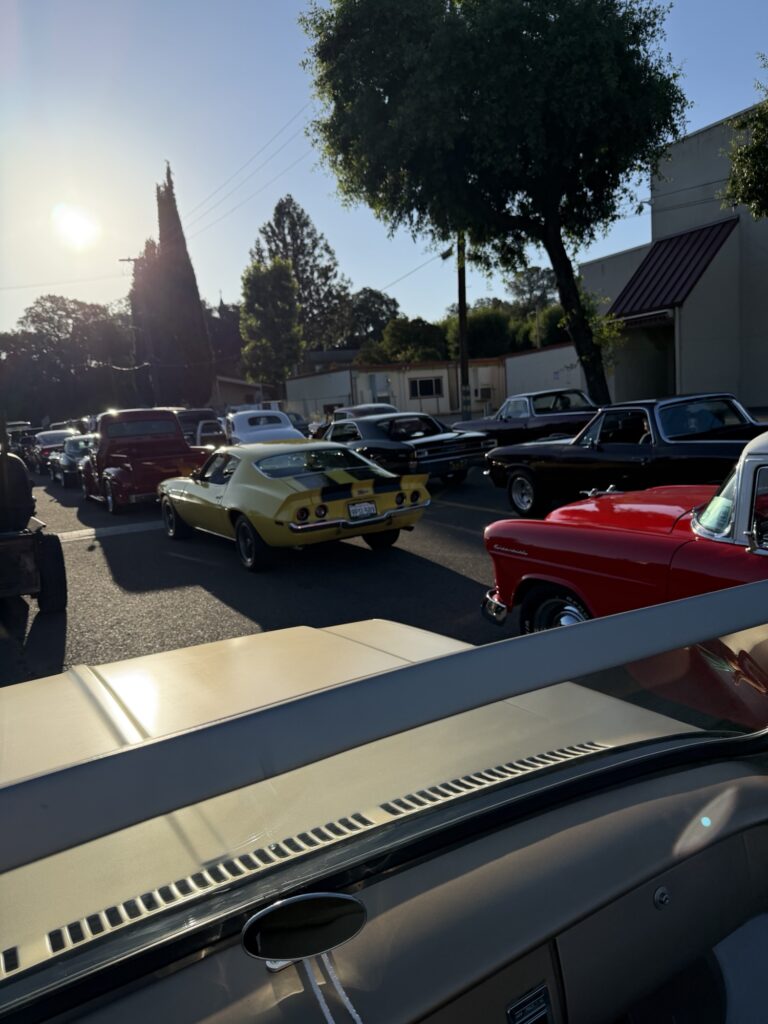
This was the first time I have gone to the Ione car show. It’s a cool small show. We had a good time hanging out. Having all the business open and being able to buy stuff easily was a plus.
I decided to go with a different speaker location for the 6×9 three ways.
The pods are 3D printed and angle out towards the driver and passenger.
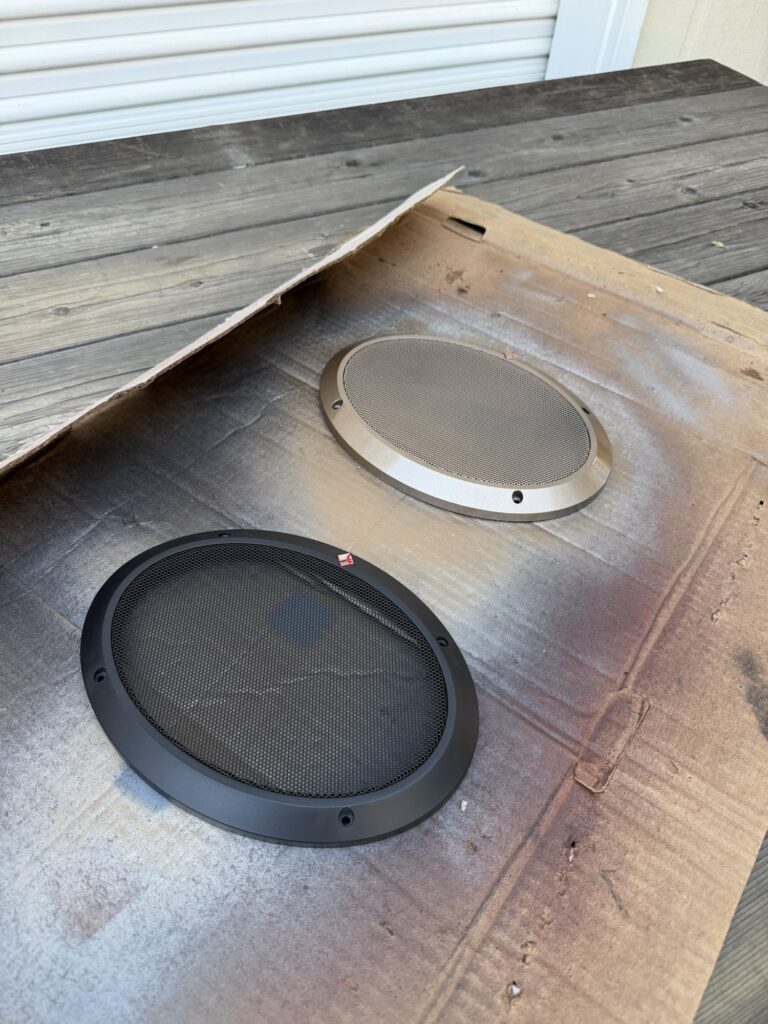
The stock grill color was black which did not match theme I have going on. The color matched paint (dashboard) was used to give it custom look. .
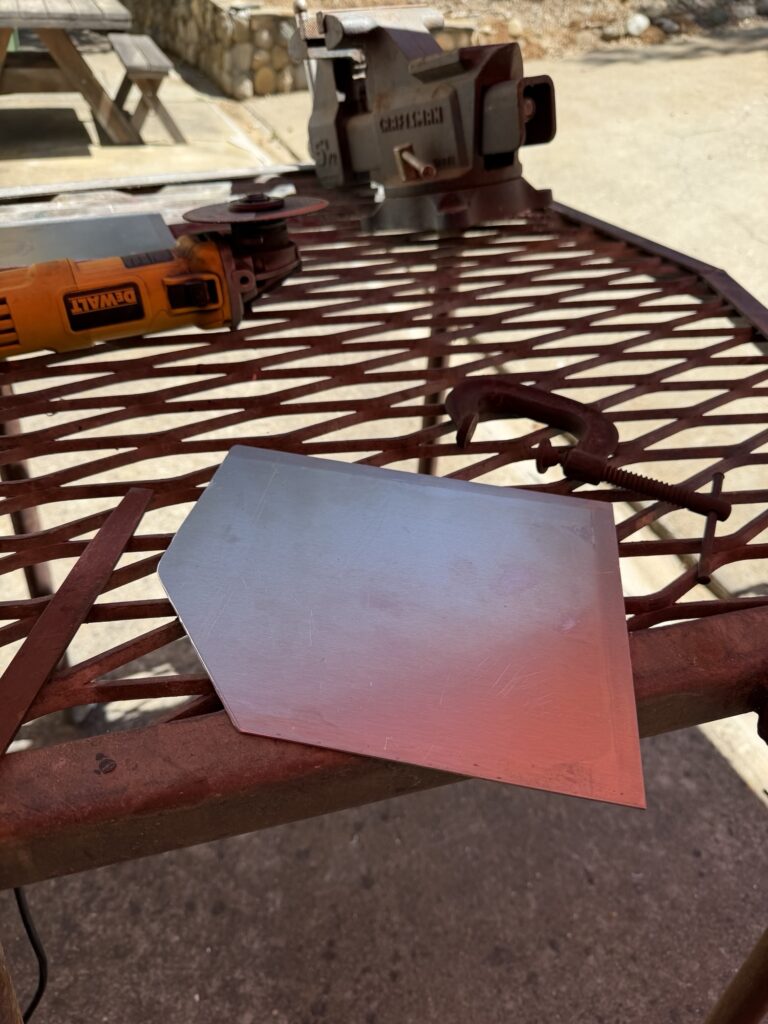
The panel area where the passenger and driver doors would normally be required support hanging the custom made 6×9 speaker pods. I used a thin piece of sheet metal place at the back of the panel to strengthen the mounting area.