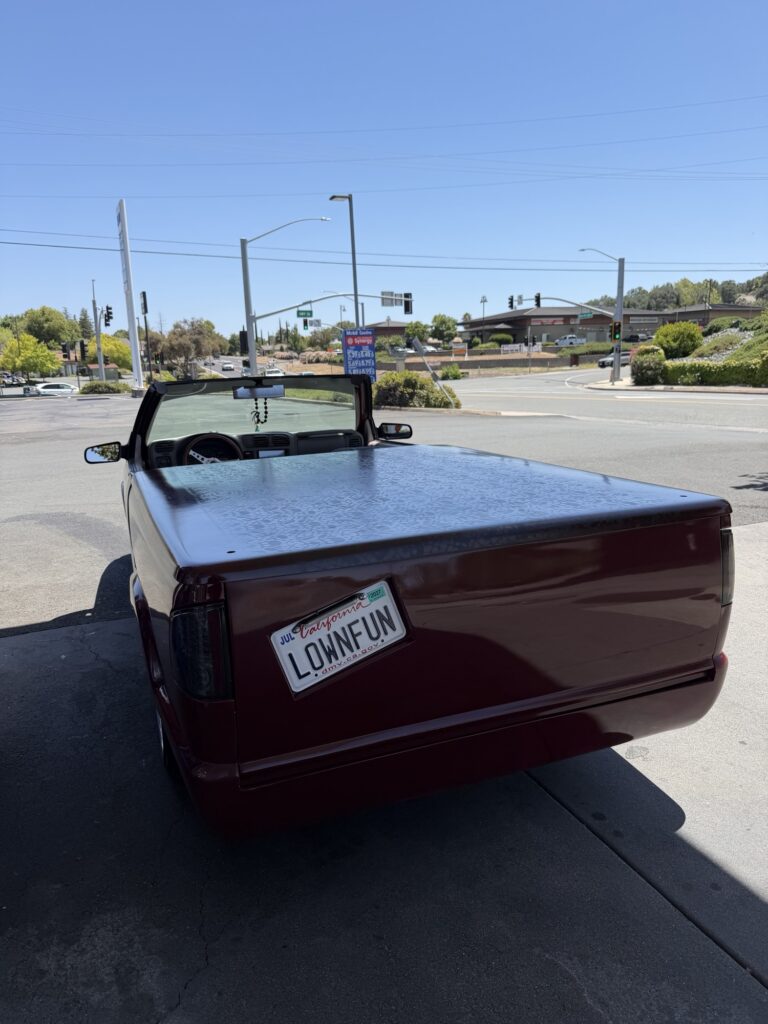
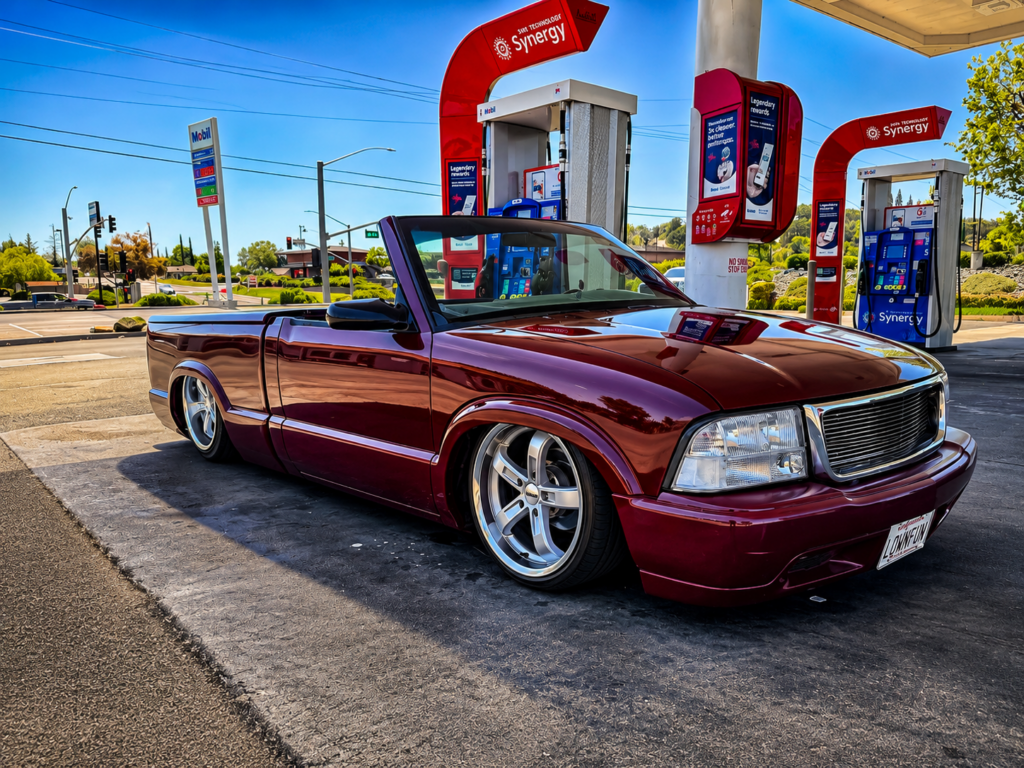
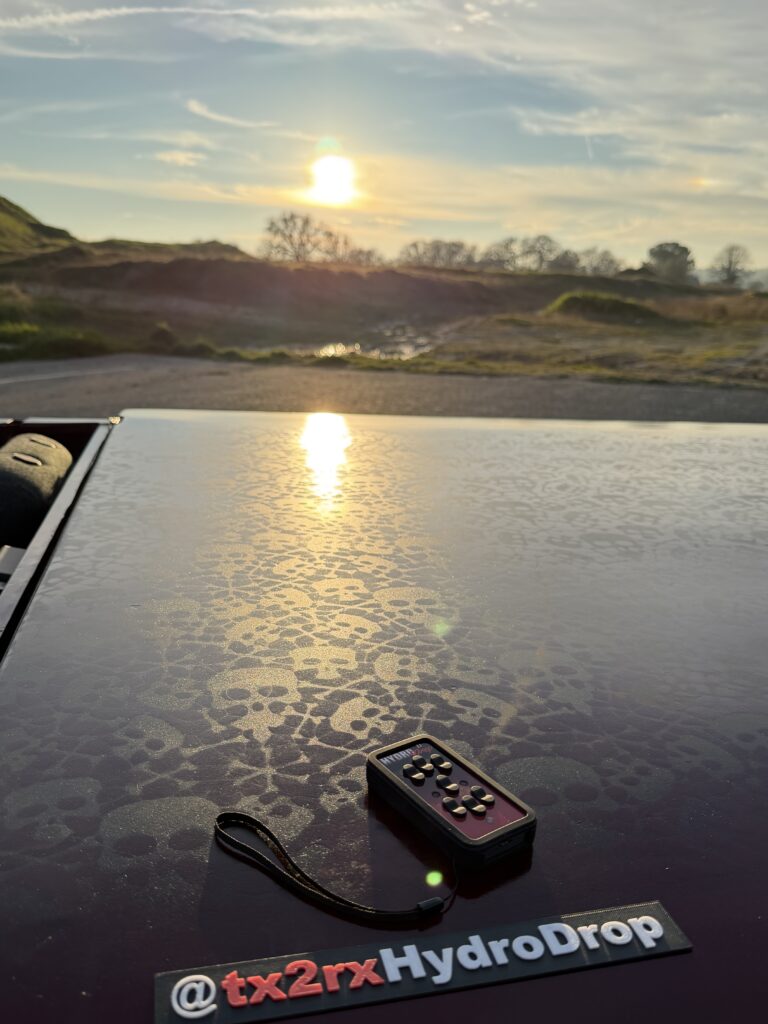
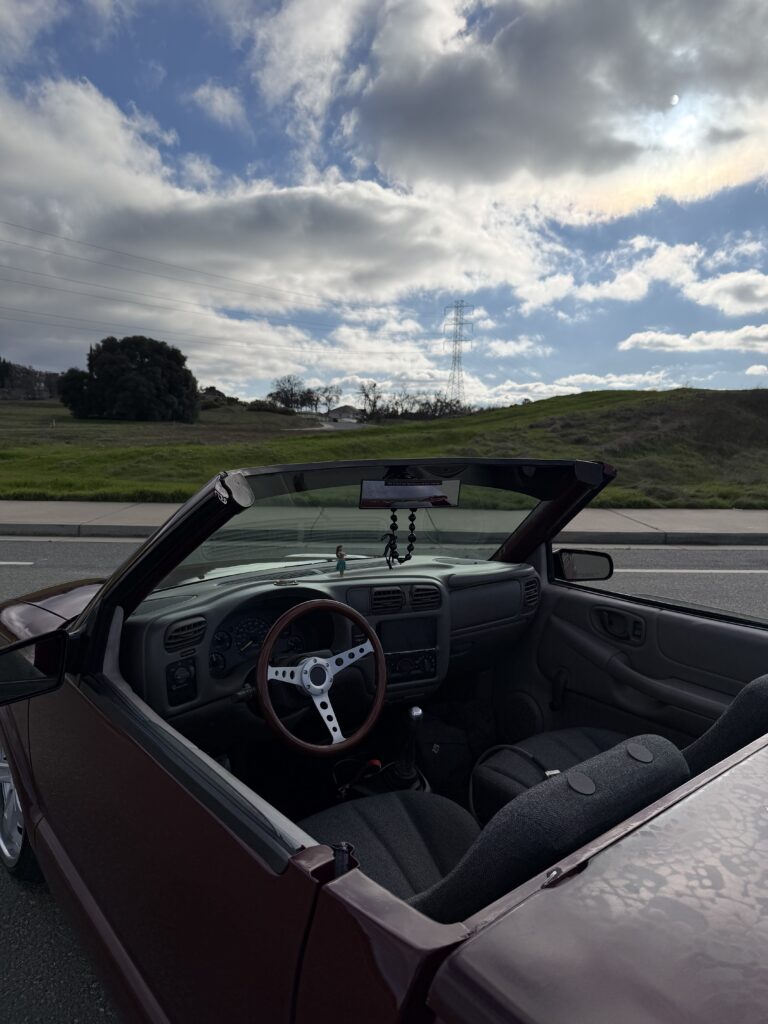
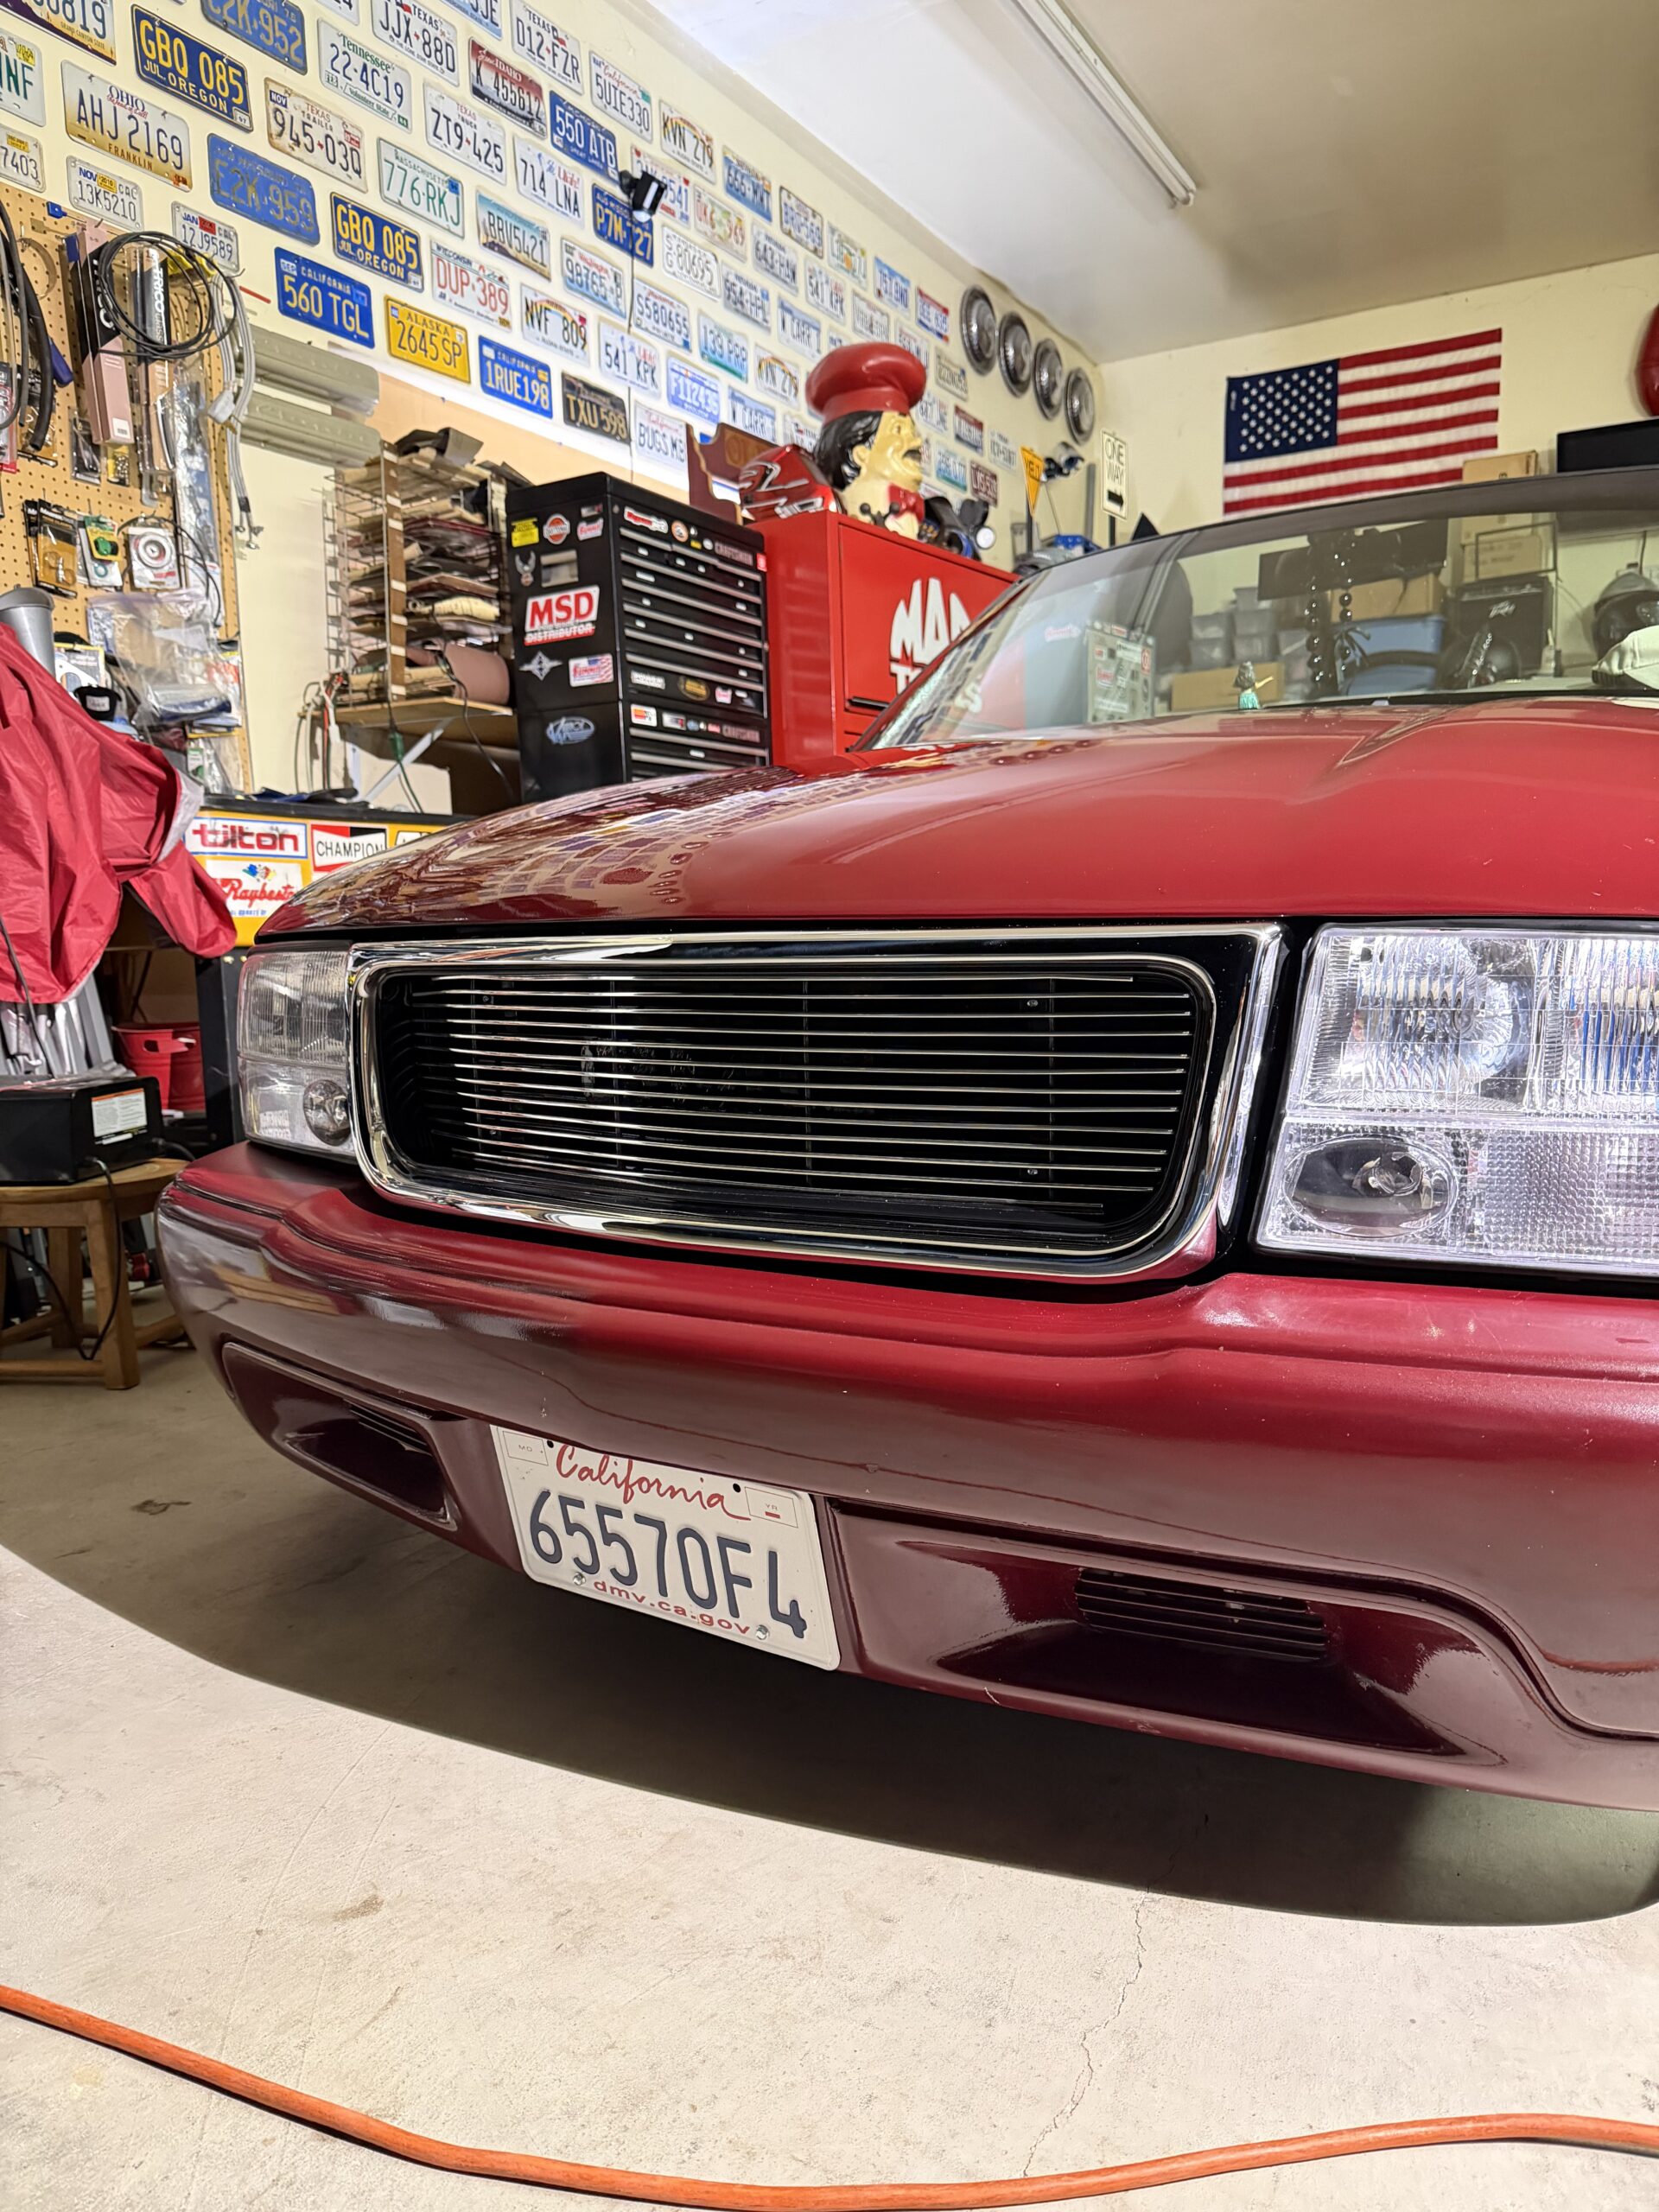
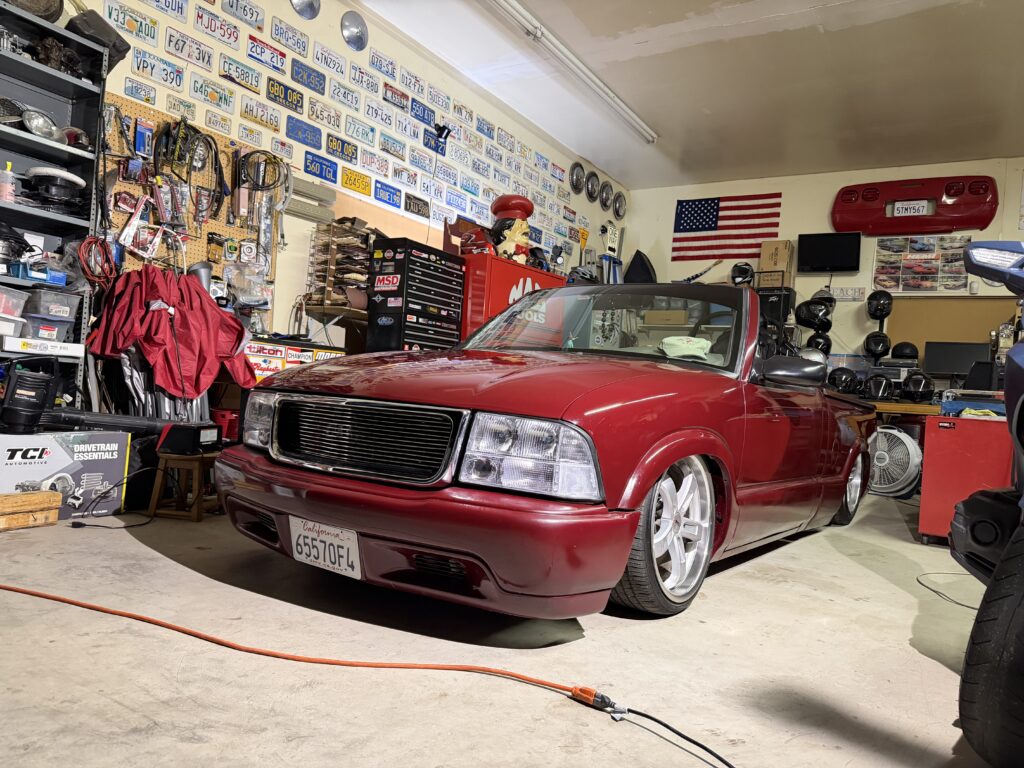
I took the Minitruck out for a spin, stopped at the local gas station. This photo has been enhanced for a more color pop.
One thing I need to remember when getting gas is dropping down to frame means I have to heck of bend down to reach the gas tank filler. It’s much easier to fill up with air ride at ride height.
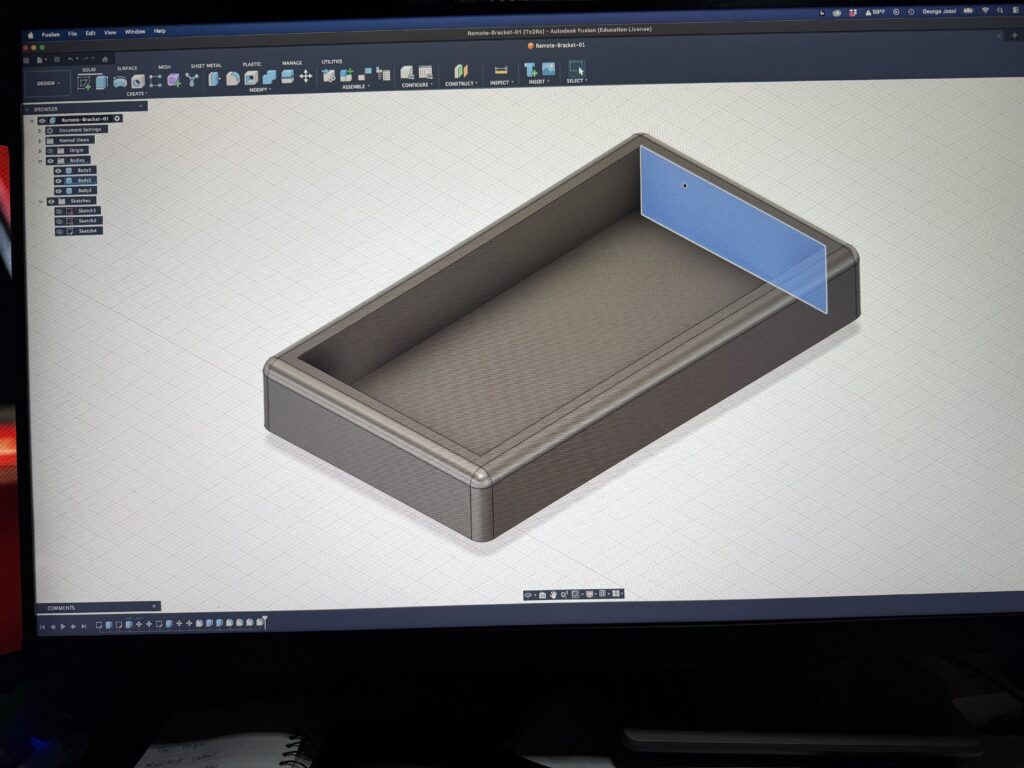
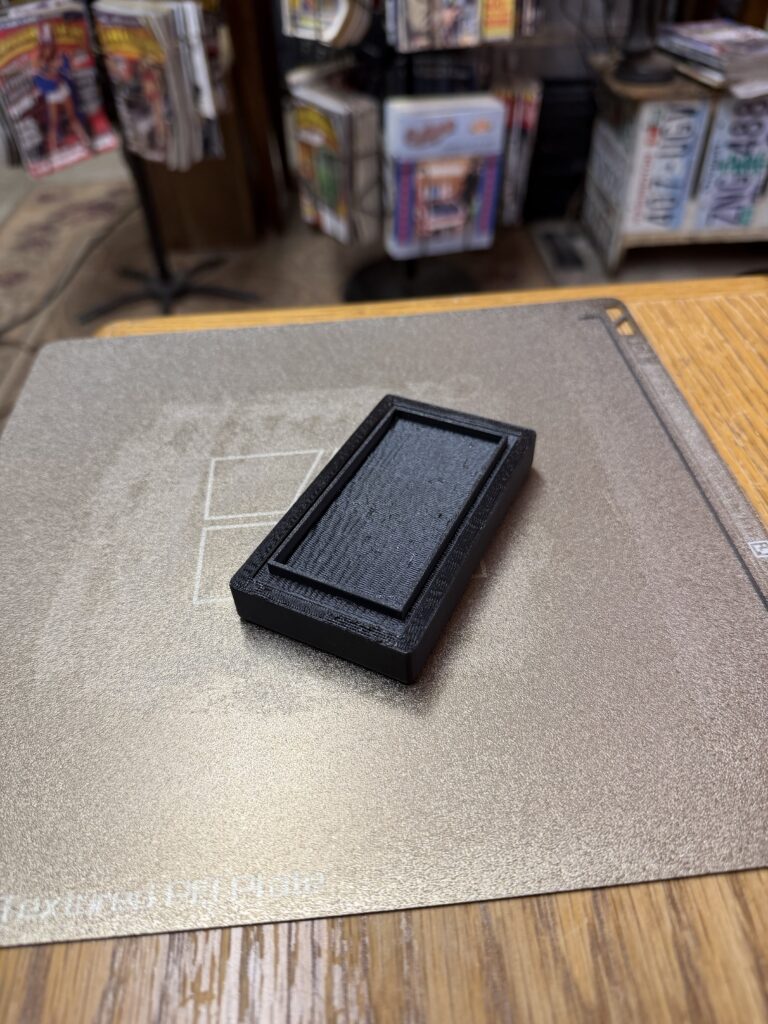
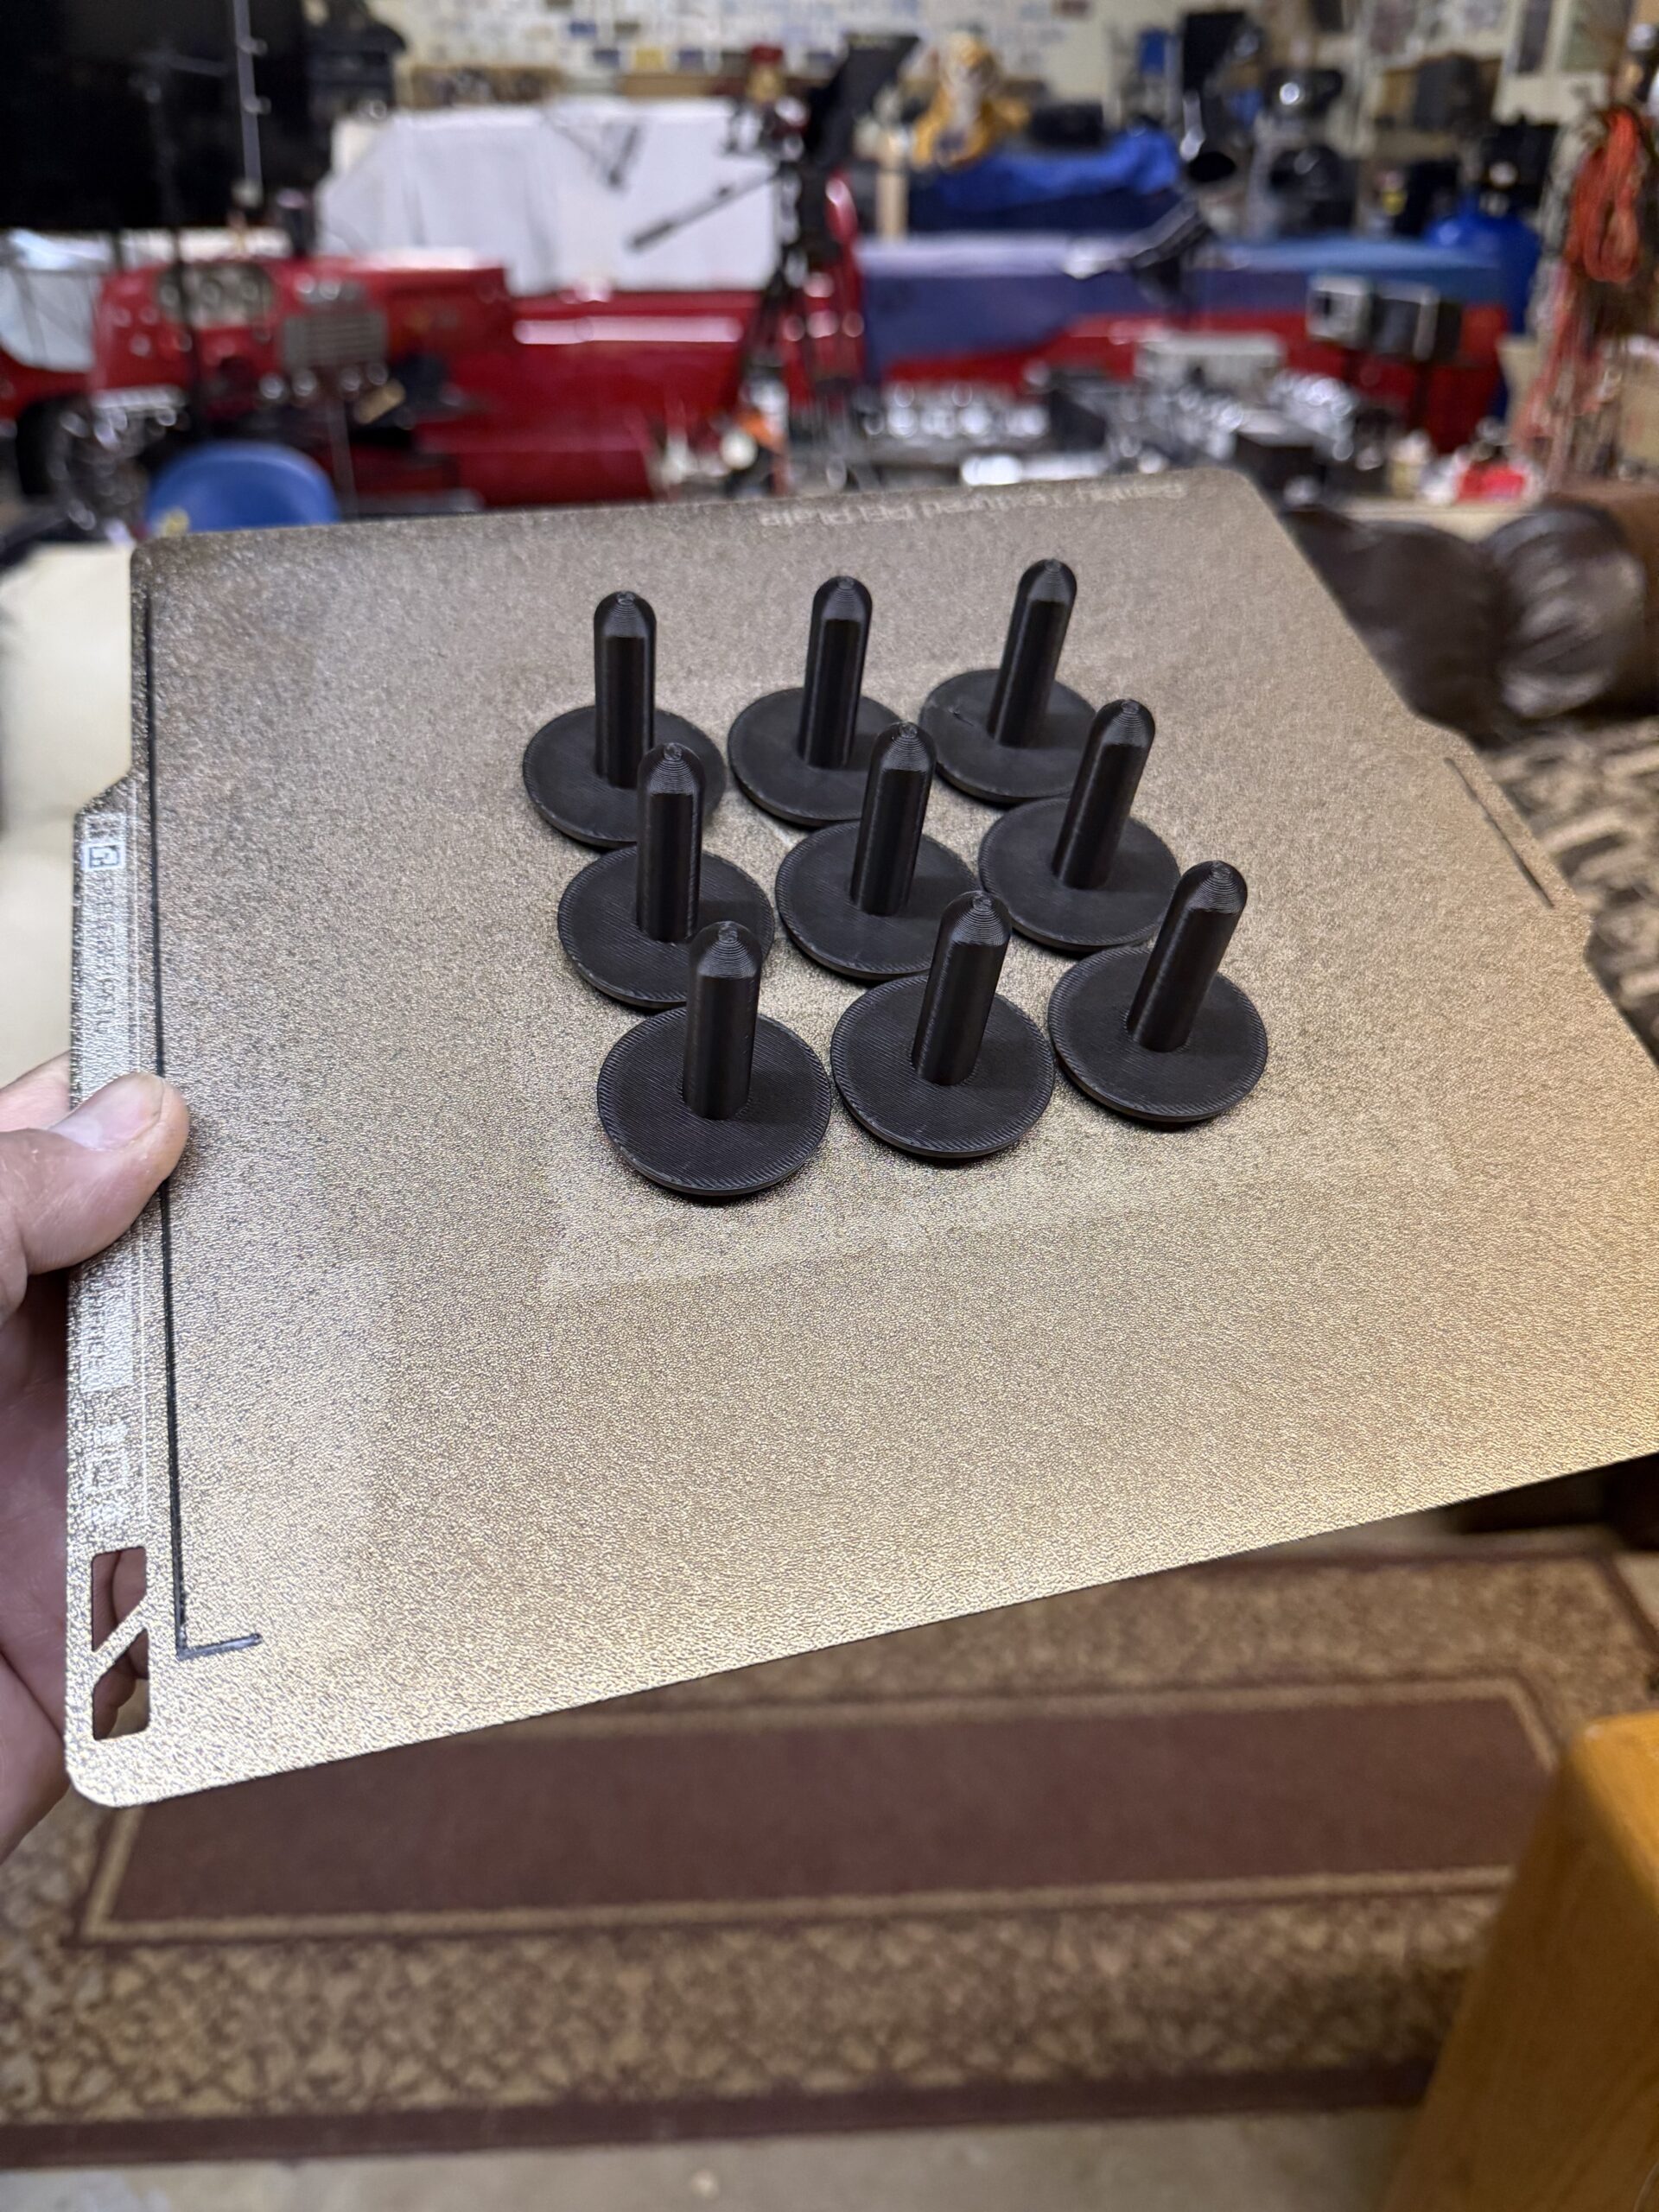
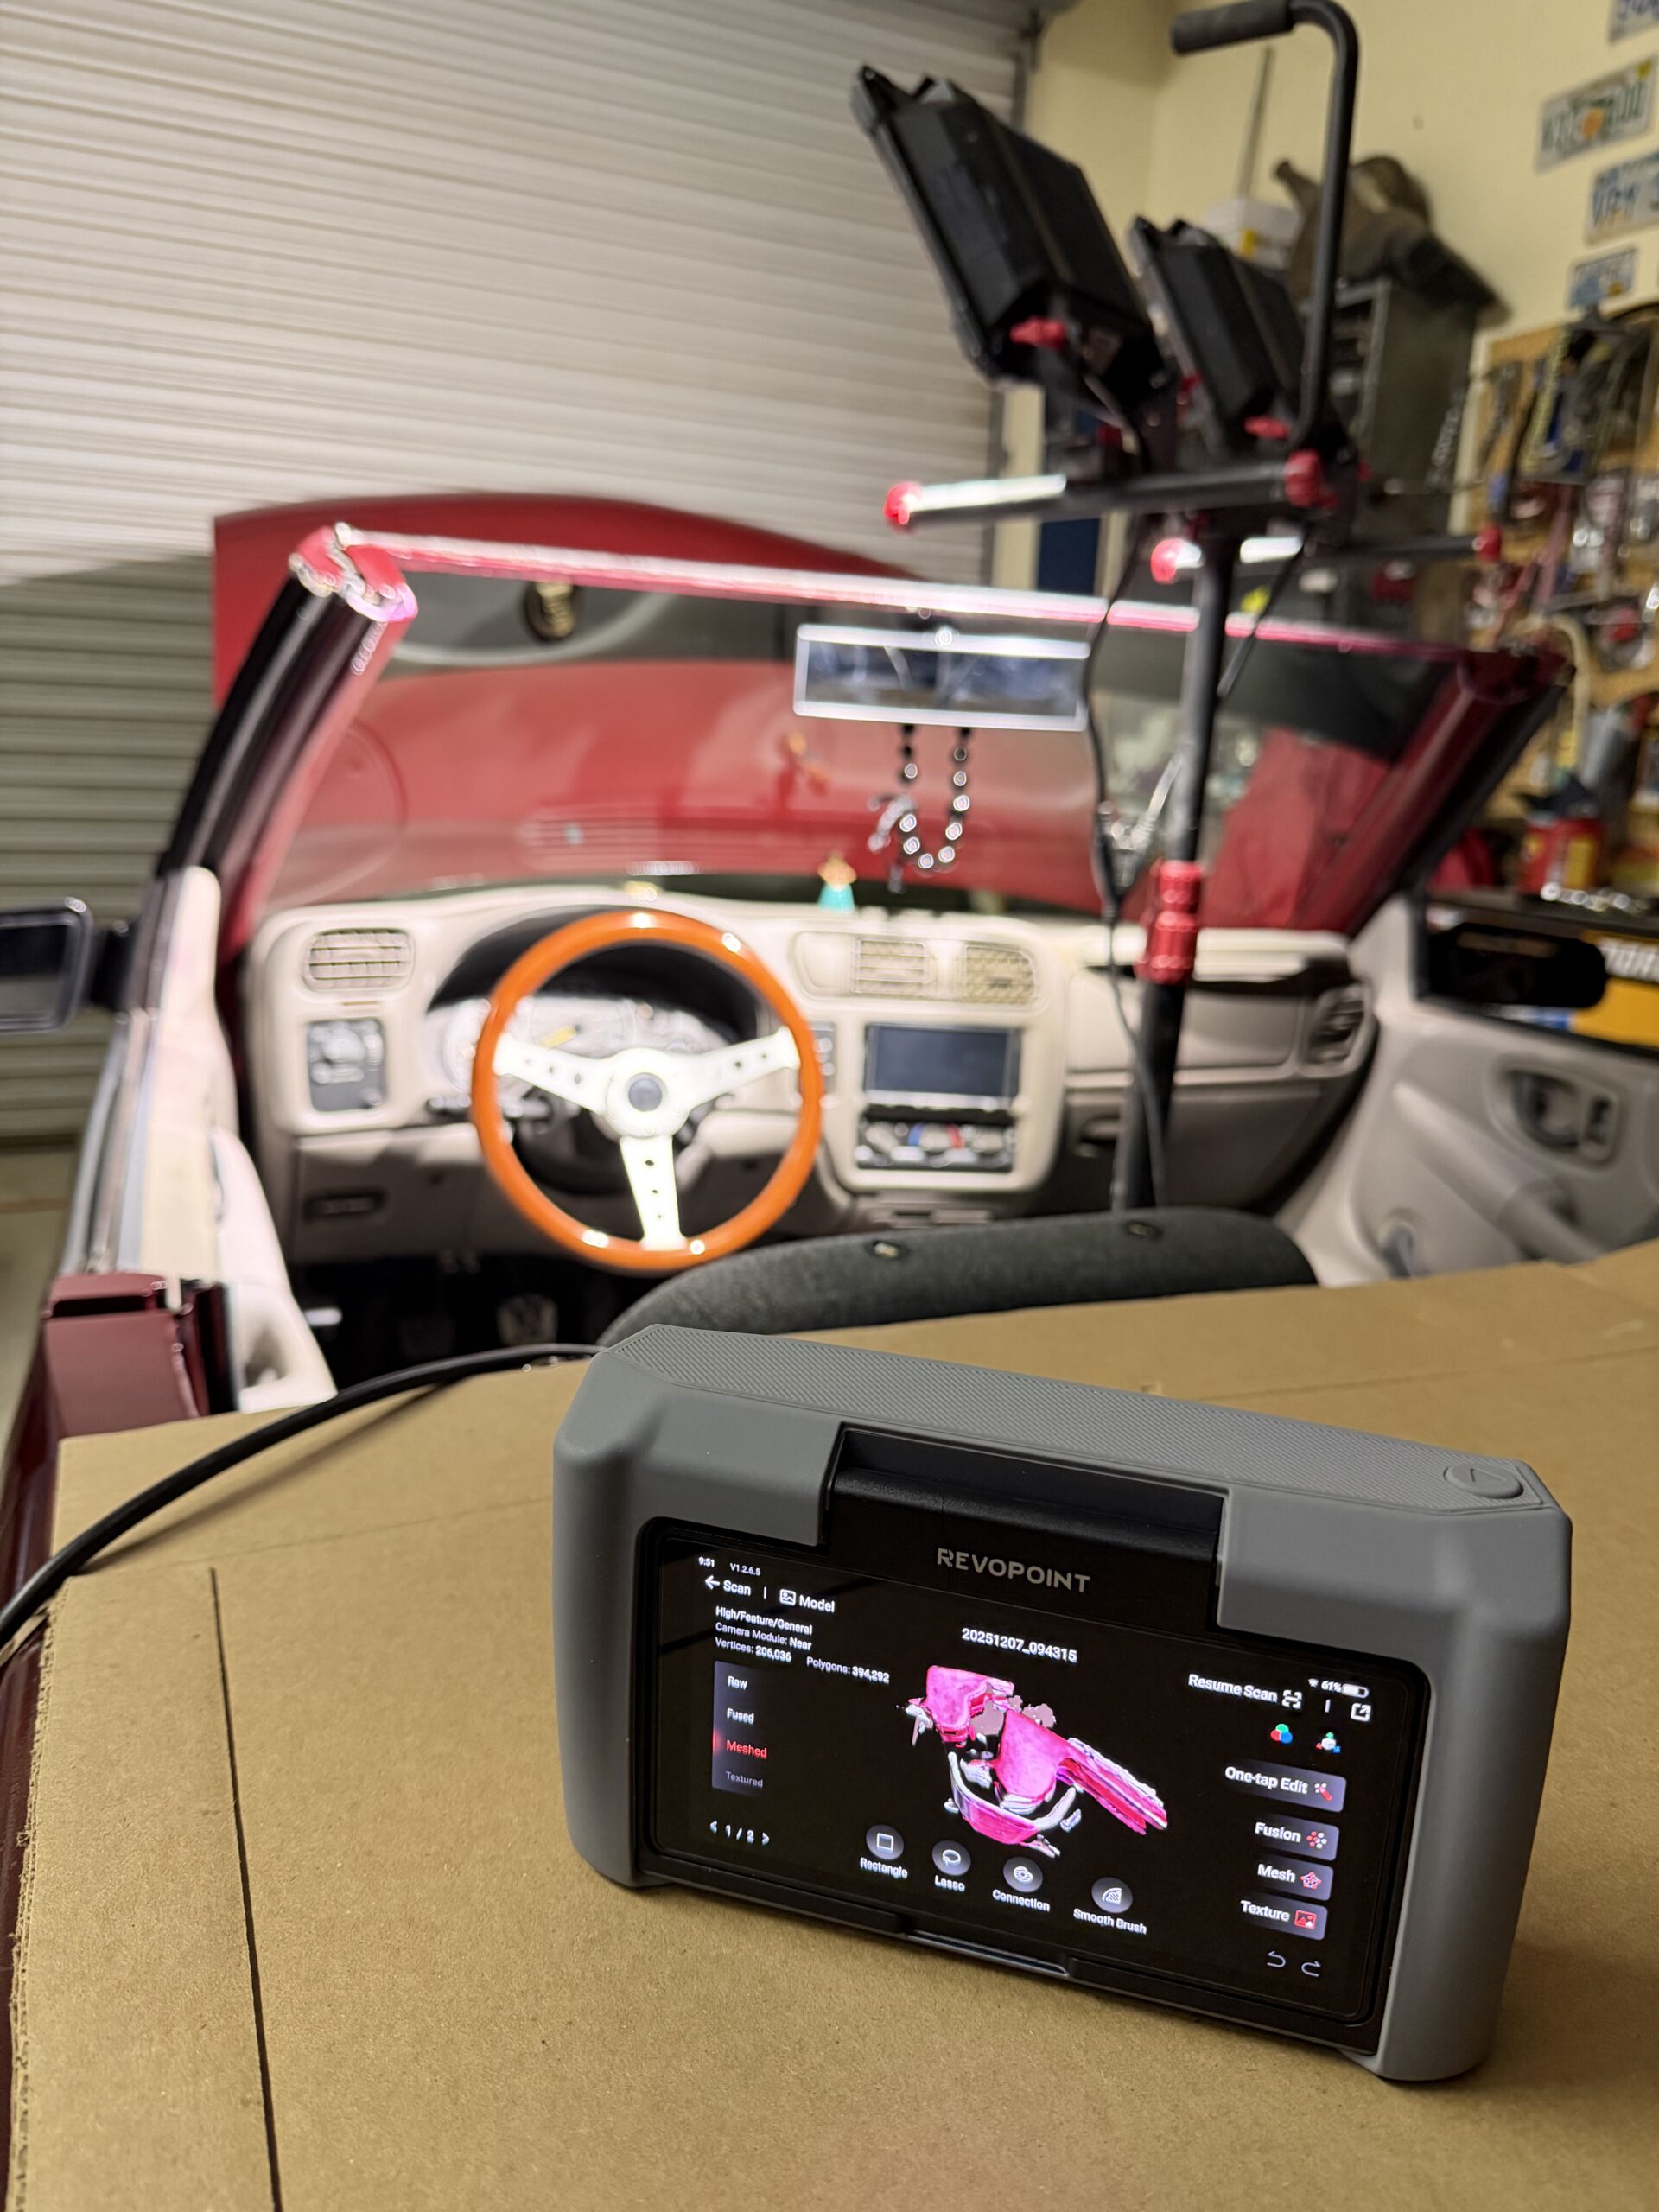
Having 3D printers makes it really convenient to come up with an idea and implement it quickly,
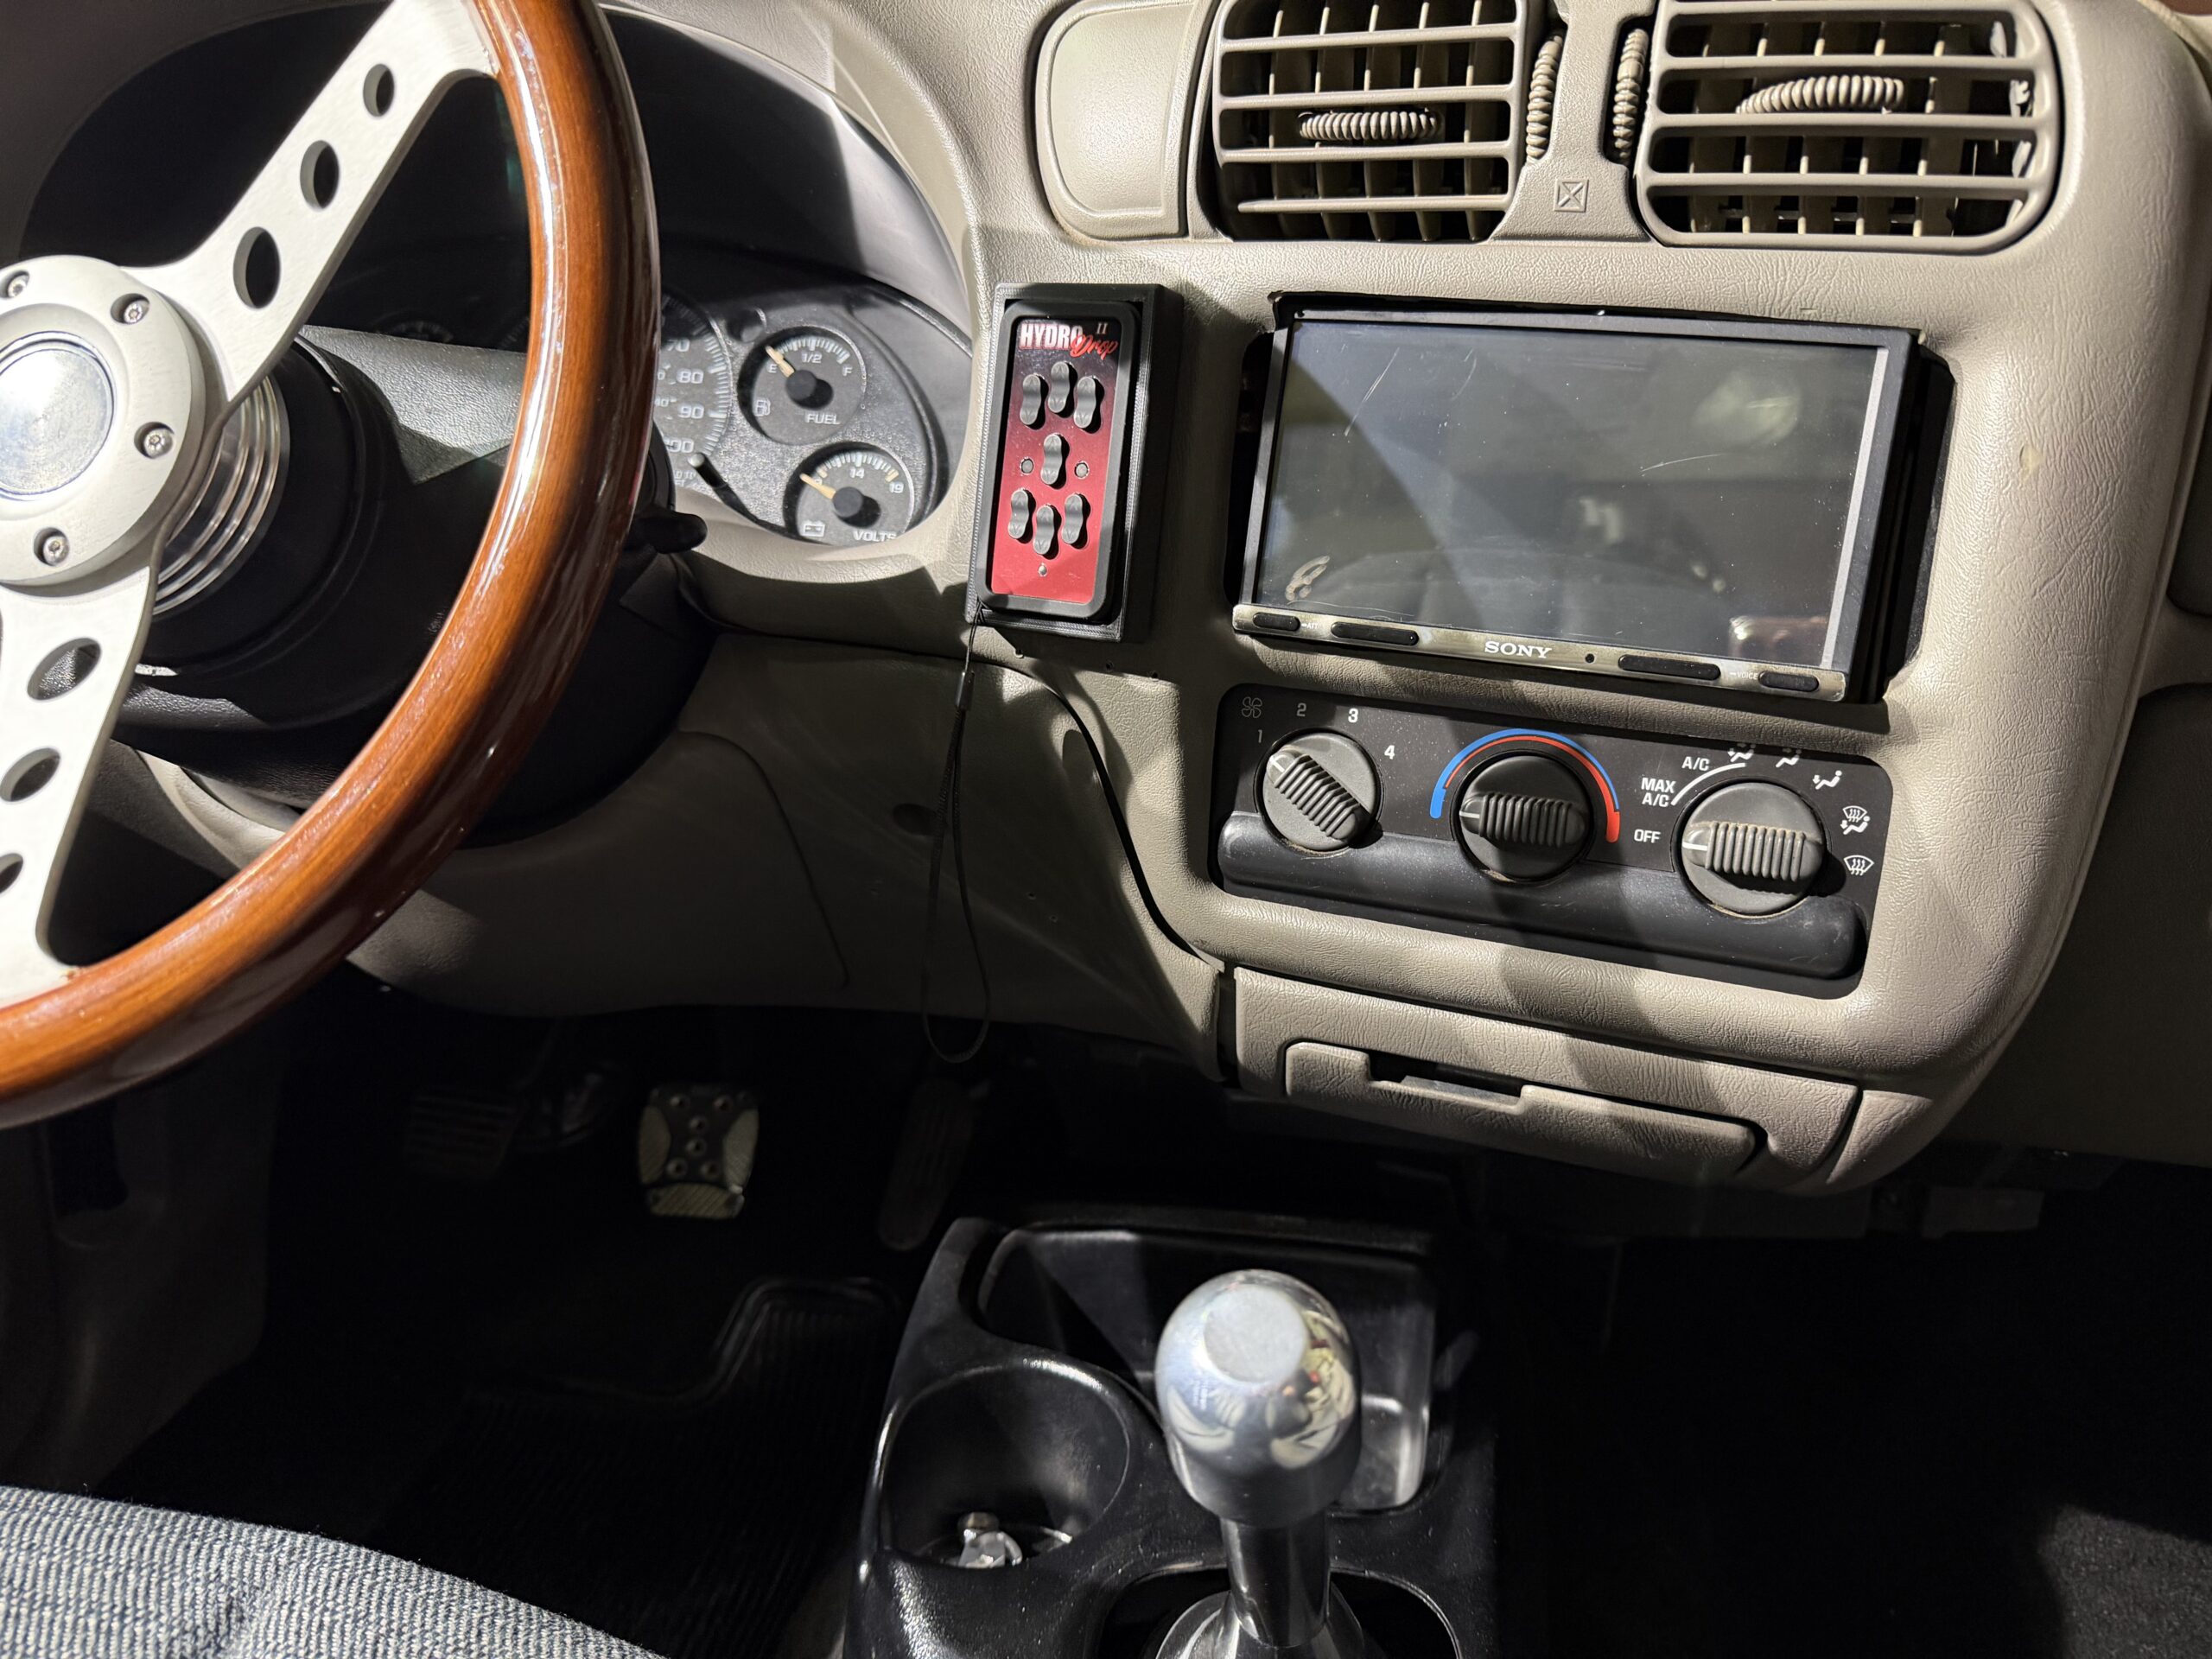
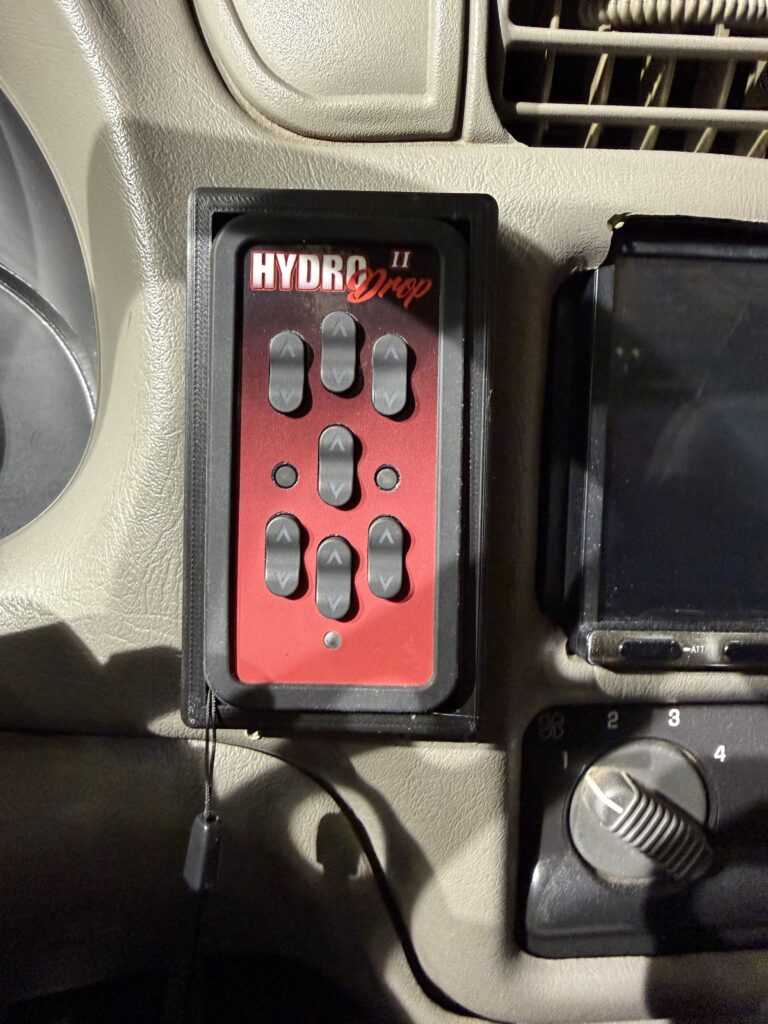
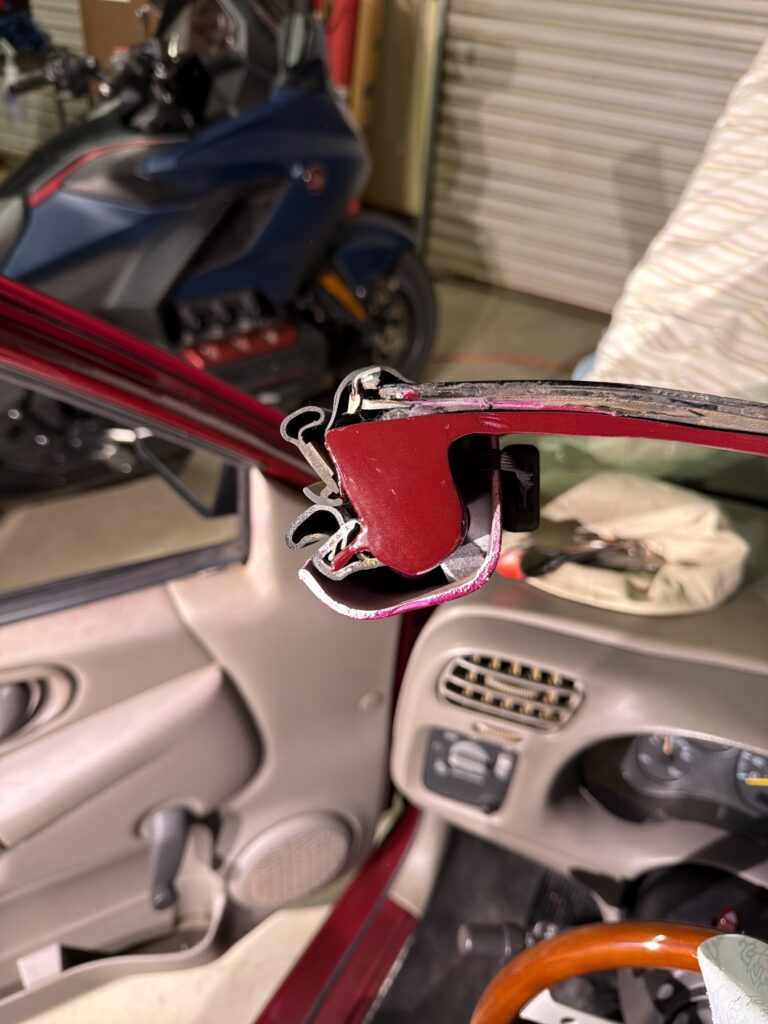
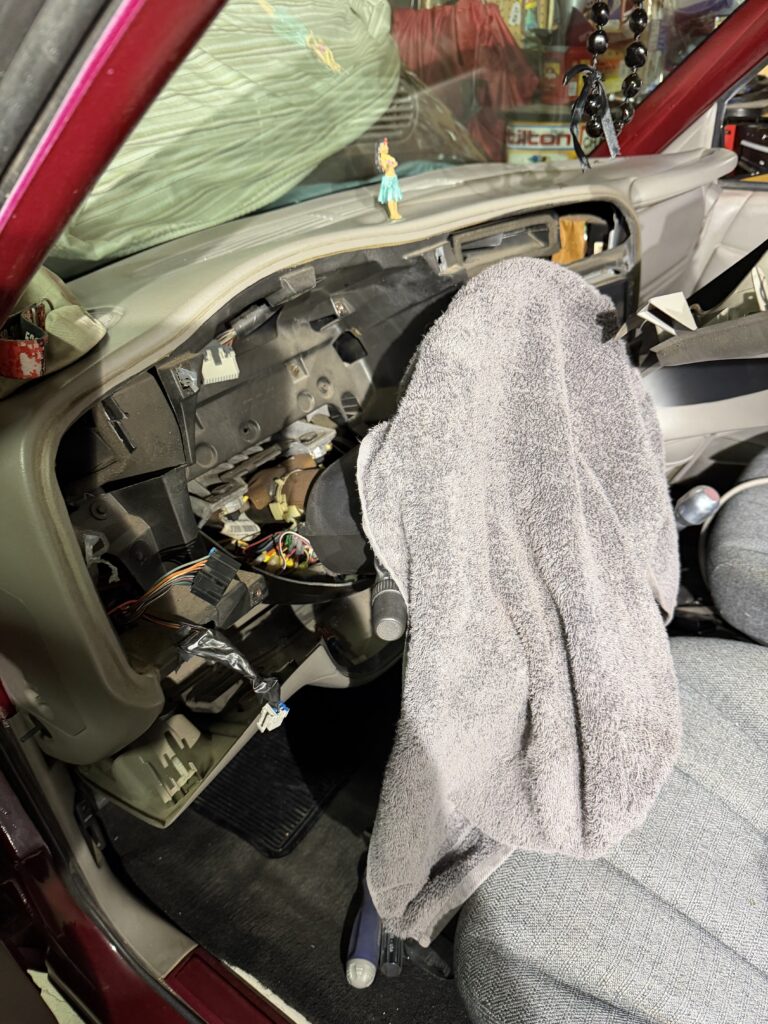
I needed a way to mount the wireless remote onto the dashboard for convenience and use. I removed the passenger air bag key section and installed the HDV2 mount
Just like that a solution to my needs was created.
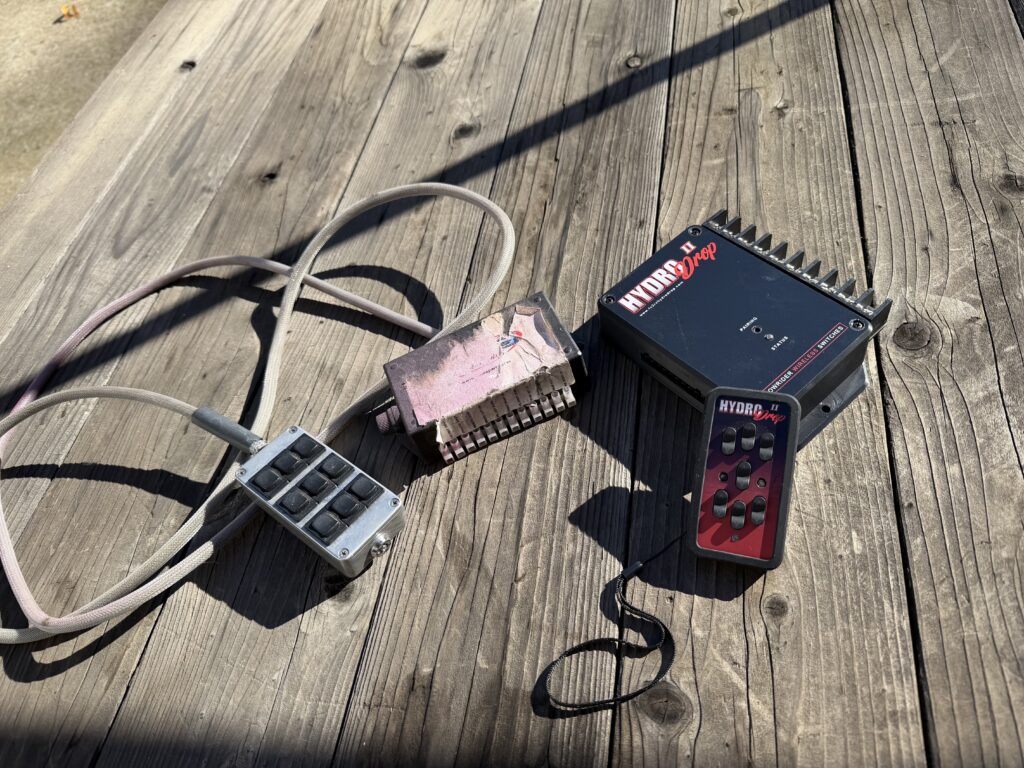
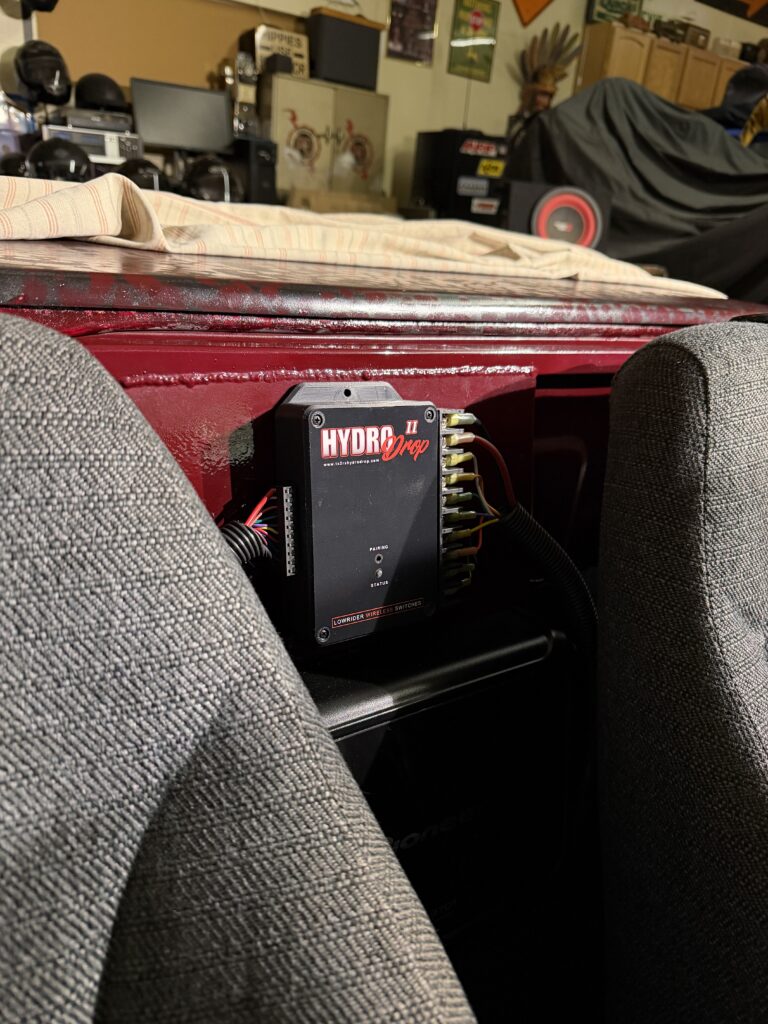
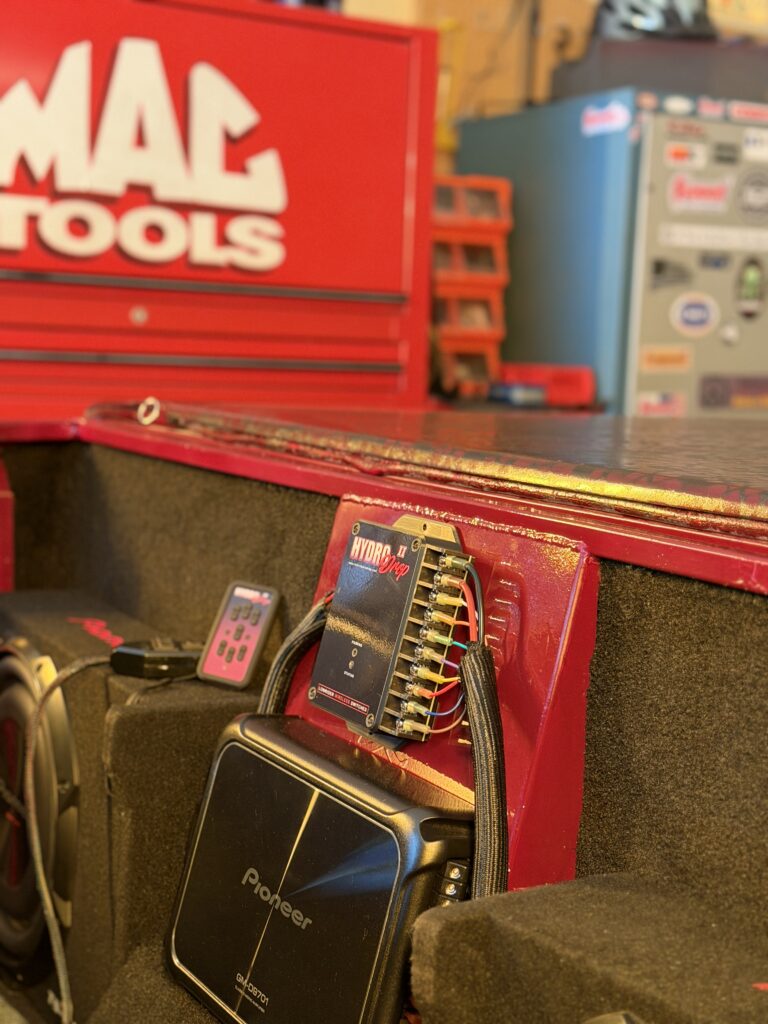
This is the primary reason I got the Sonoma Minitruck. To be able to install a HydroDrop Version II.
I had attempted to install HDV2 two weeks before the final install. I was having issues when trying to remotely operate the valves. When I pressed the remote the response was not what I expected.
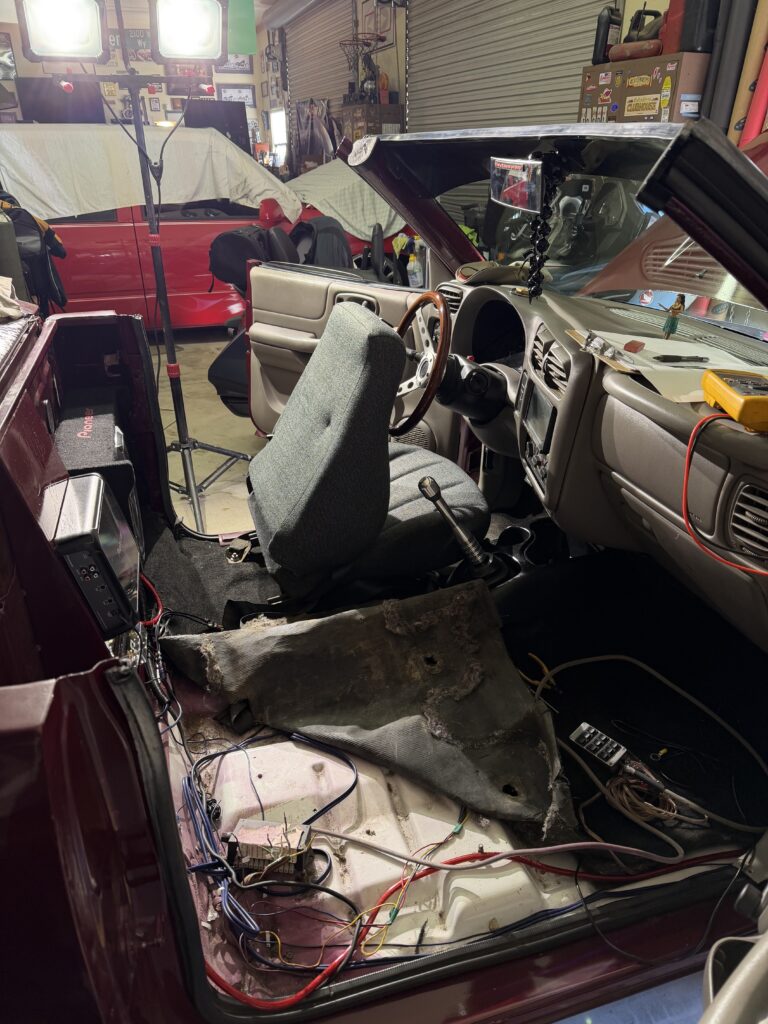
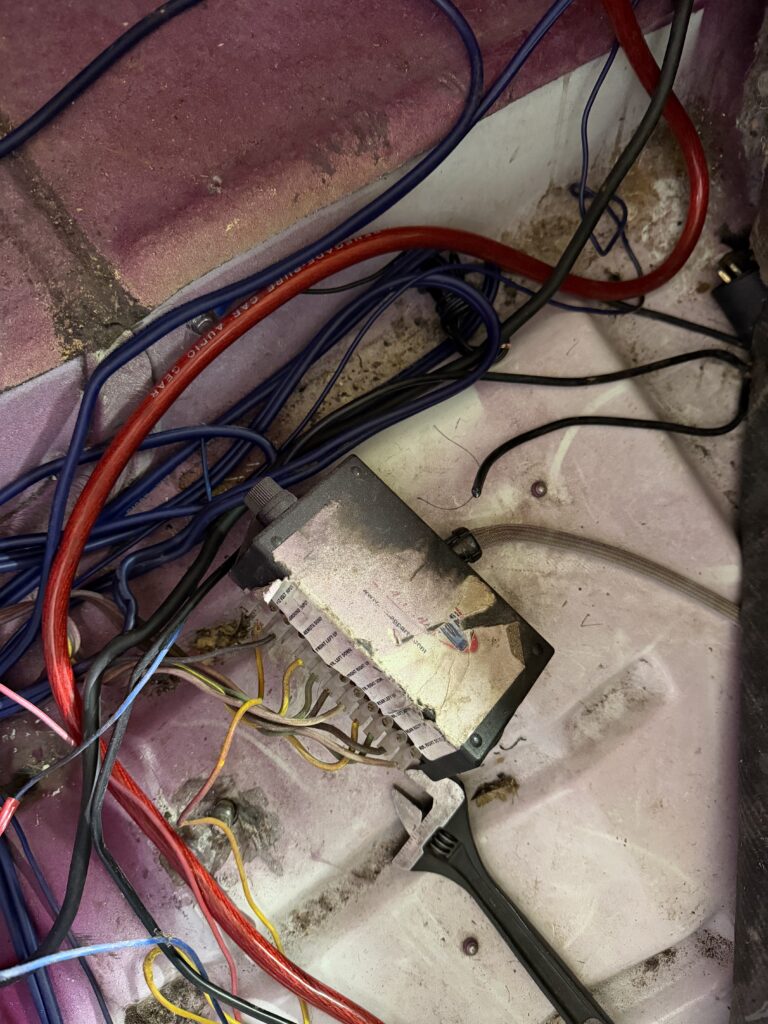
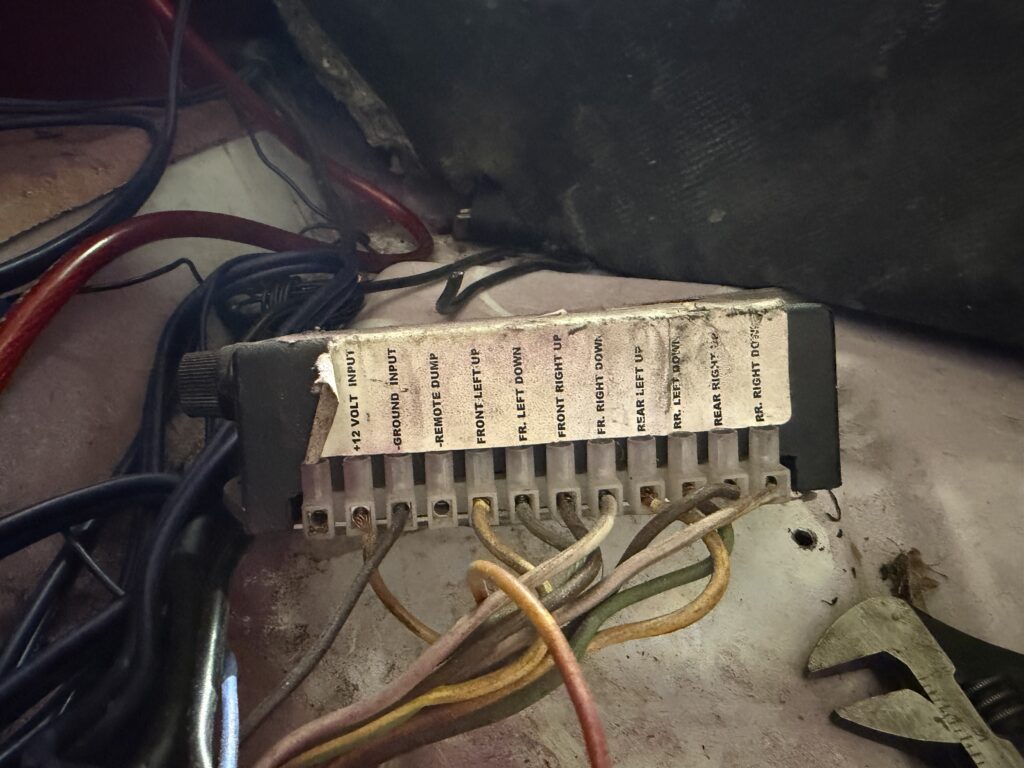
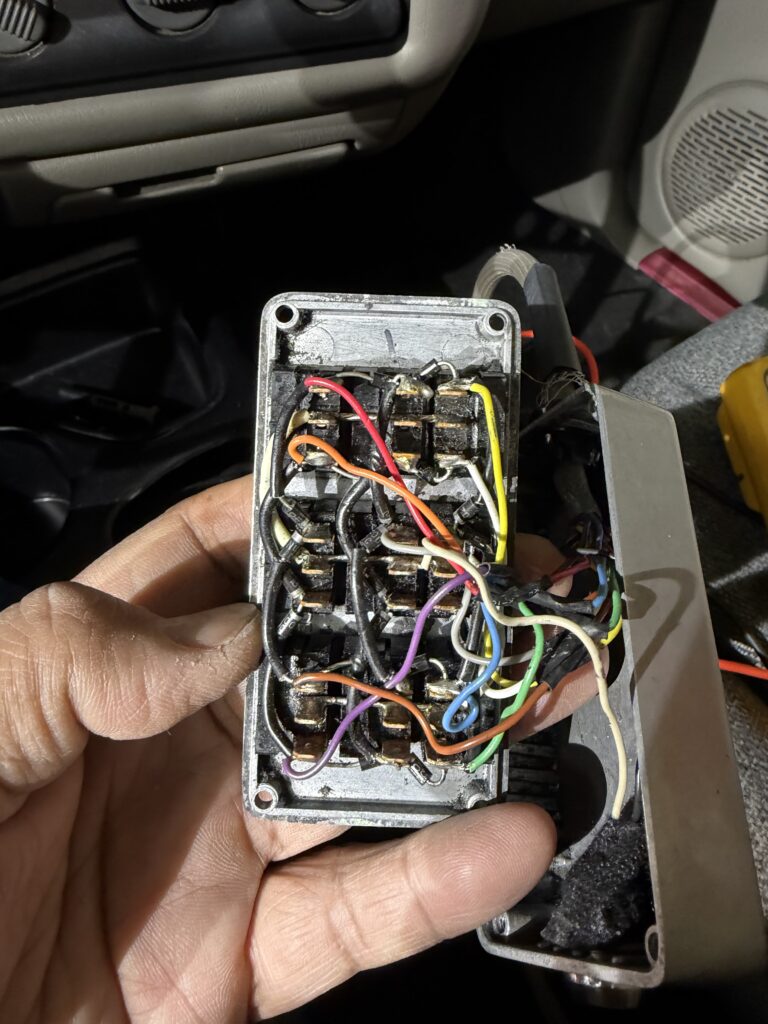
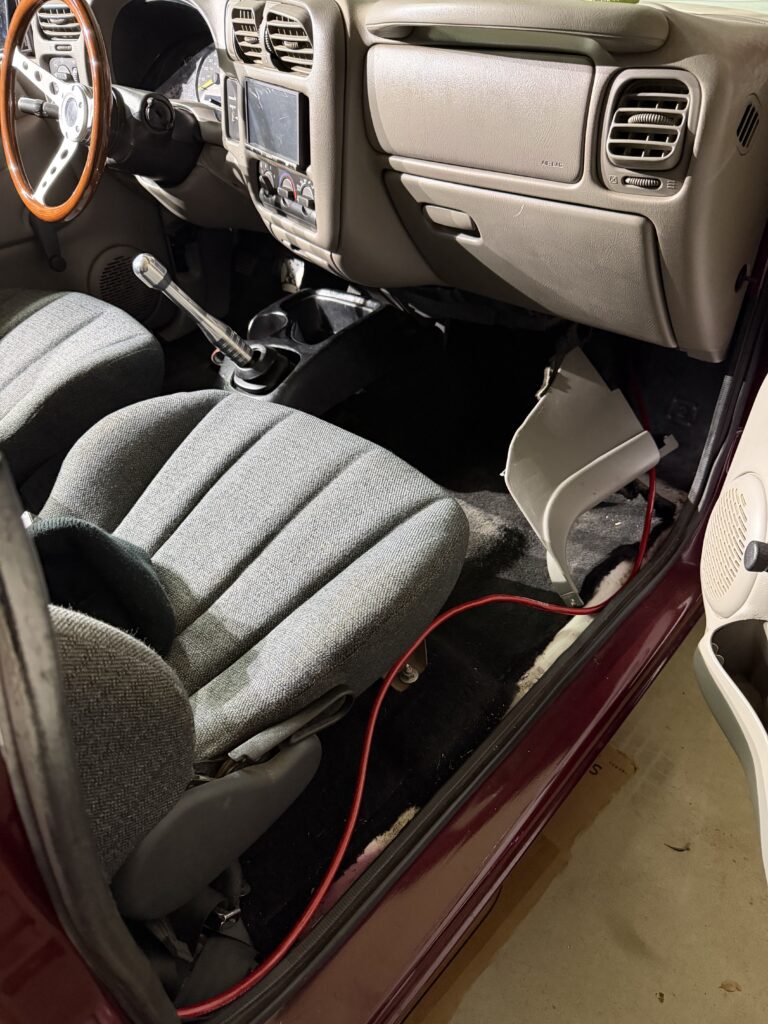
When I did the 2nd installation I removed the passenger seat so I could trace and visually see where all the wires went and how it interfaced with the GC350 quick valves. This is when I discovered that the 7 button wired controller did not connect directly to the valves. There was an interface control module in between the hand held wired remote and the valves.
This aftermarket AVS module was hidden below the seat under the carpet. I didn’t see this when I attempted the first installation.
As far as I can tell this module acted as a relay adding protection to the handheld button controller. The input to this module did not receive a standard +12VDC signal to activate the output. When HDV2 sent a signal the module did not recognize it and provided an incorrect response. Simple.
I replaced the old air ride control module with the HDV2 and remote. I also added an AVS handheld 7-button controller for manual use and to demonstrate you can still use a wired controller with the wireless controller.
What a difference in functionality and appearance.
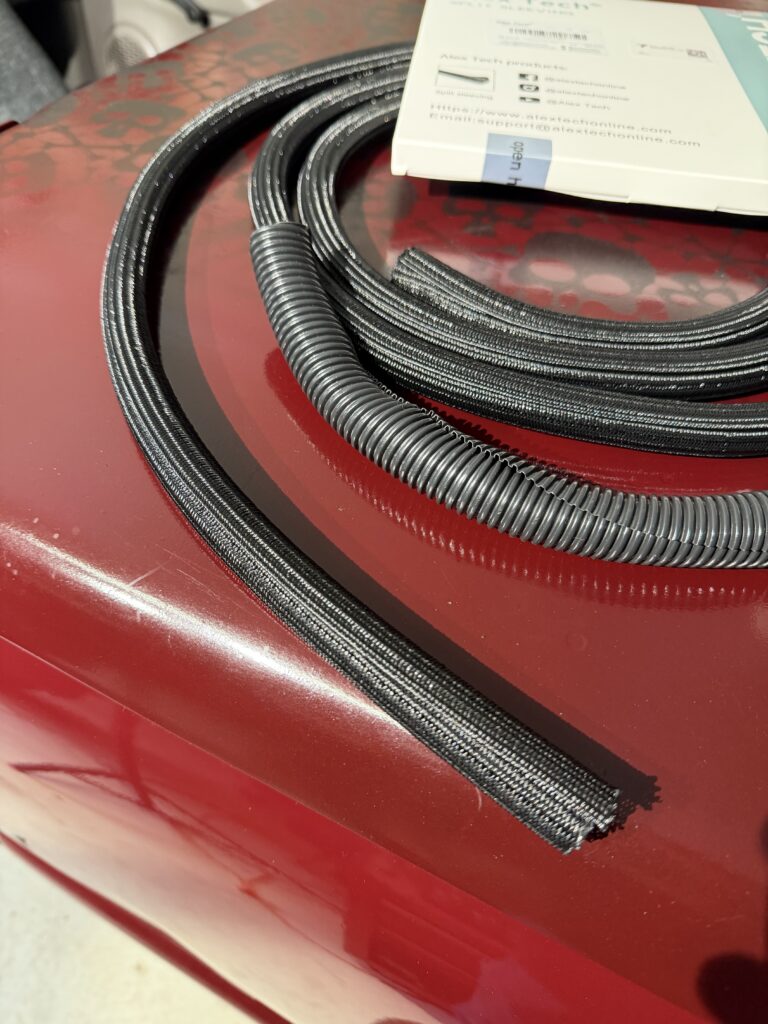
I did more cleanup using another “wrap” for the wires. The previous type looked old, this one is more modern and functional.
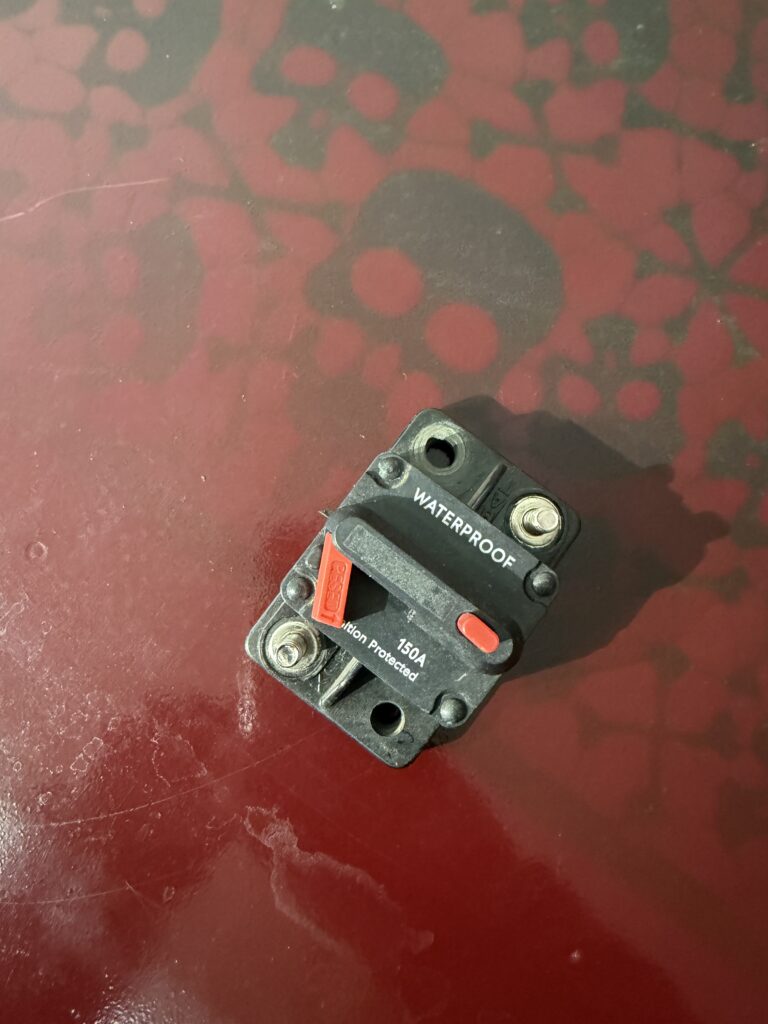
The circuit breaker for the air ride compressors seemed to have failed at one point, I replaced it.
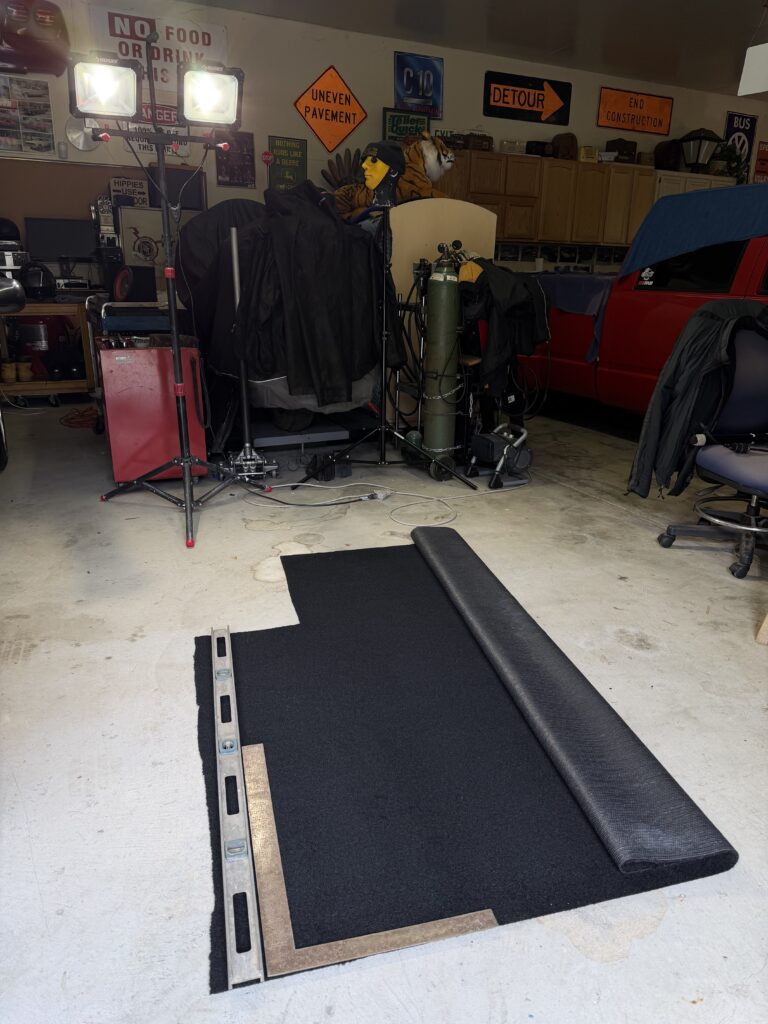
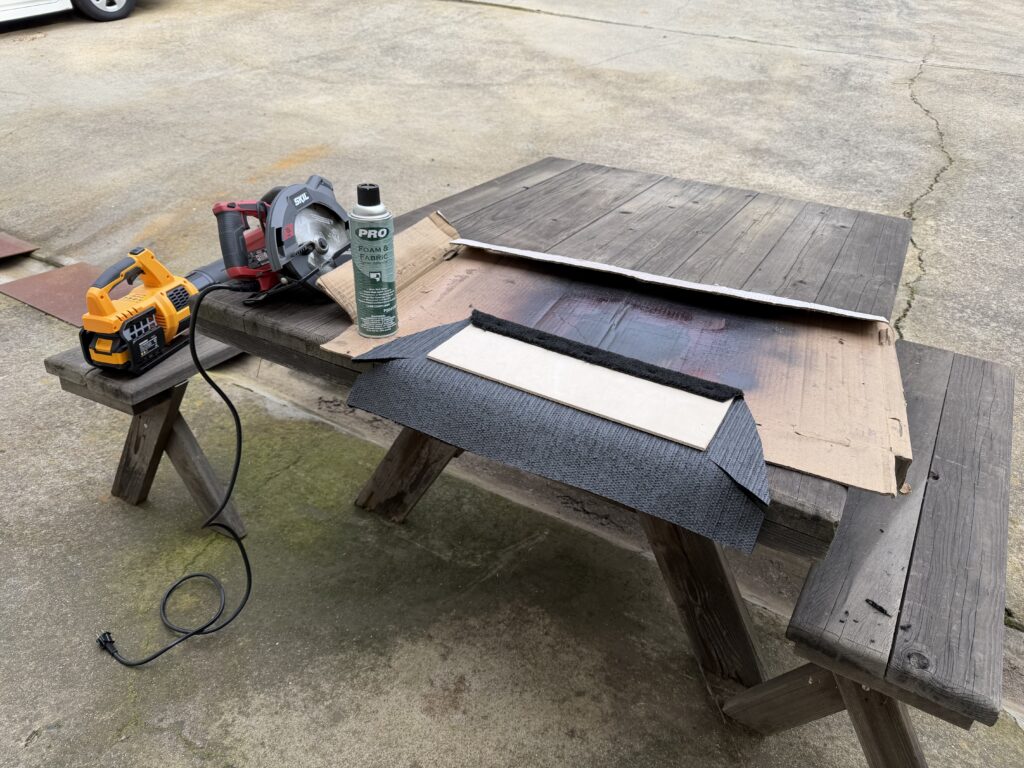
I grabbed carpet material from my favorite place at Morgan Fabrics located in Stockton CA. They have a large selection of just about every type of material you need.
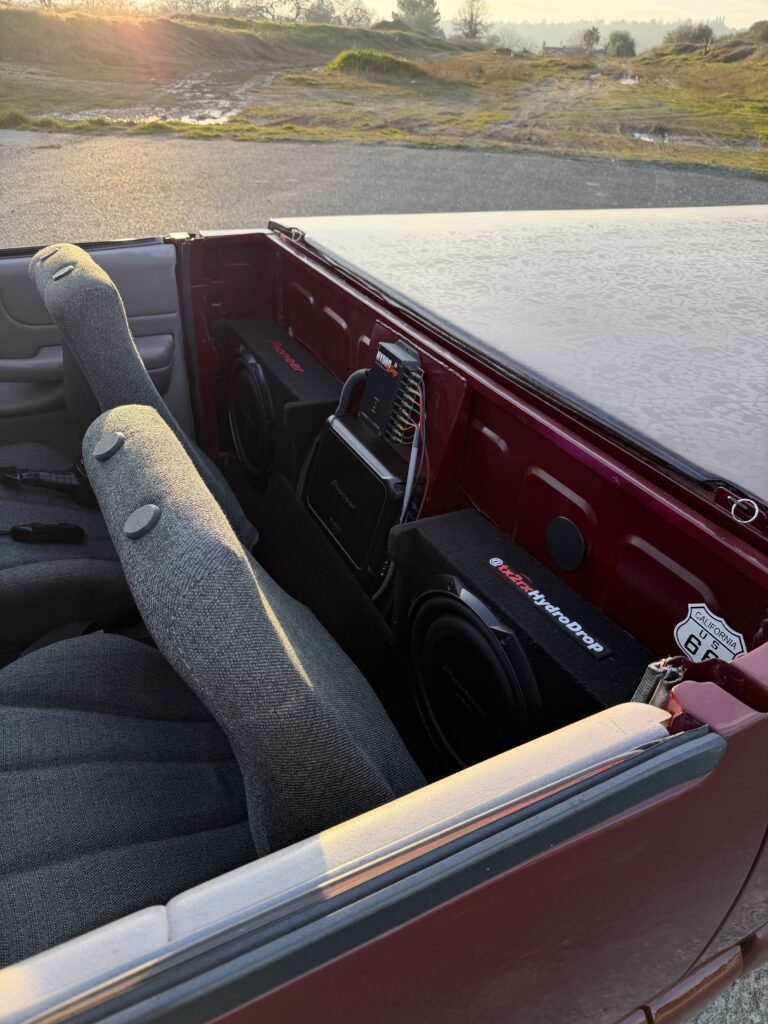
I carpeted the rear area where the subwoofers and HDV2 is located. The material is marine grade but the equipment is not. I better not get caught in the rain.
It is safe to say that I am the only Minitruck controlling its suspension using HydroDrop II. On the otherhand, Minitruck Bed Dancers are using HDV2. One of them is using the HydroDrop II model. The rest are using HydroDrop Version 1.
You can check out more videos on HDV2 at our website www.tx2rxHydroDrop.com
The Sony Stereo that came with the car is a decent head unit for what intend to use it for. The 4 mid-sized speakers are not stock, they have been replaced at some point in the trucks life.
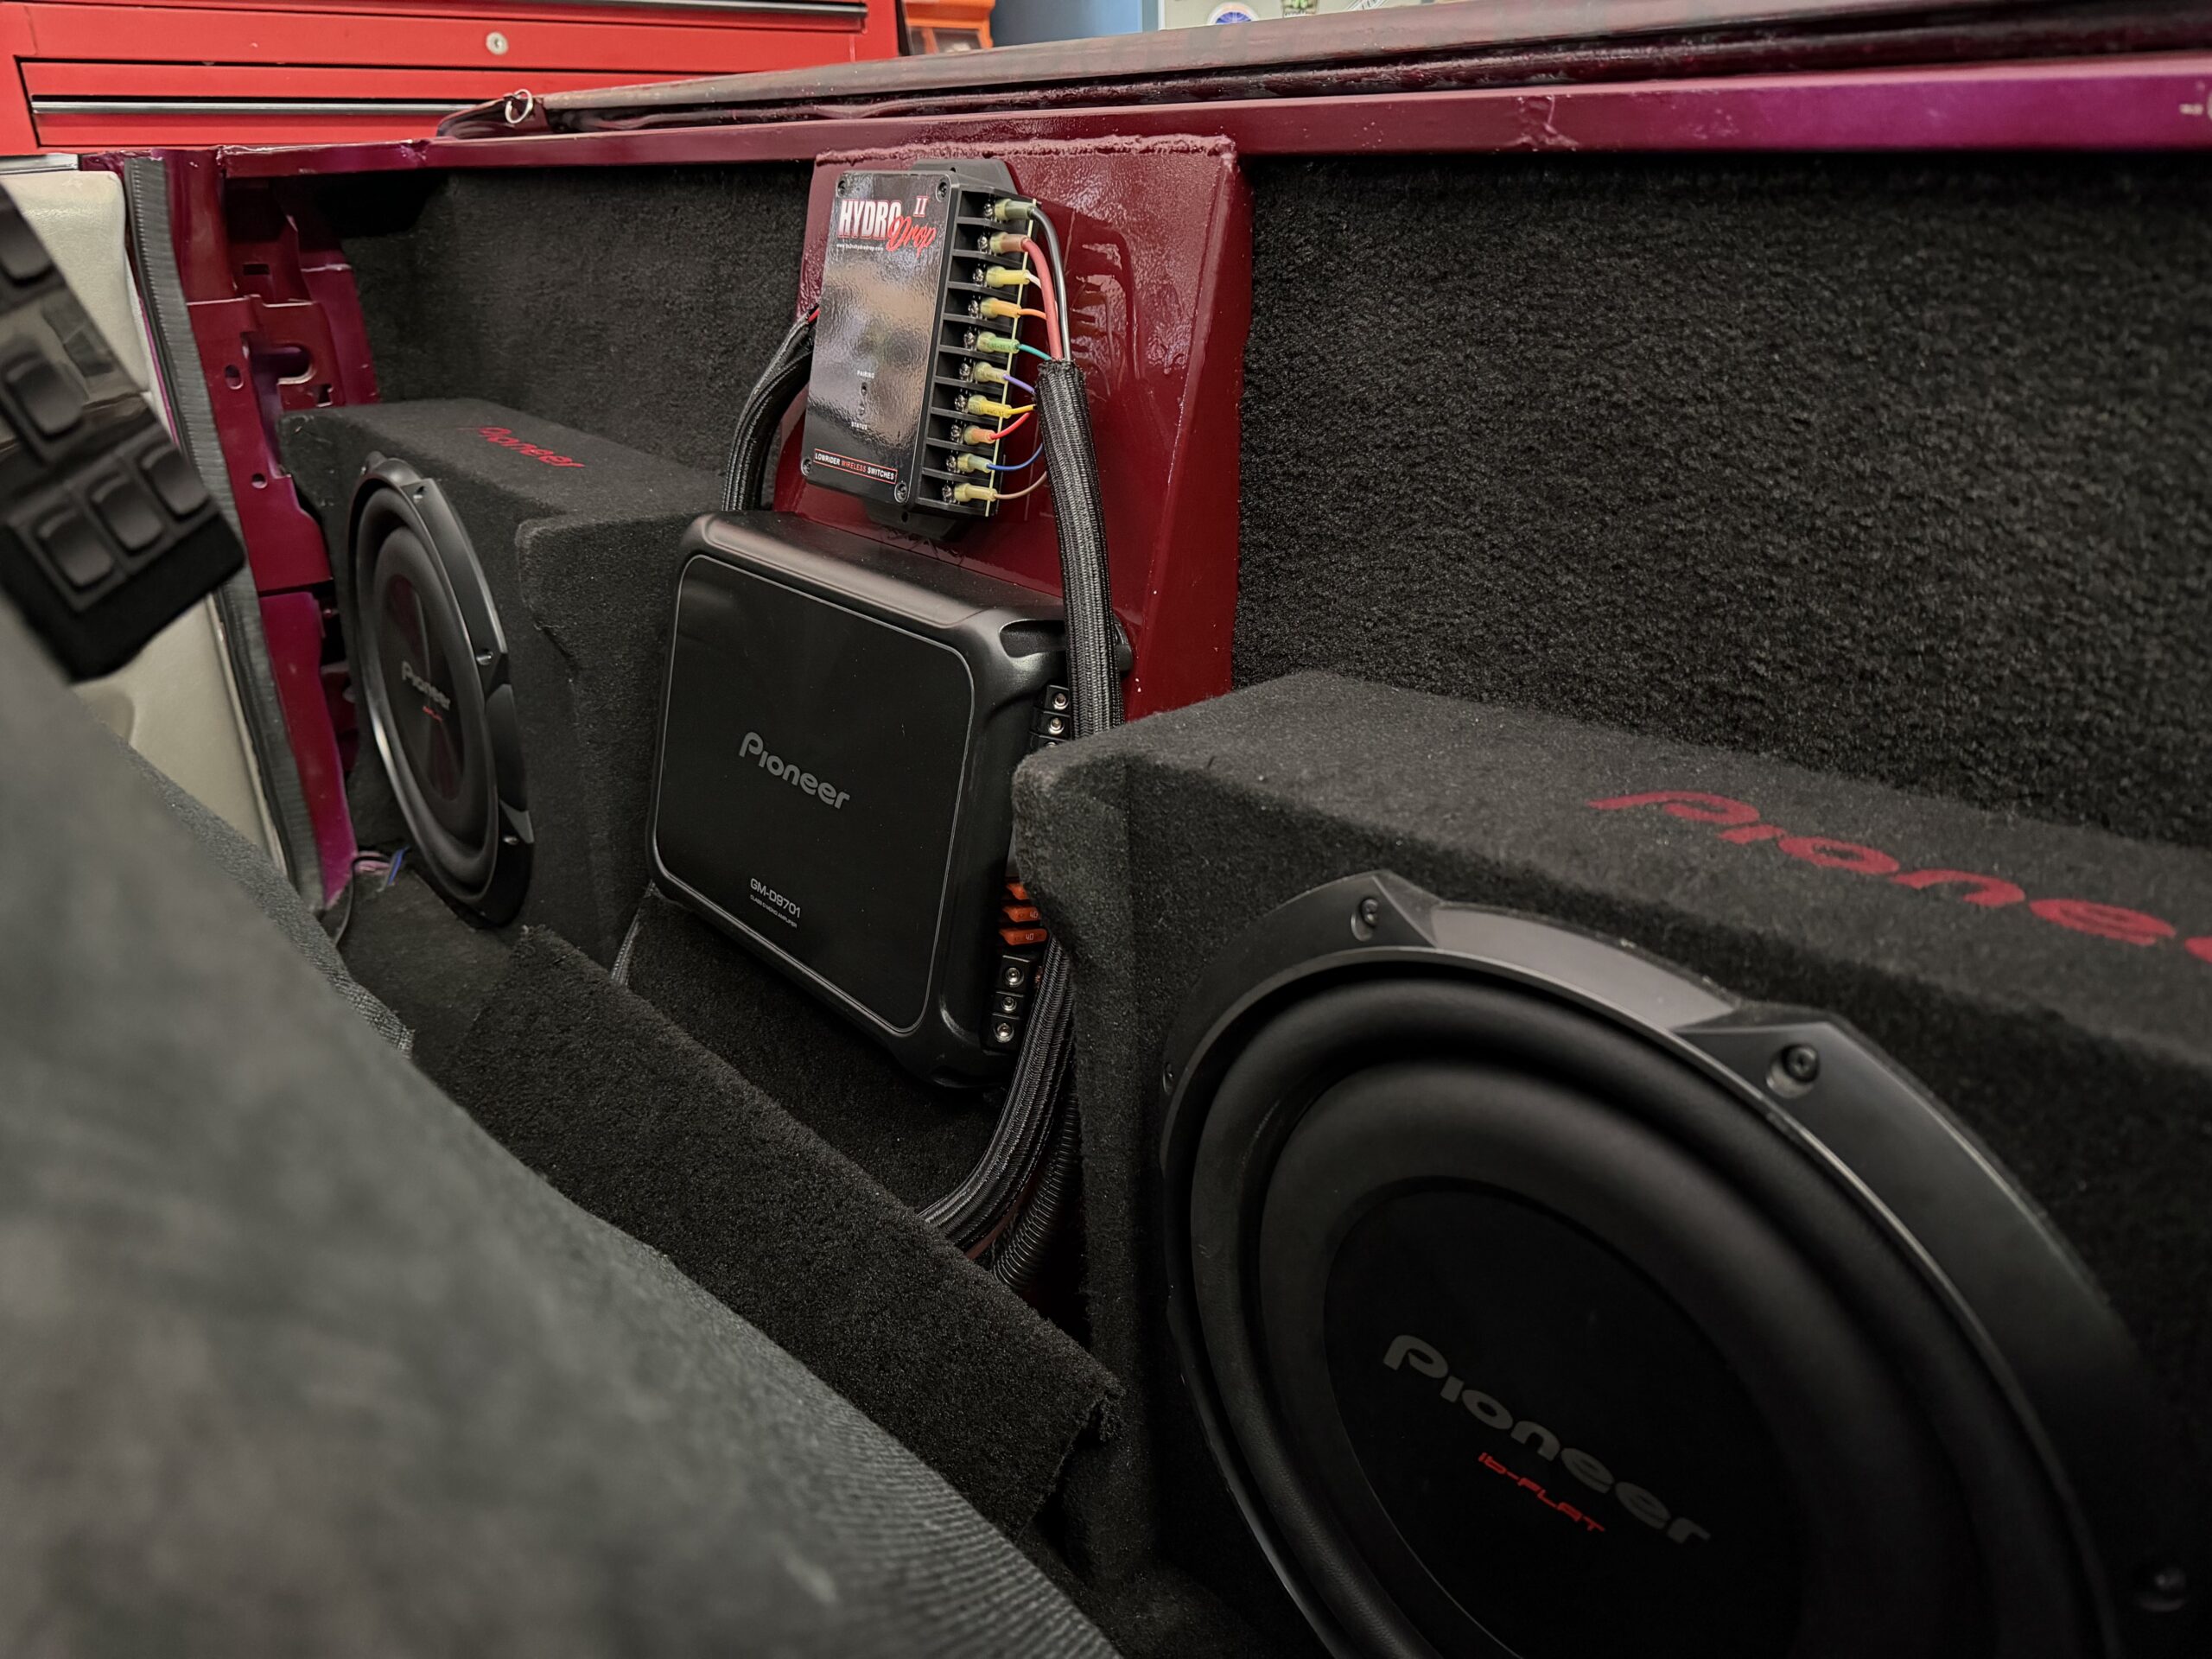
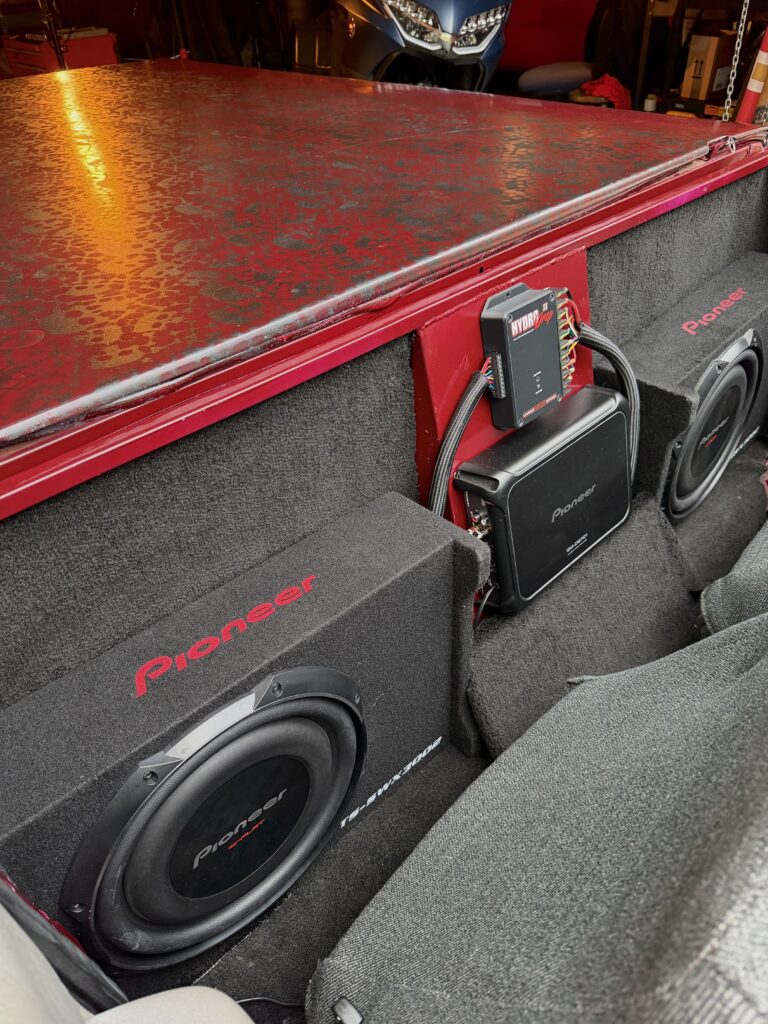
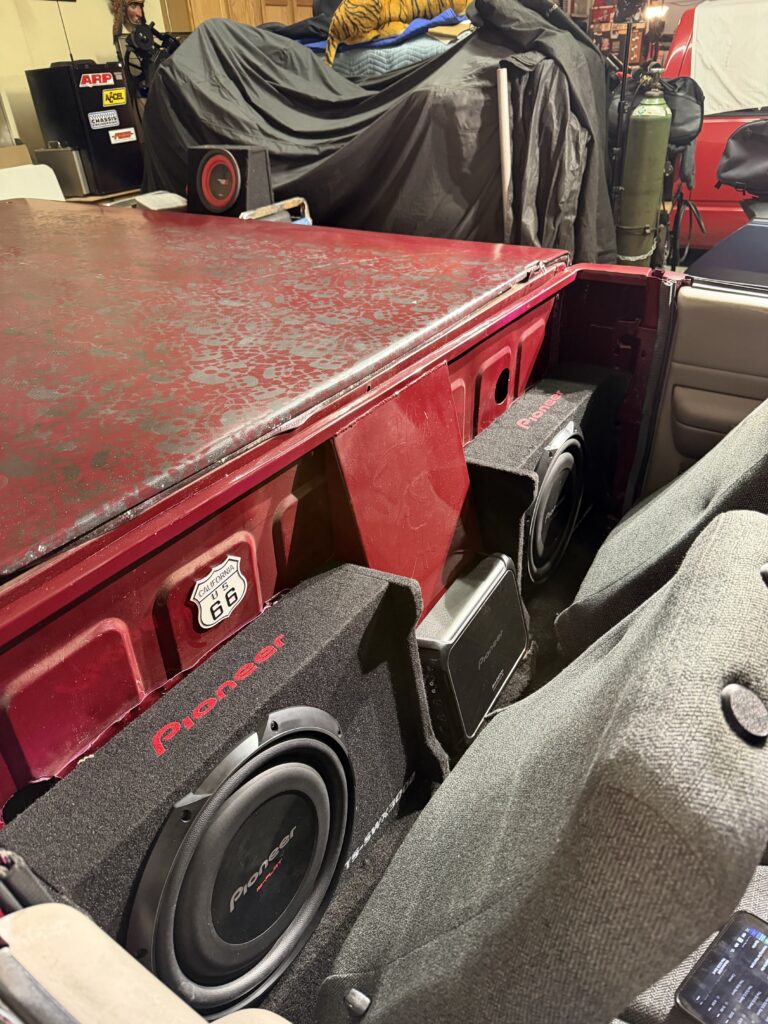
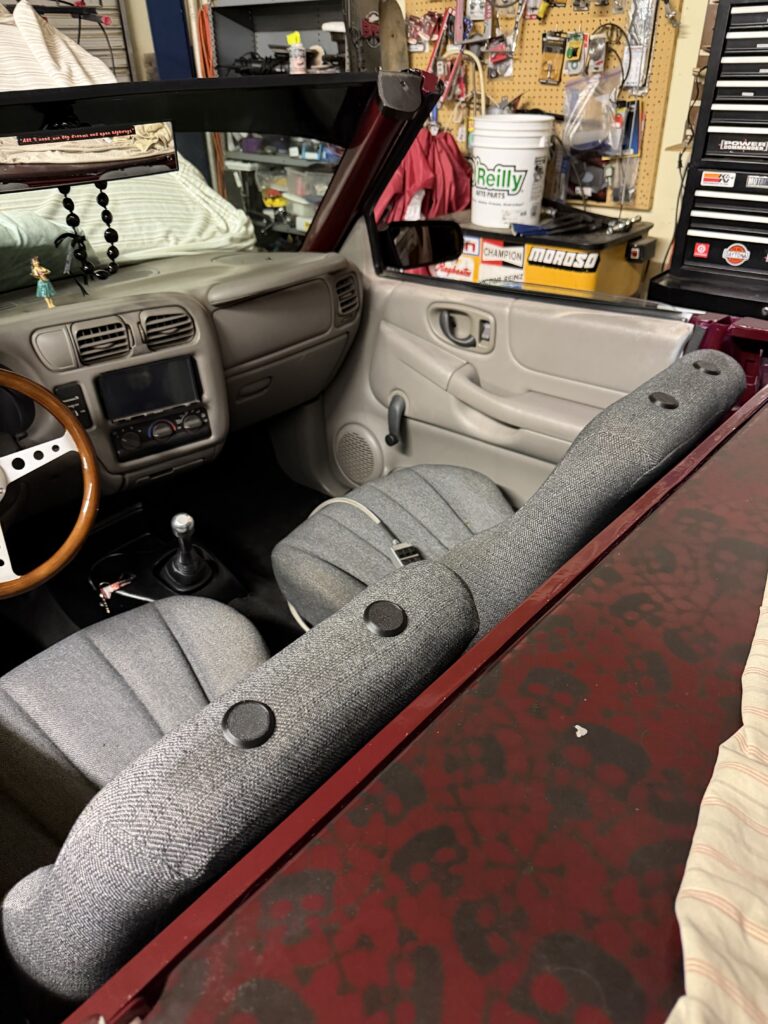
What is lacking is the bass tone. I decided to go with the largest tuned box I could fit behind the seat. This itself is a challenge due to the reinforcement metal that was used to brace the cab rear section. A “triangle” metal brace and plate was fabricated in the center to add structure strength and eliminate sheet metal flex. There is also a 1/2″ tubes used to frame the upper part of the cab box.
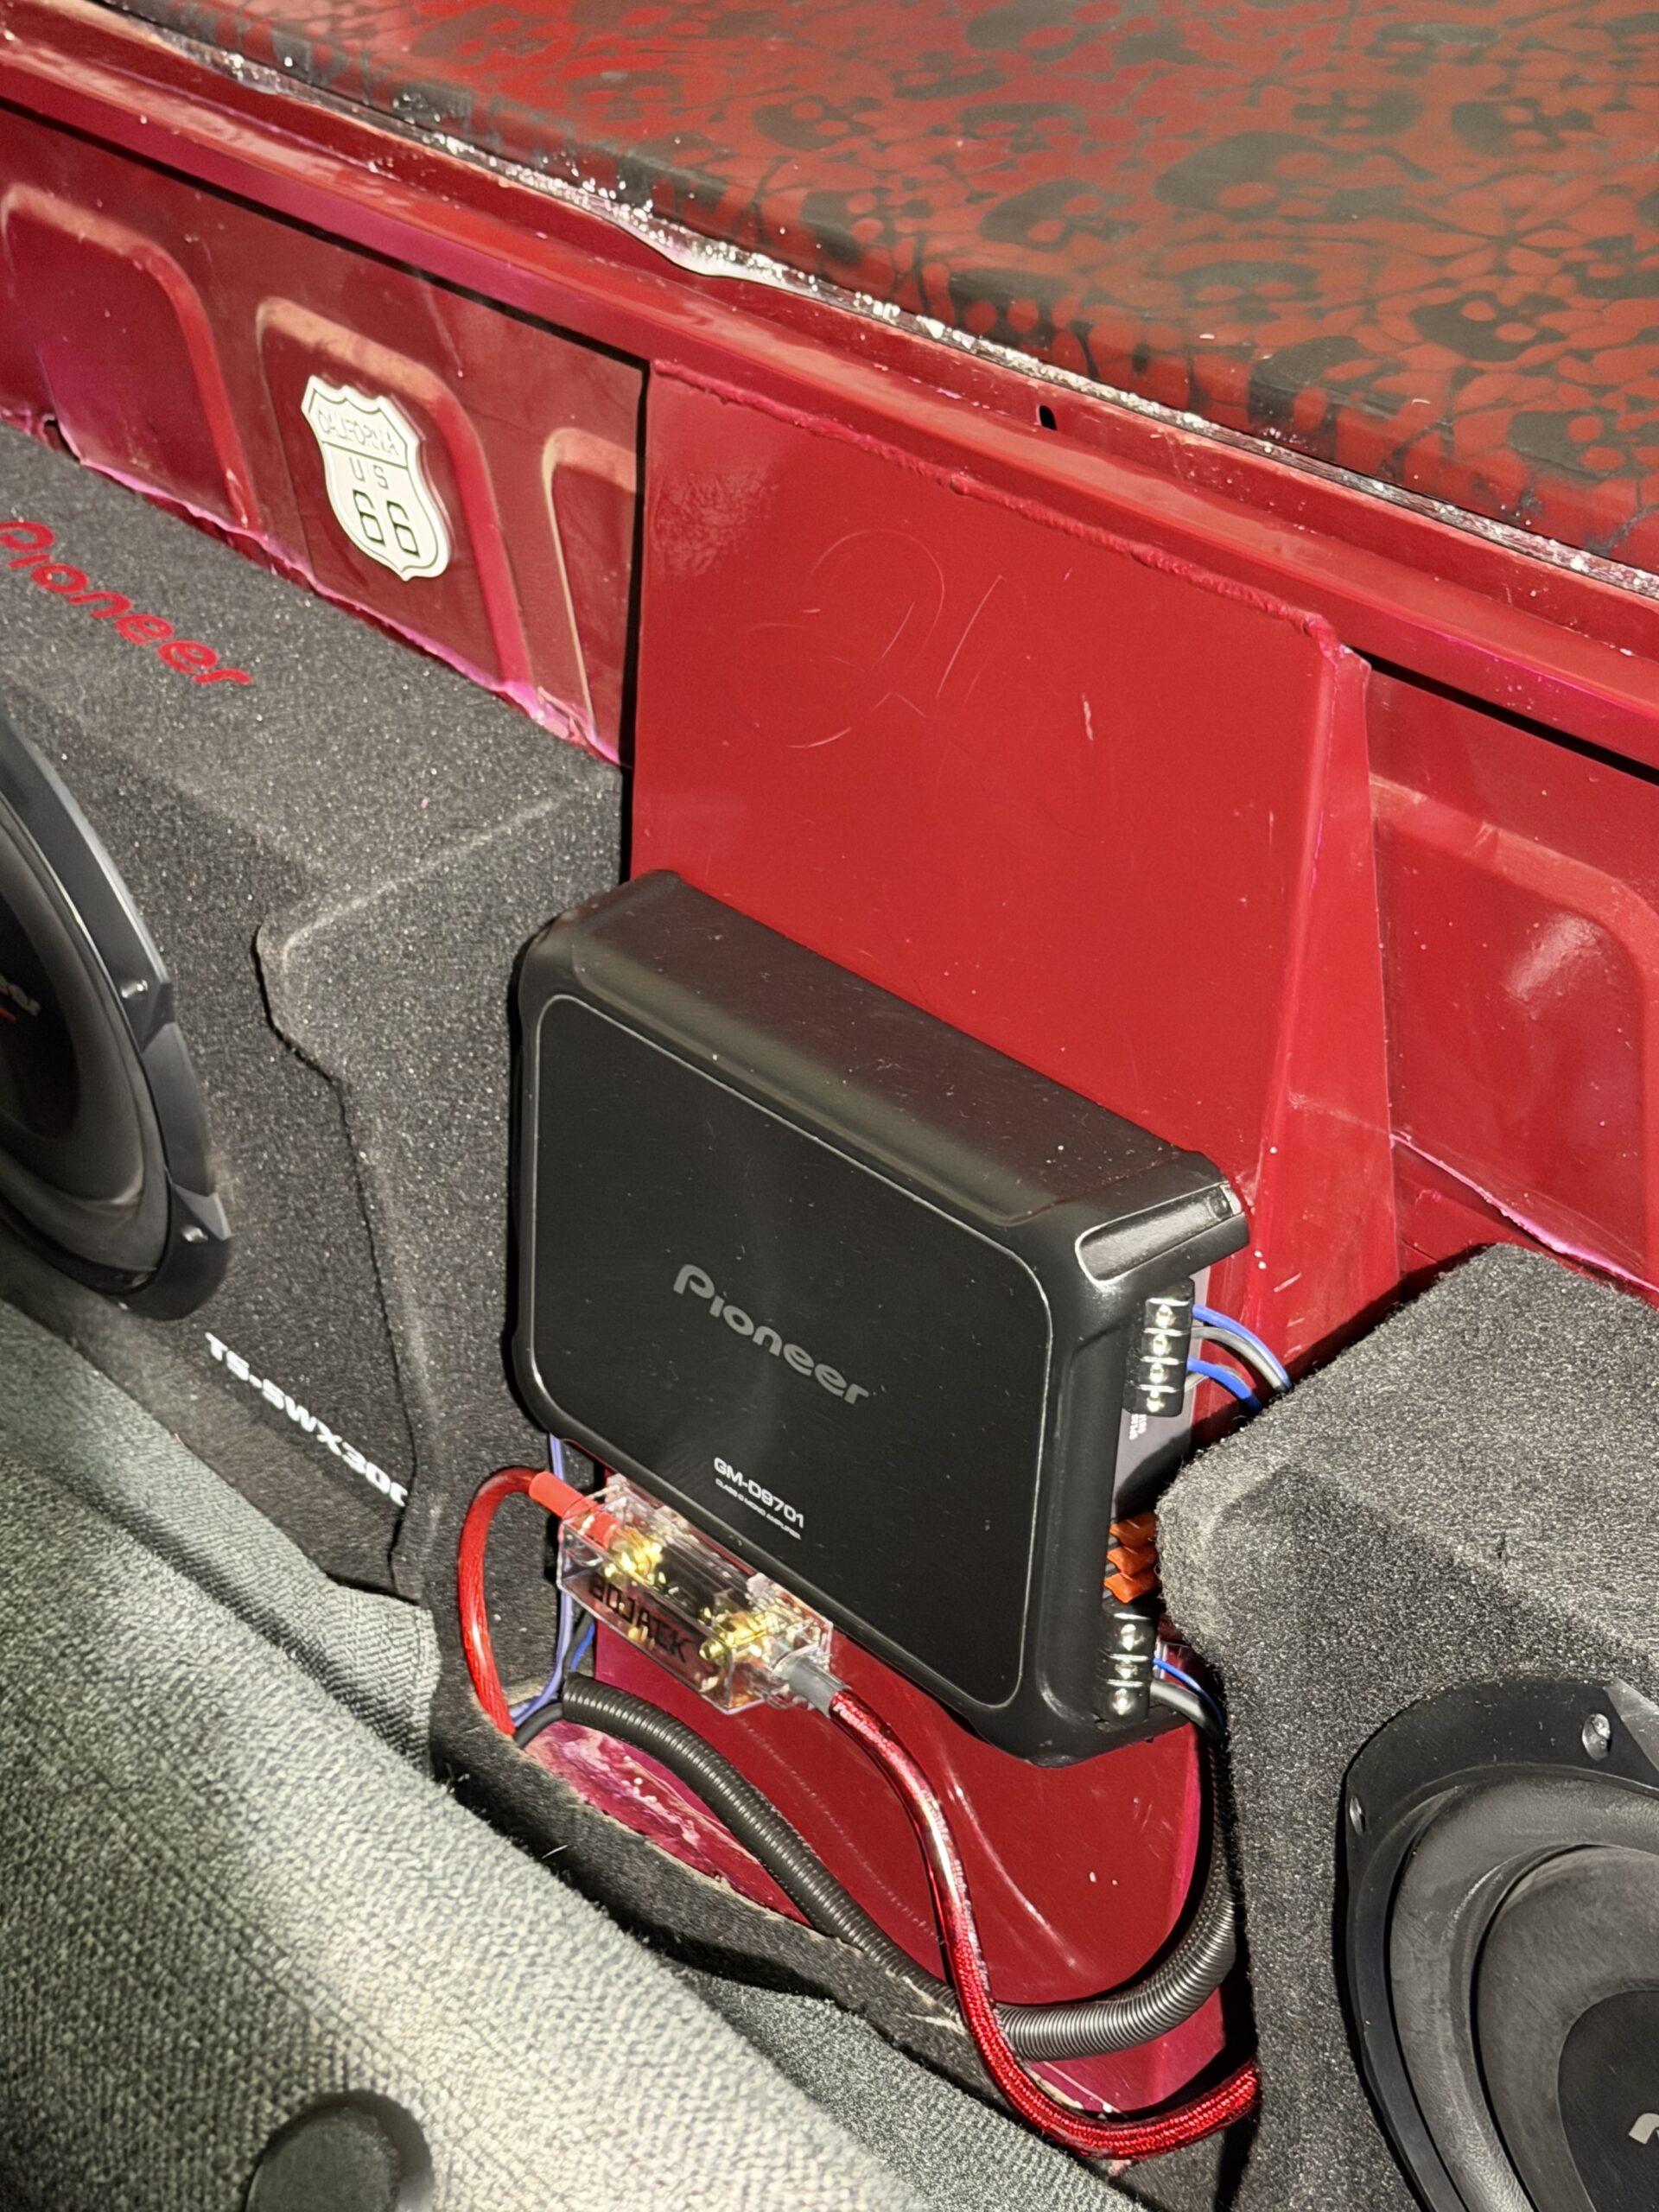
I selected two 12″ Pioneer shallow box subwoofers. These allowed me to use all of the seat adjustable leg room range. The sub box is tuned for these particular model subwoofers so optimum bass response is achieved.
I don’t know if it is because the open top environment but this setup is one of the hardest and clean hitting bass response rides I’ve ever built. Having all the Dynamat installed helps too, you don’t hear any cheap ass vibrations that a ghetto ride will make.
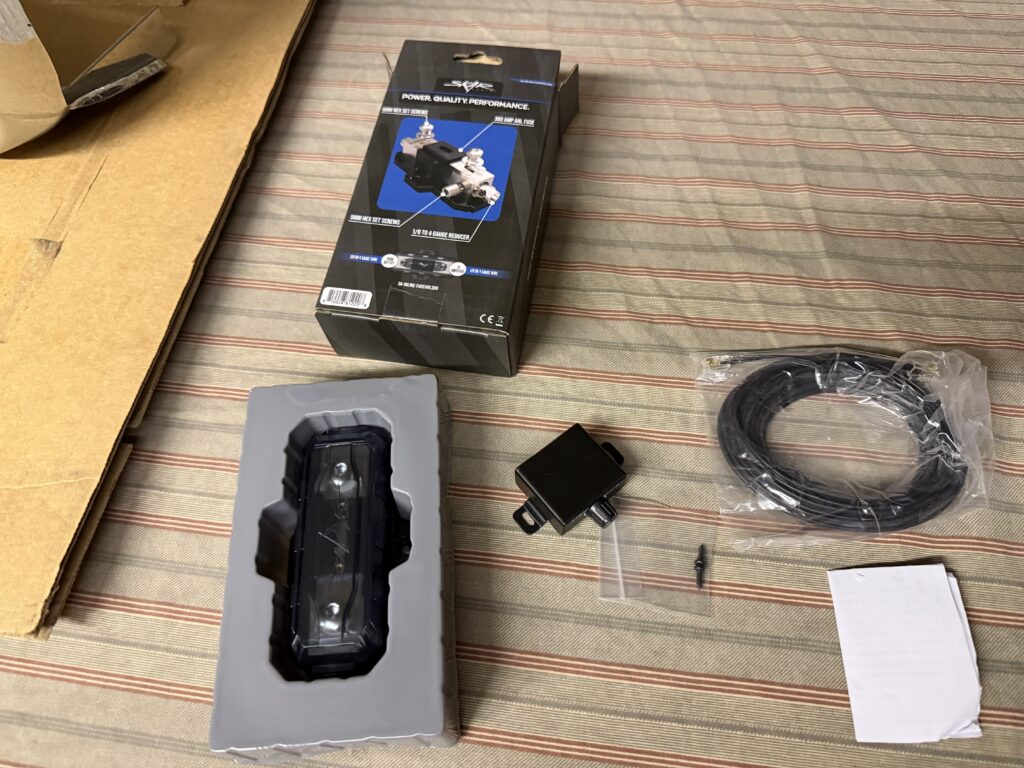
I added an inline fuse to protect the amplifier. The +12VDC source this fuse is protecting will also be used to provide voltage to HydroDrop V2 Base Station (Wireless Air Ride Controller).
An variable base controller knob will be added for volume control. This will take the place of using a flat blade screw driver to set the gain of the subwoofer signal.
Here is a detailed specification hardware list for historical purposes:
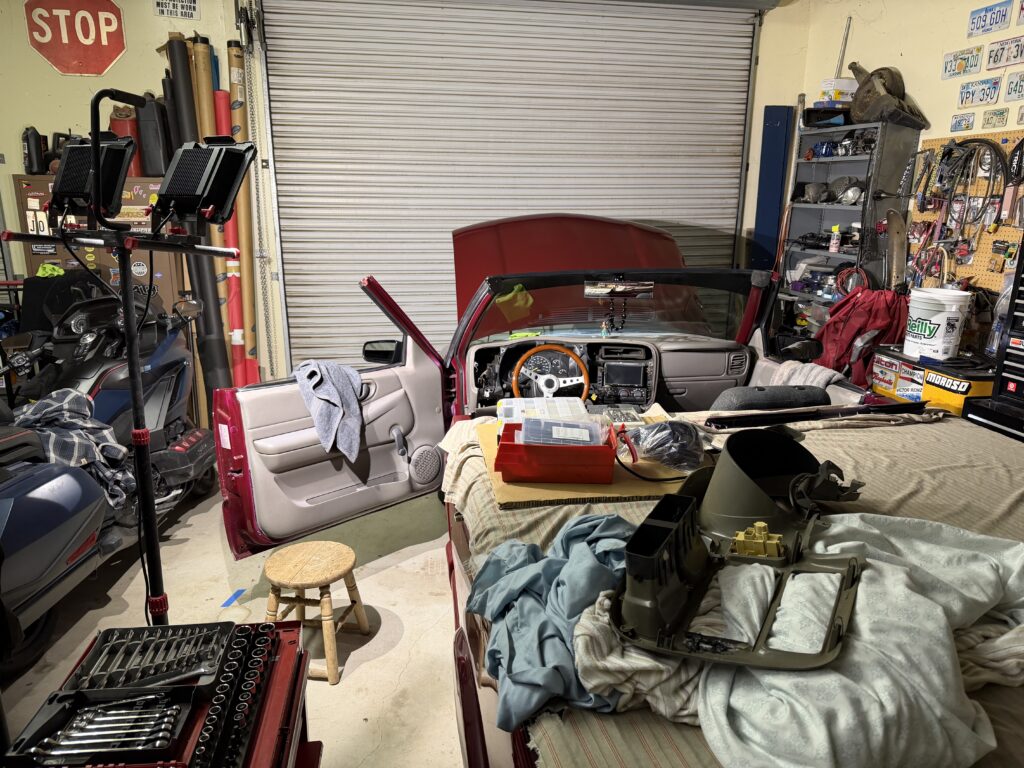
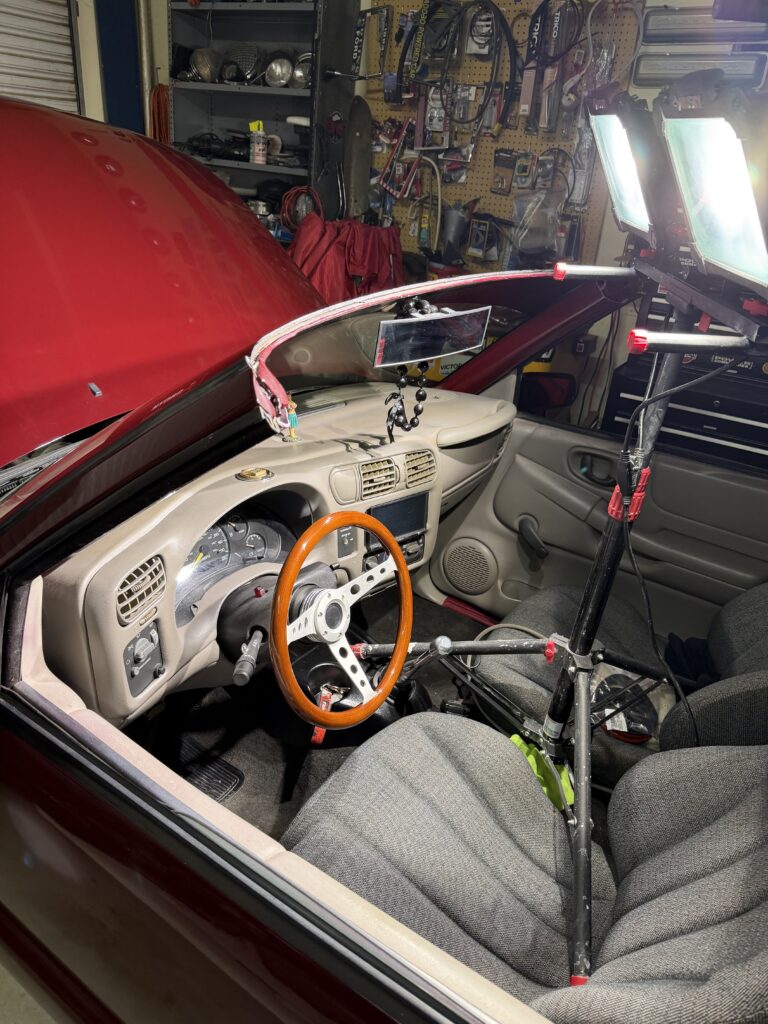
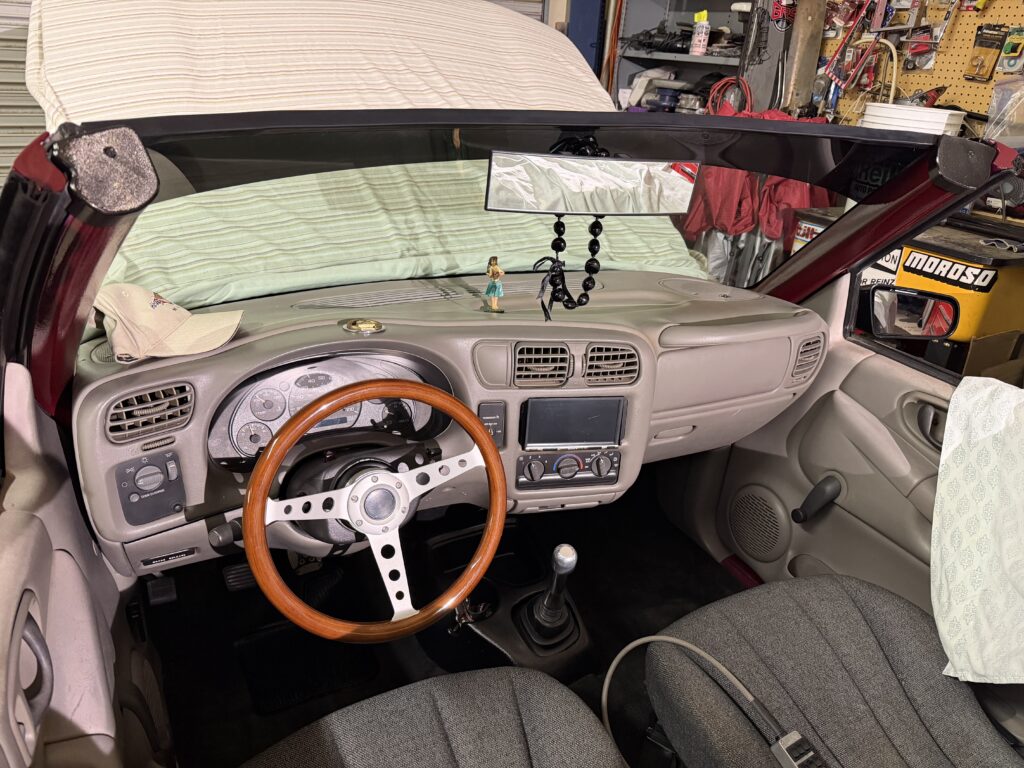
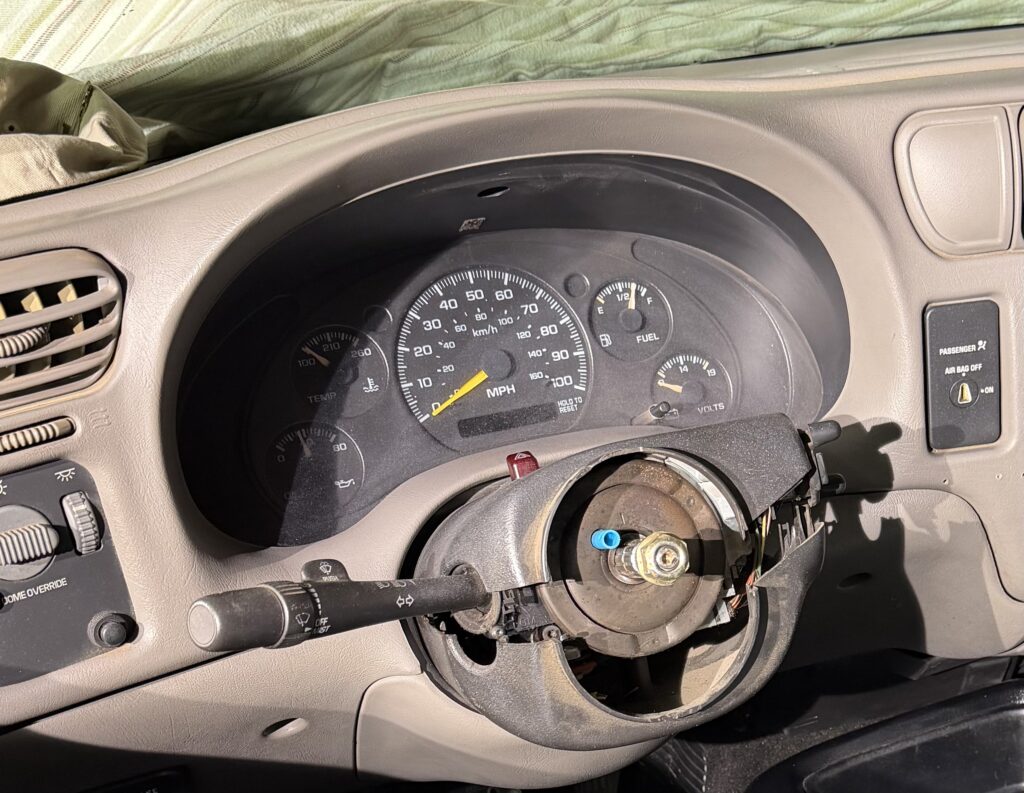
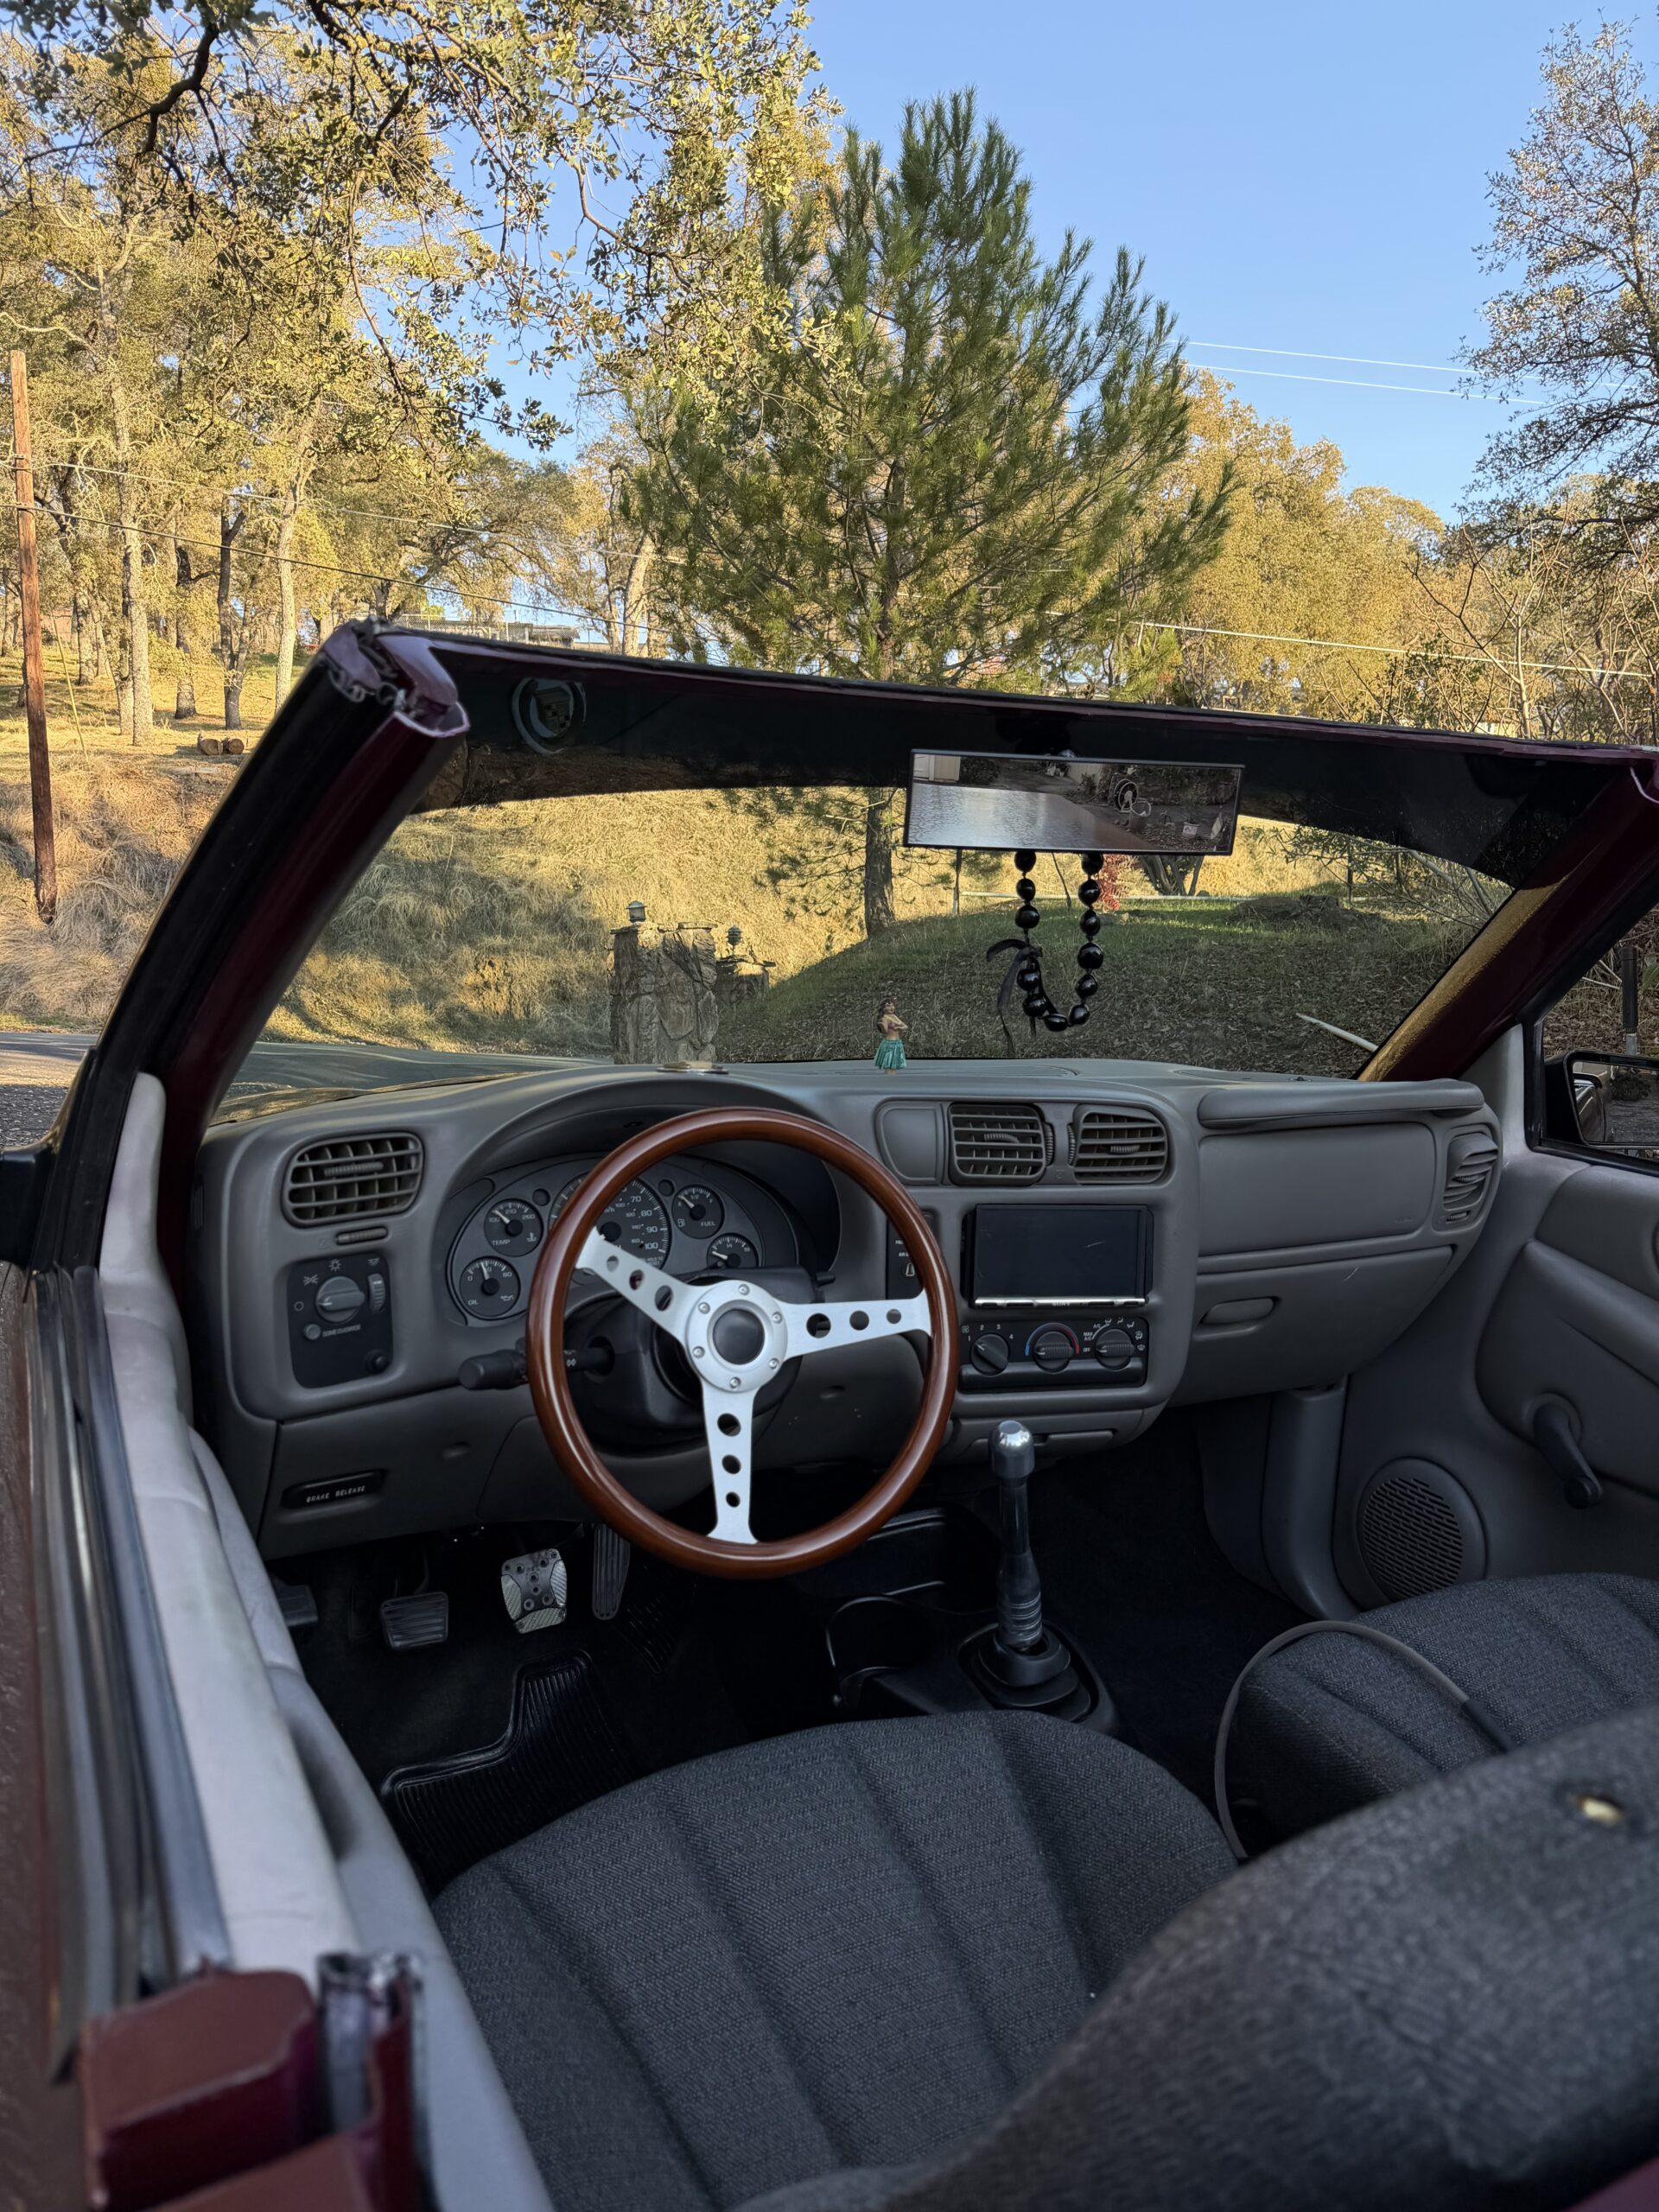
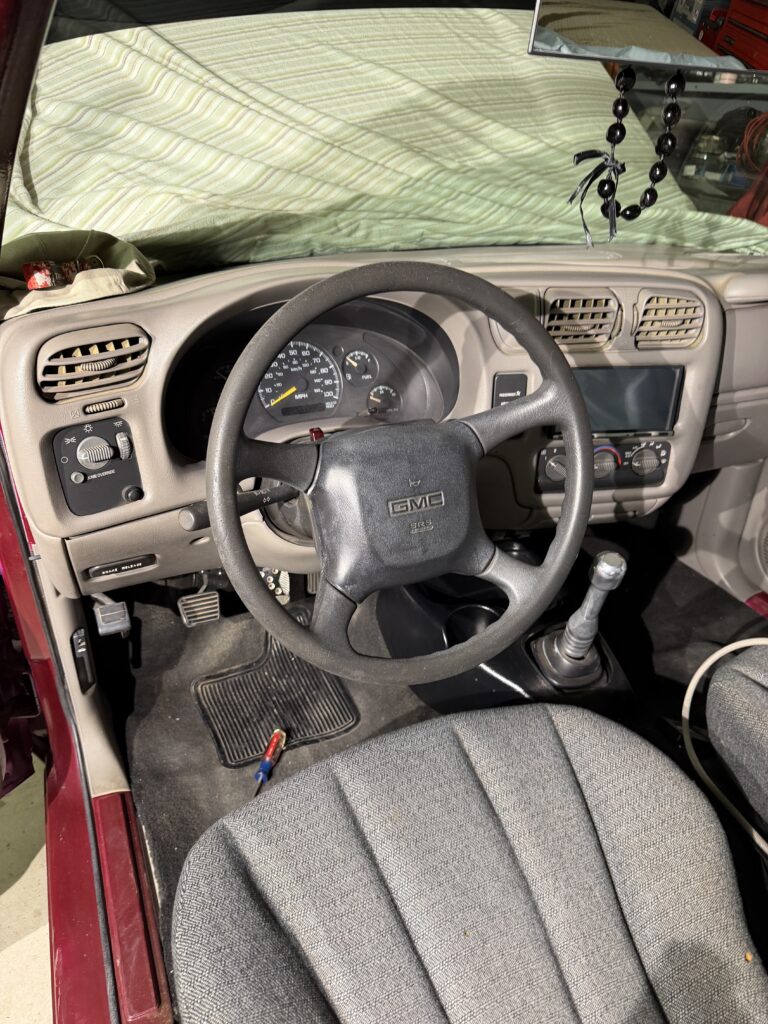
Another eyesore for me was the large air bag fitted stock steering wheel. That had to go as soon as possible. I like the wooden grain look so that’s what I went for.
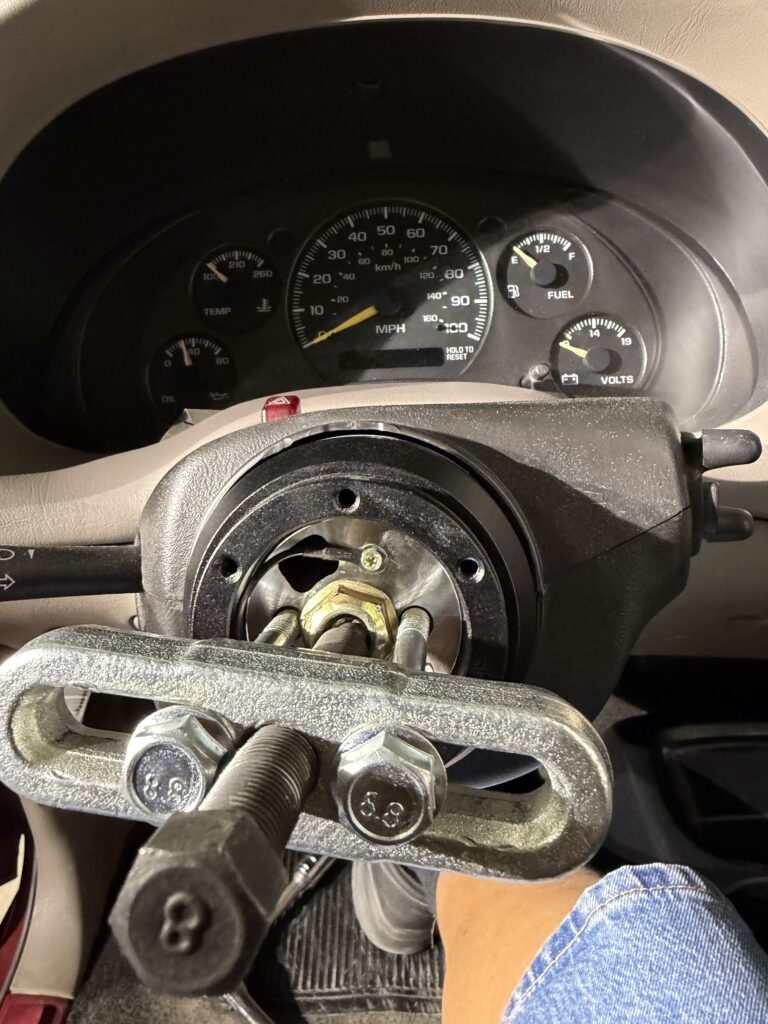
I’ve pulled and replaced steering wheels so I have every puller tool needed.