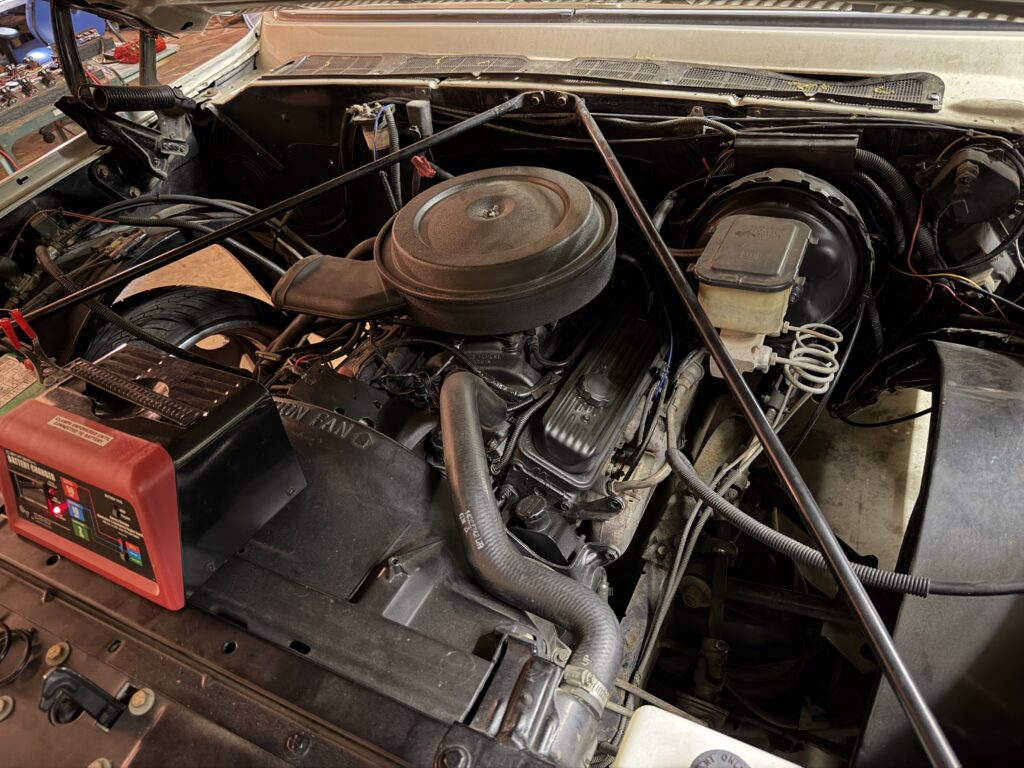
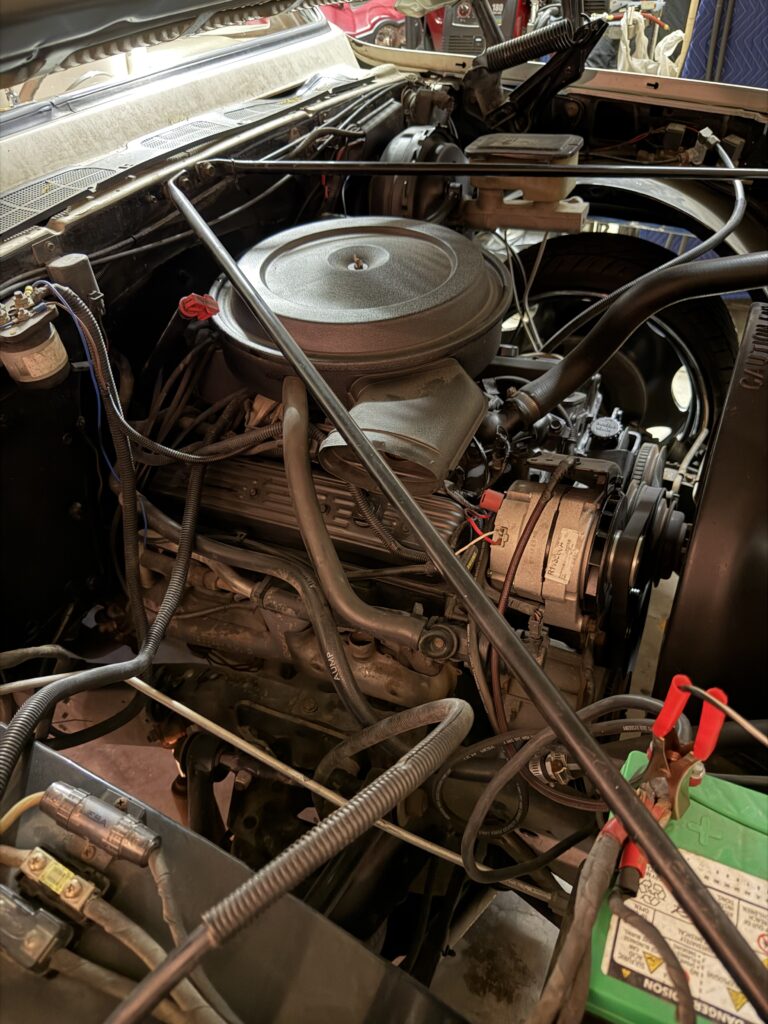
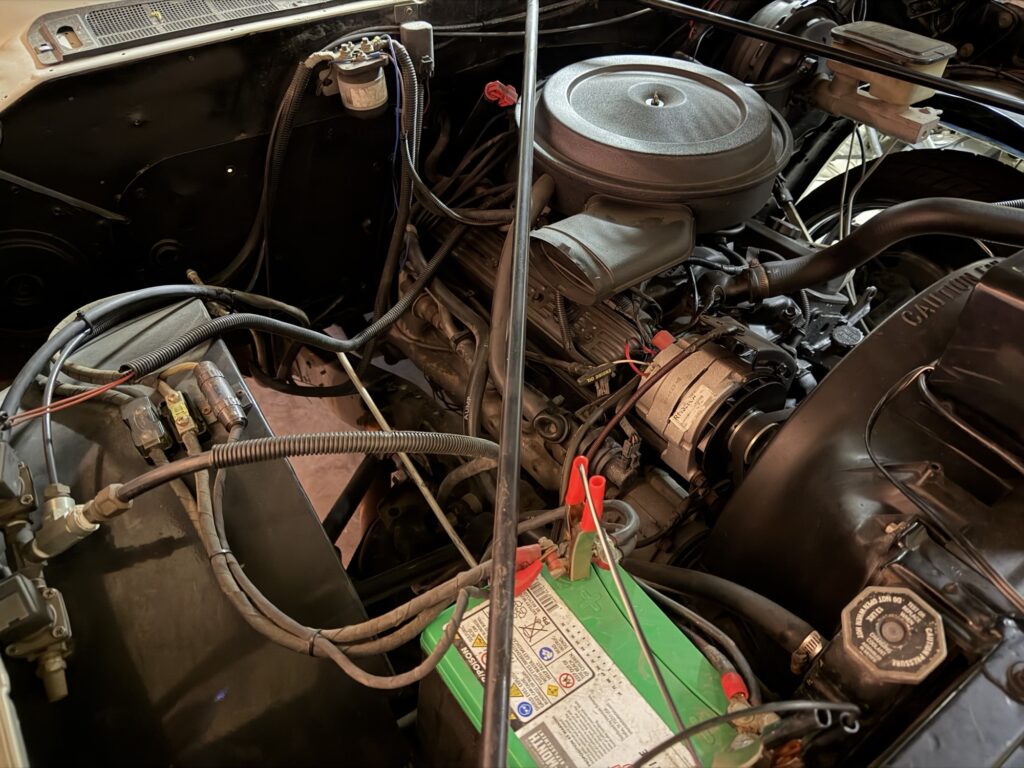
I decided to install a Pioneer AVH-4500NEX Double Din Stereo into the Blazer. I couldn’t bring myself to cut up the 1956 Chevrolet 3100 dashboard.
In order to do a legit installation I would need to build a custom console to mount the stereo equipment.
If building a stereo console was my only task that would fairly straight forward. I need to also include an area that I can display HydroDrop 2.
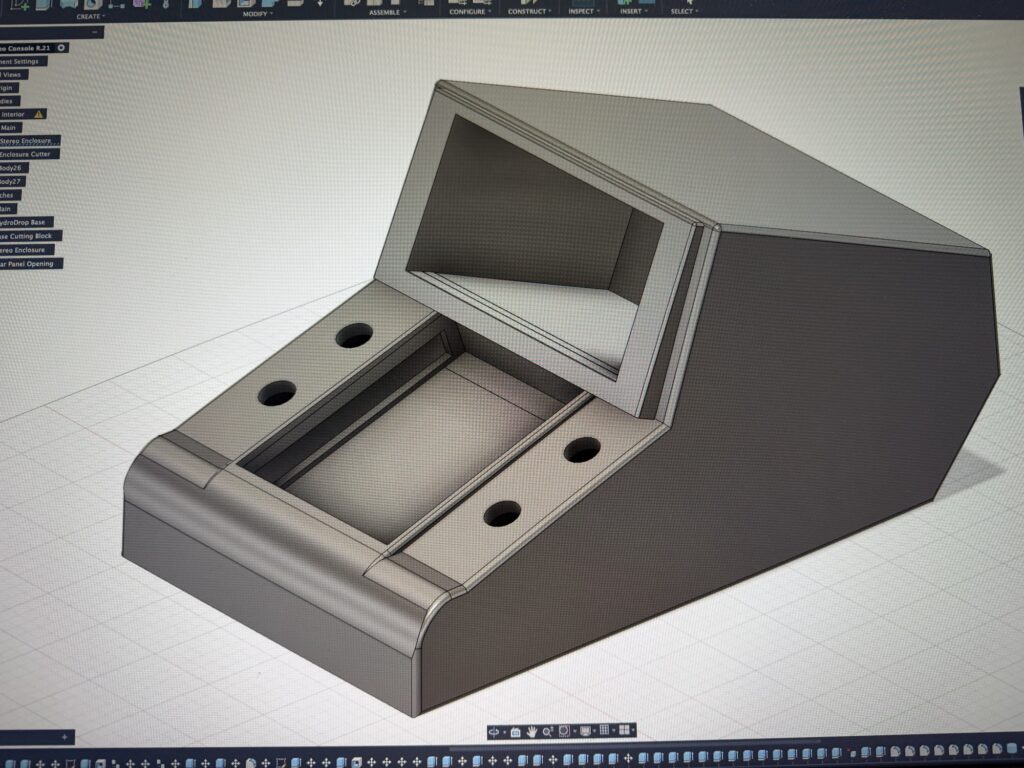
The console cannot be so large that it extends far enough from the under dash and obstruct my in and out access to the driver seat.
My first print didn’t work out as planned. I now know to really scrutinize the 3D model drawing before going to print. I now change the opacity of the main body down to 30%. This allows me to see through the part and all the inner areas.
In the case of this failed part, there was a section that had too thin of material and it came apart at the corner seams.
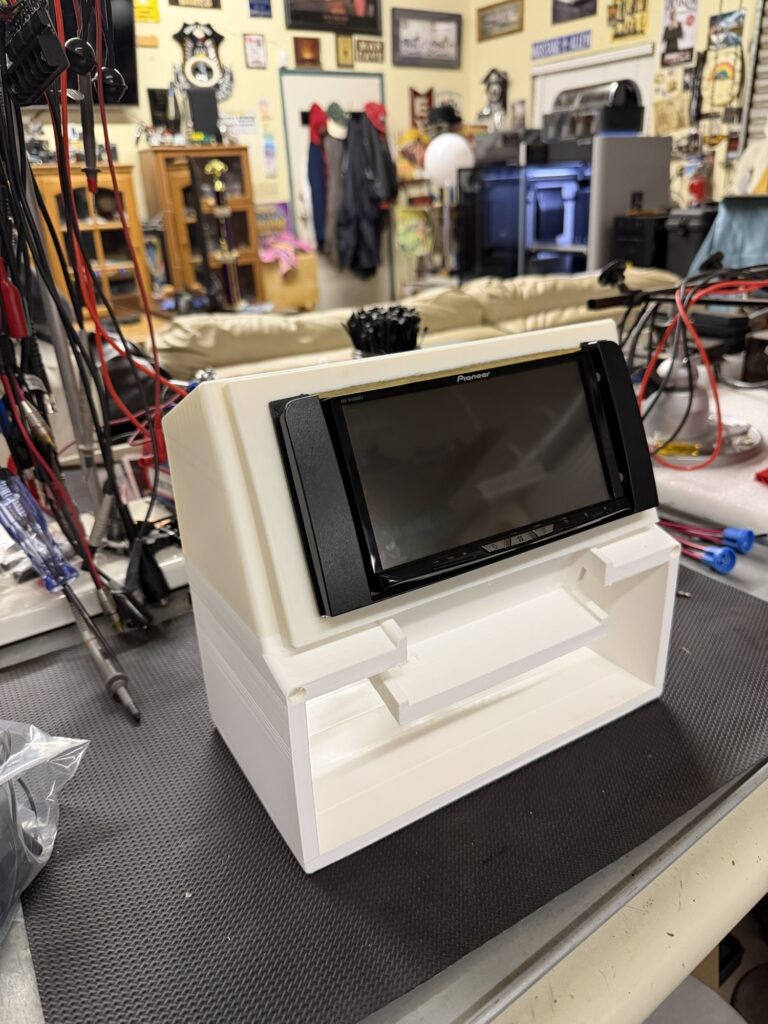
I also found that the opening cutout for the double DIN stereo was 0.4 inches too tall in height and this left a large gap even after the deck was installed.
The next version below corrected the errors made in the previous model.
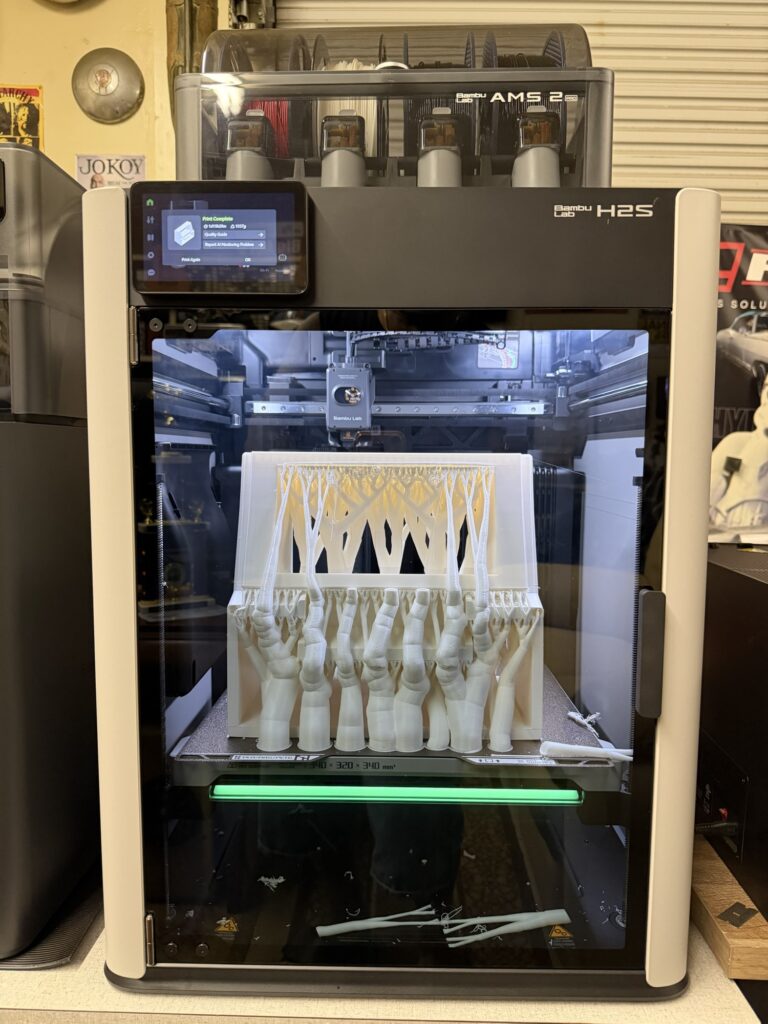
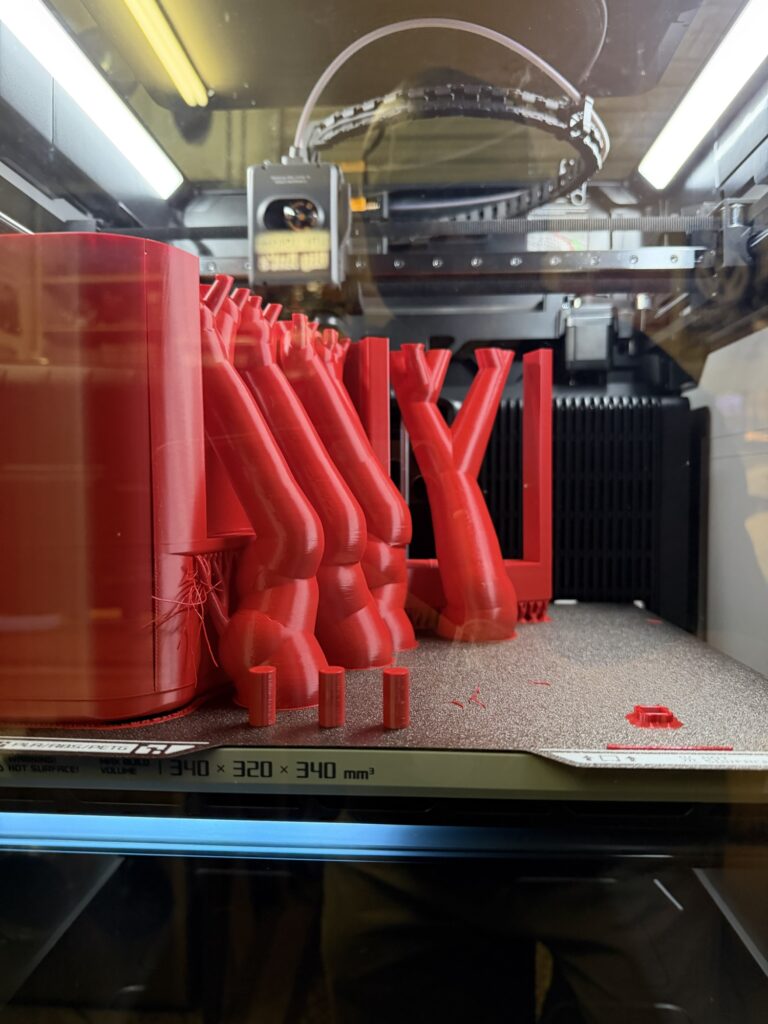
The console is so large the part had to be broken down into 3 sections. The middle section was printed first. There are a lot of support considerations when going through Bambu Studio slicing software. A lot of overhangs are used, each section a support must used to prevent sagging.
The filament being used is ASA, this was chosen for the durability, heat resistance and able to withstand UV rays. This console will be inside of a roadster so it will be exposed to direct sunlight.
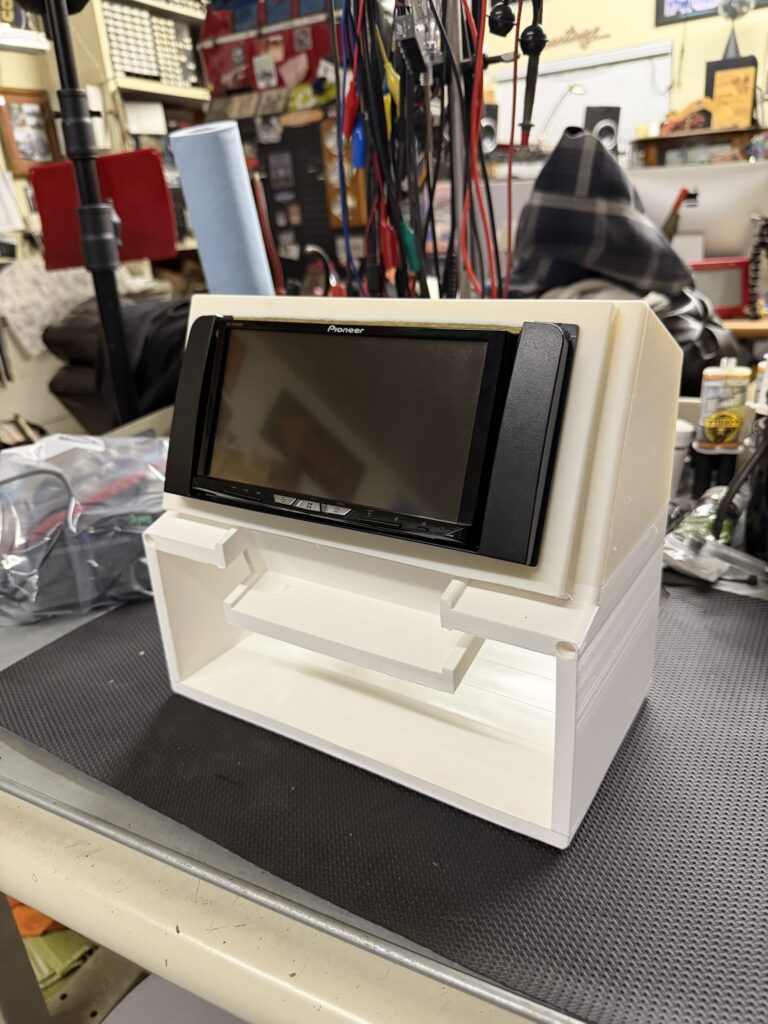
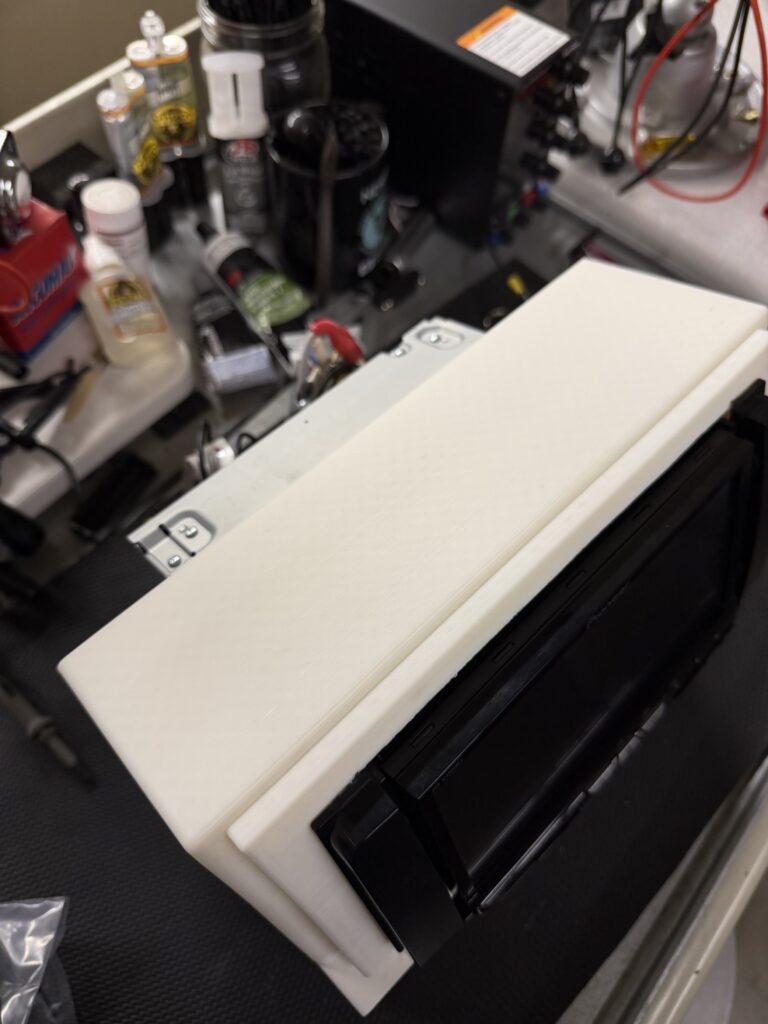
This has literally been a long trial and error learning process. The latest “opportunity” occurred with the dowels placement. I should have sliced all the objects before starting a print. If a dowel created an error the correction may render the completed parts dowel location as inaccurate.