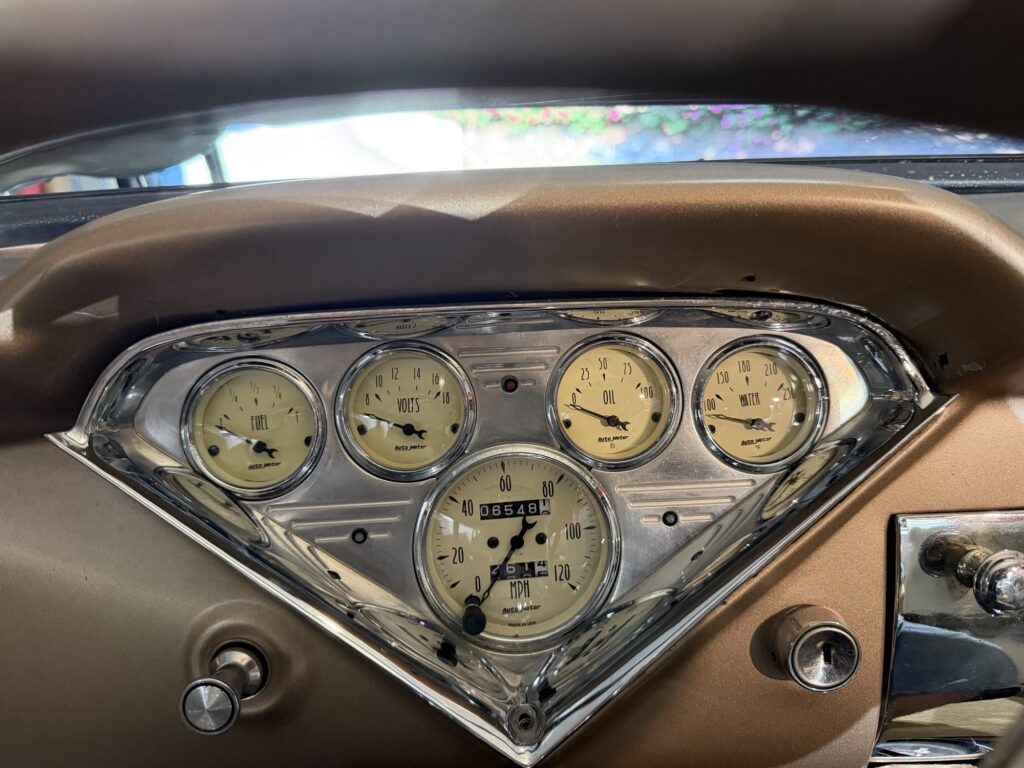
I decided to work on the gauge cluster. The current cluster
During the idle trouble shooting process using TunePro RT I monitored the throttle position sensor.
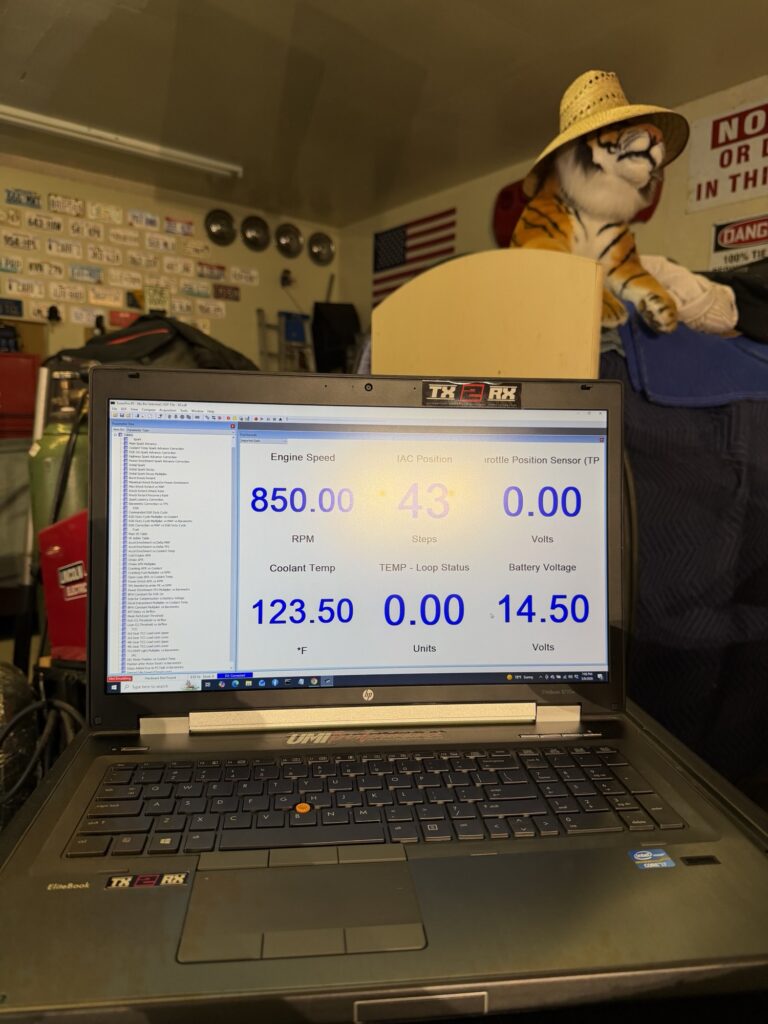
The value measured was “0” which indicated no measured value from the control signal pin. This particular sensor is mechanically driven. The throttle linkage on the drivers side of the throttle body adjust the TPS lever positioning. The TPS is a variable sliding potentiometer that has a +5VDC voltage on pin 3 and ground at Pin 1. While the lever is sliding along the potentiometer the voltage at Pin 2 control signal ranges from 0.5 to 4.5 volts. That’s a rough an estimated value.
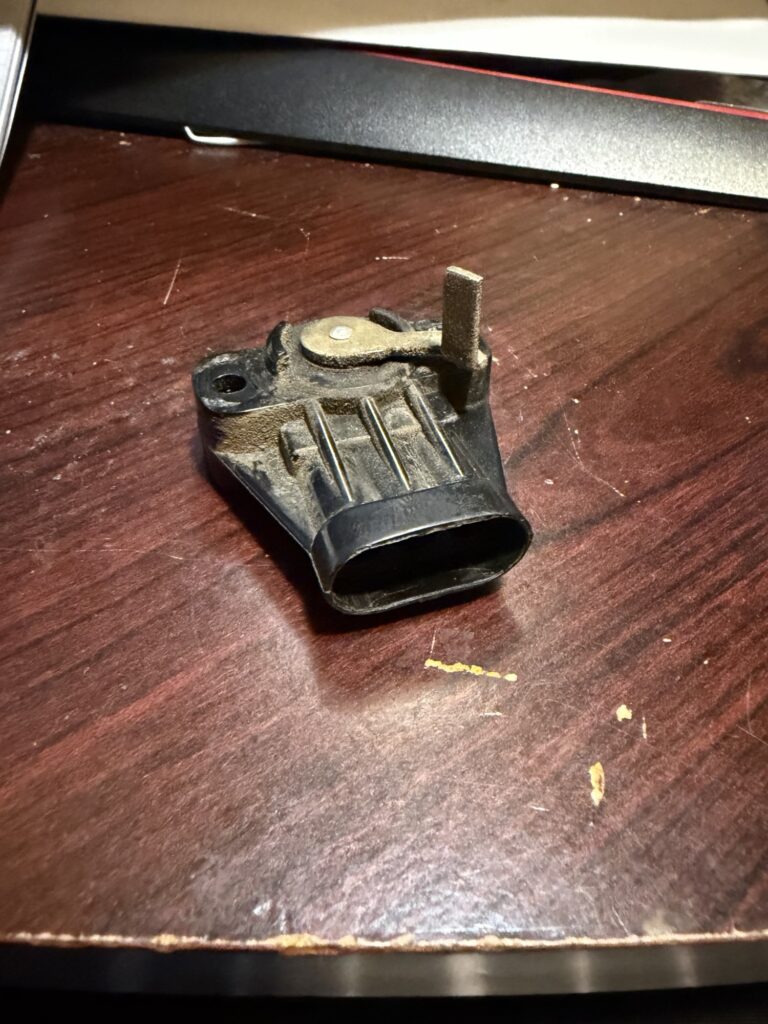
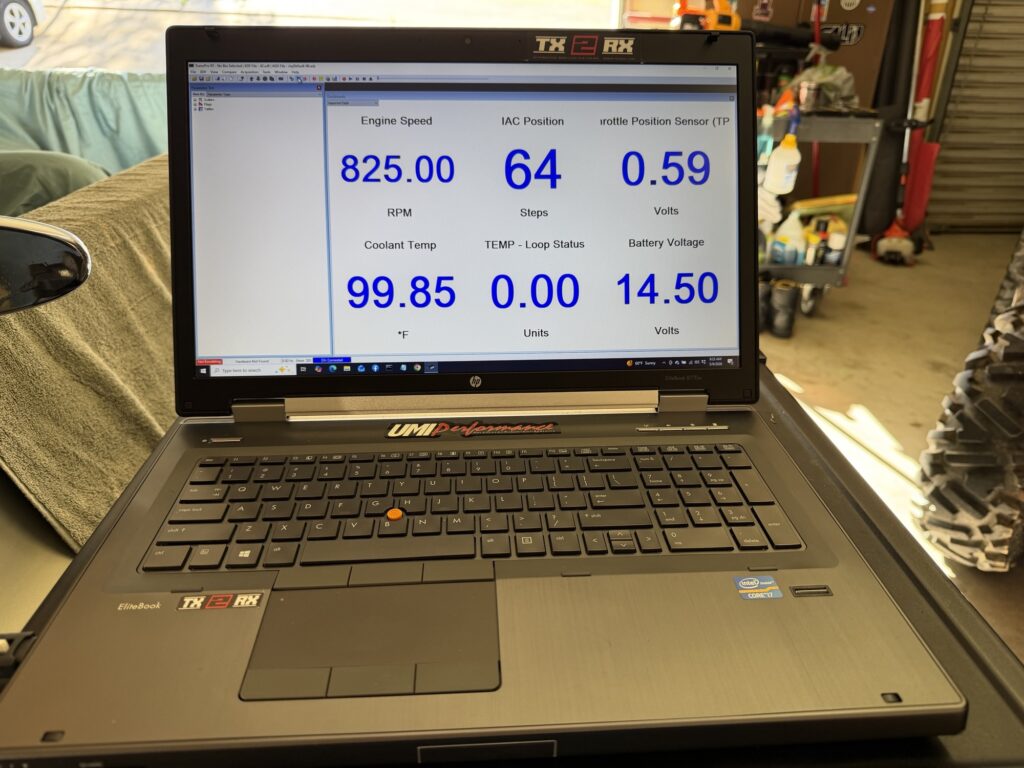
After changing the TPS the measurement was correct, in the “0.59” range.
The TPS is a critical component of the fuel circuitry.
The current fuse setup is functional but I’m looking for something that is cleaner and easily serviceable.
I deigned a fuse block with the intentions of being able to change out the amperage rating fuse easily.
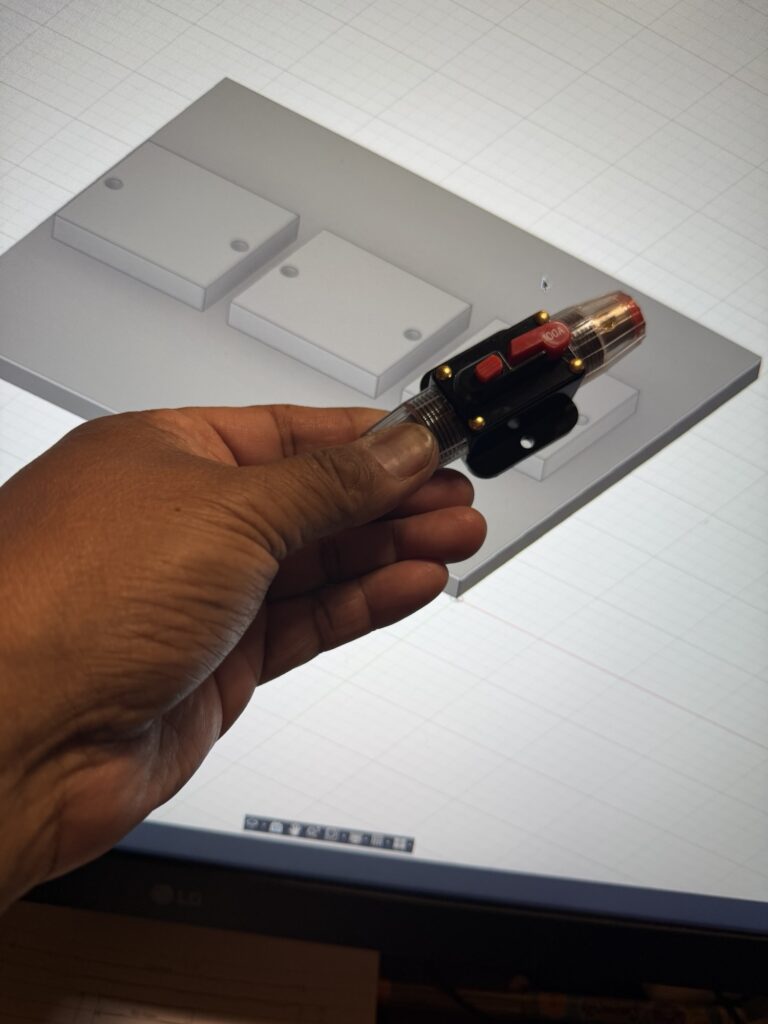
This is also the first time I have used these style breaker fuses instead of the standard blade fuses.
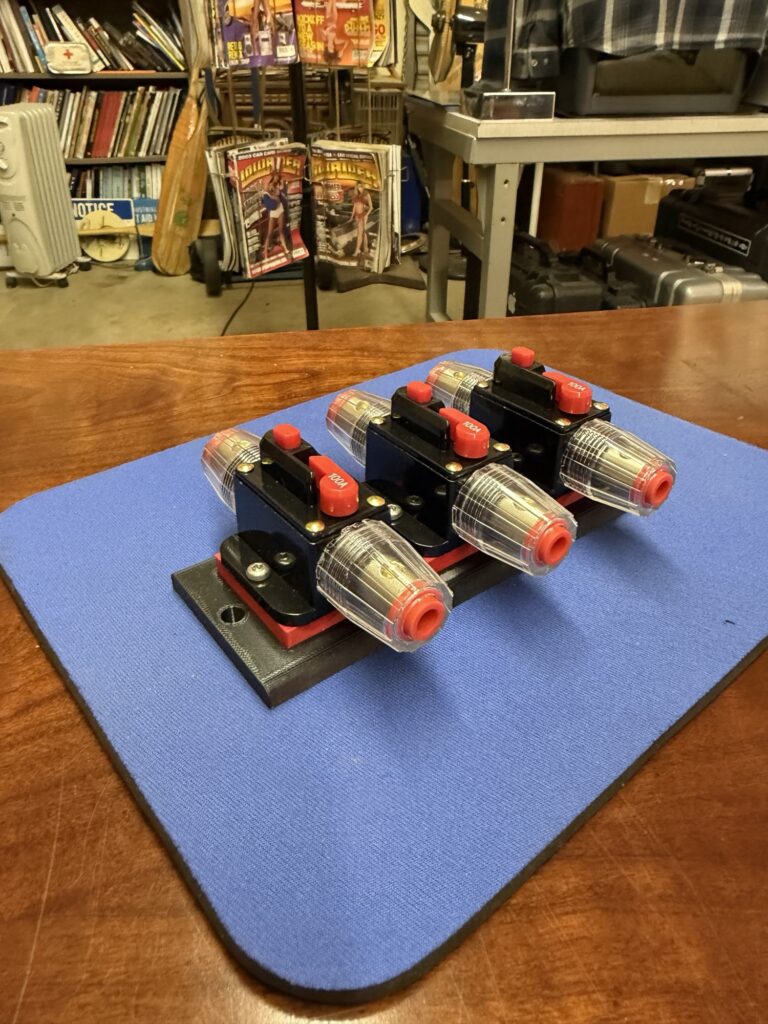
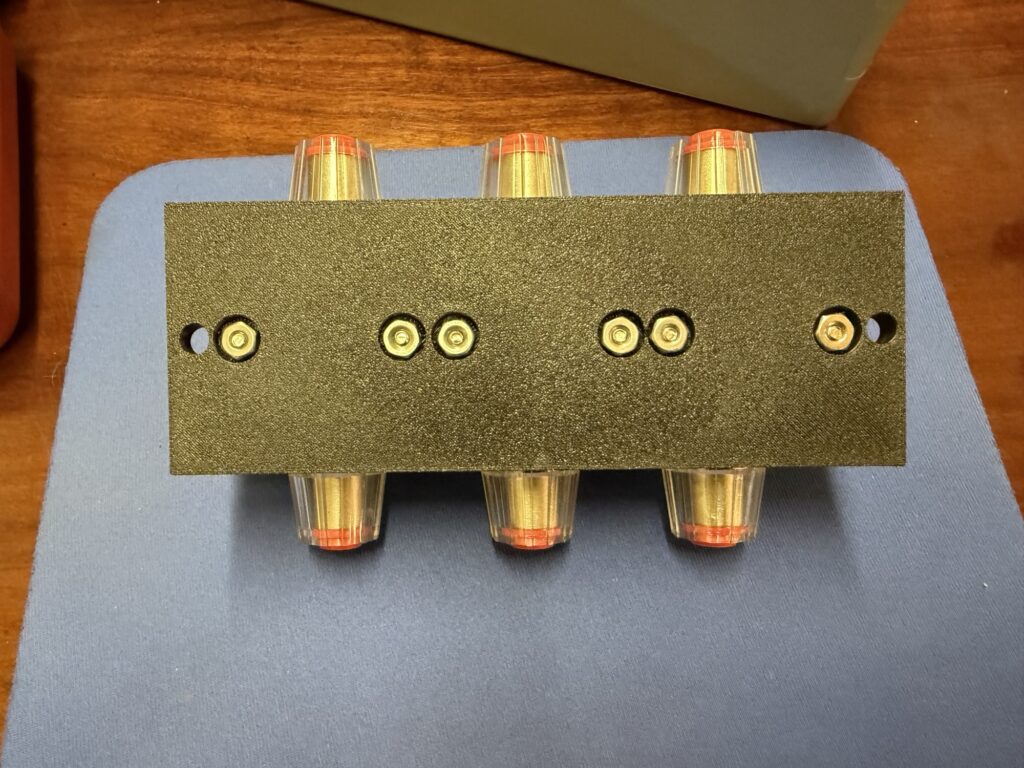
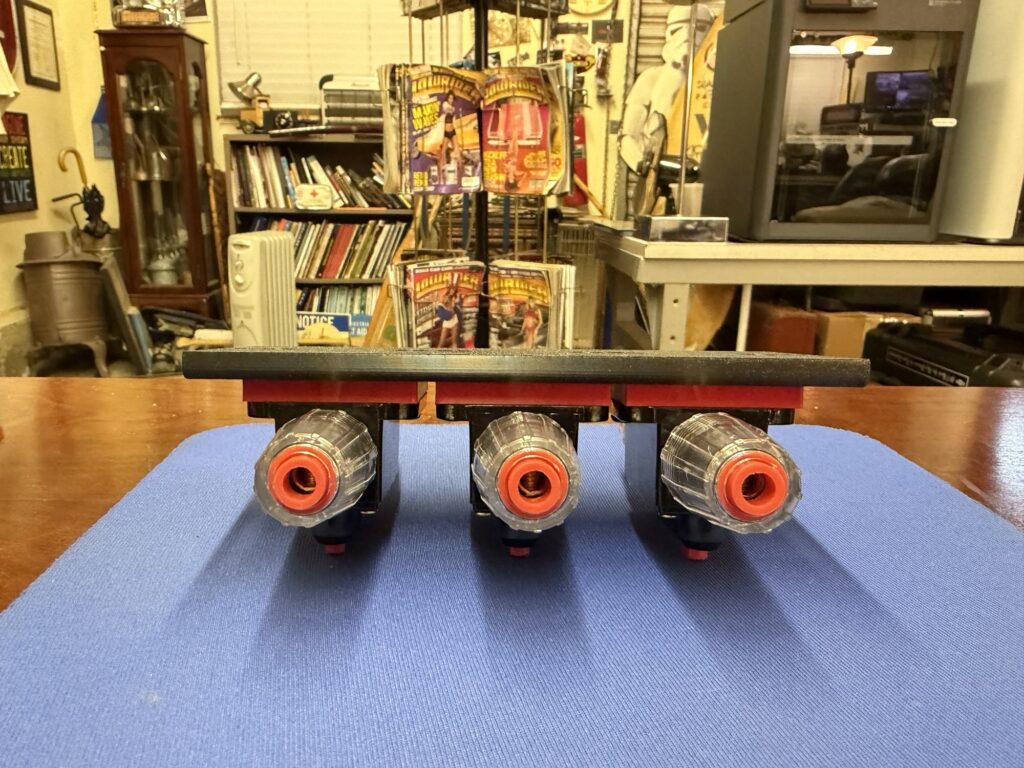
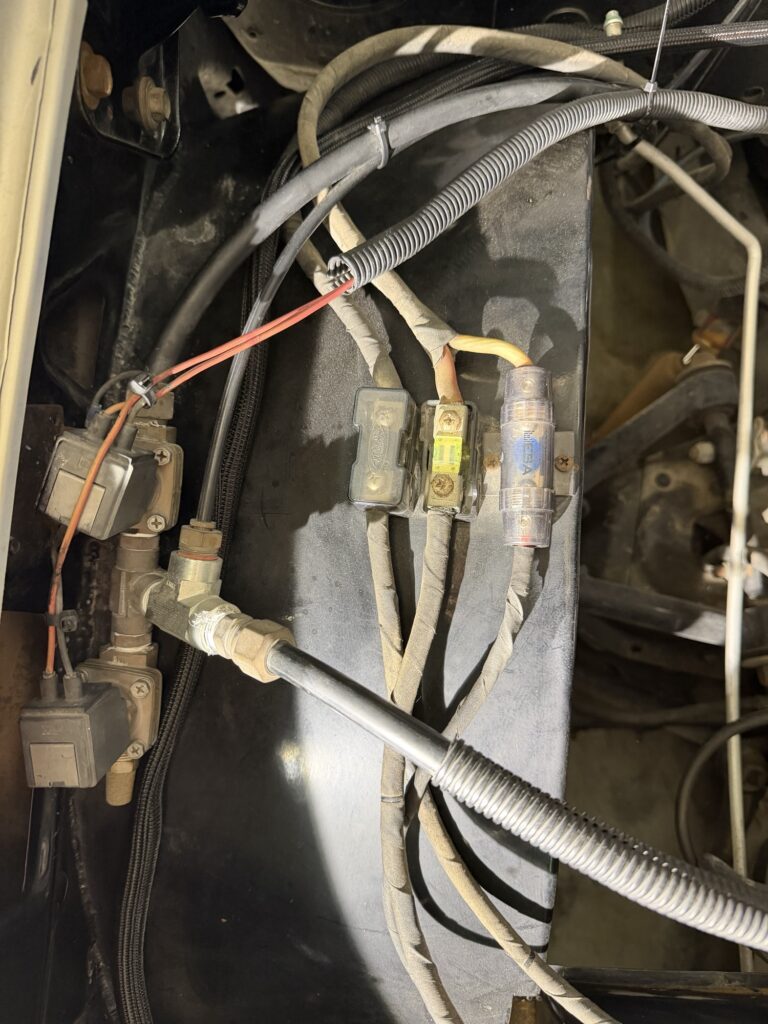
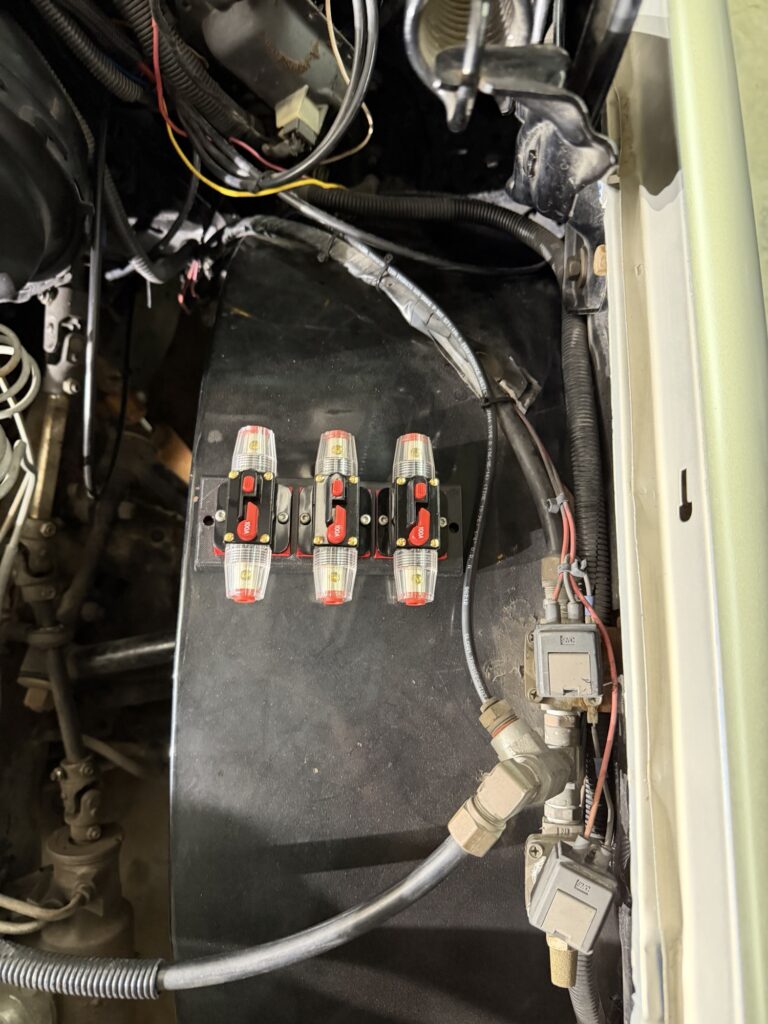
The new fuse block setup is much cleaner.
The original fuses are old and doesn’t seem to have easily available
While I was having new tires installed at the shop I took a look at the front suspension.
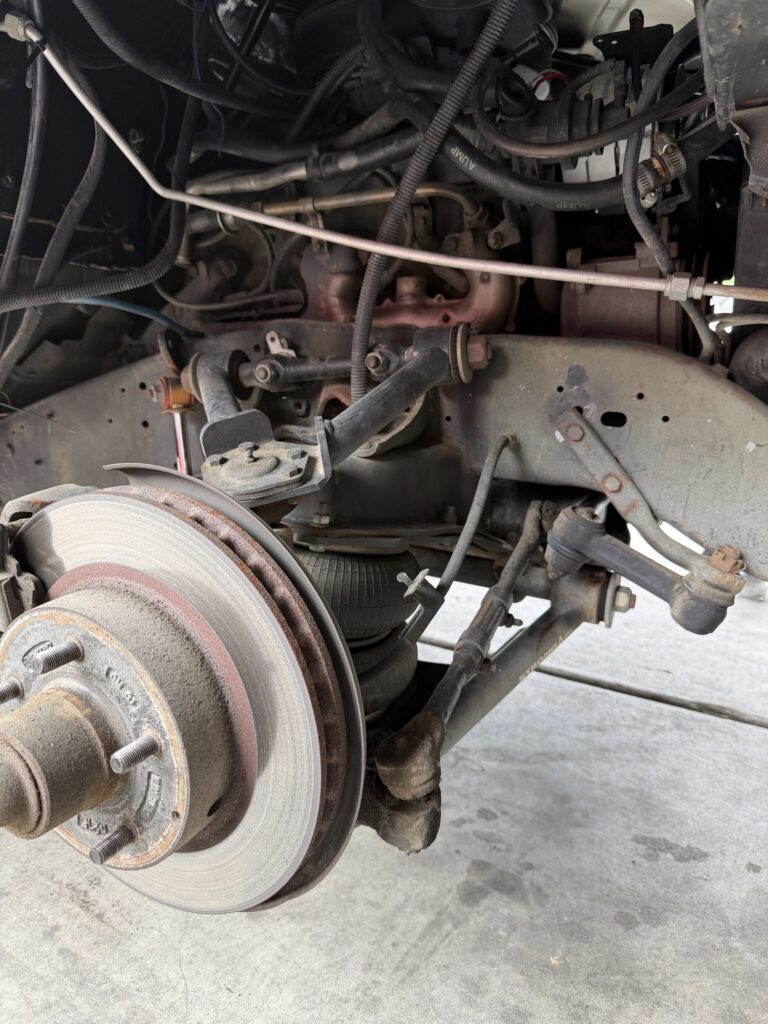
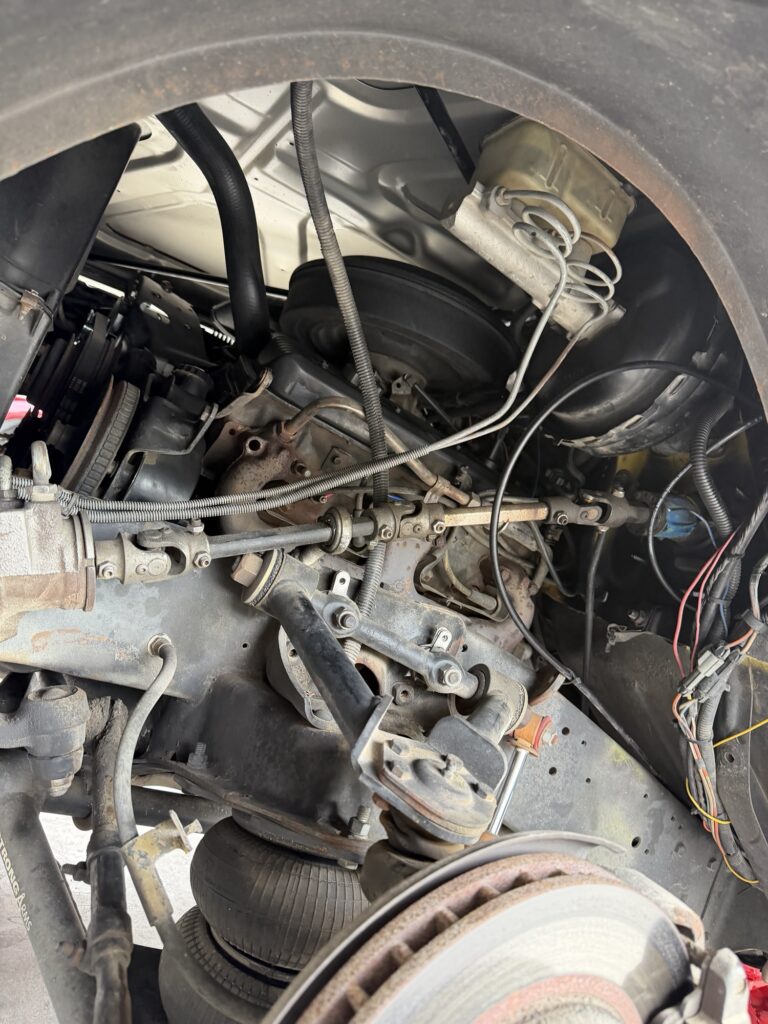
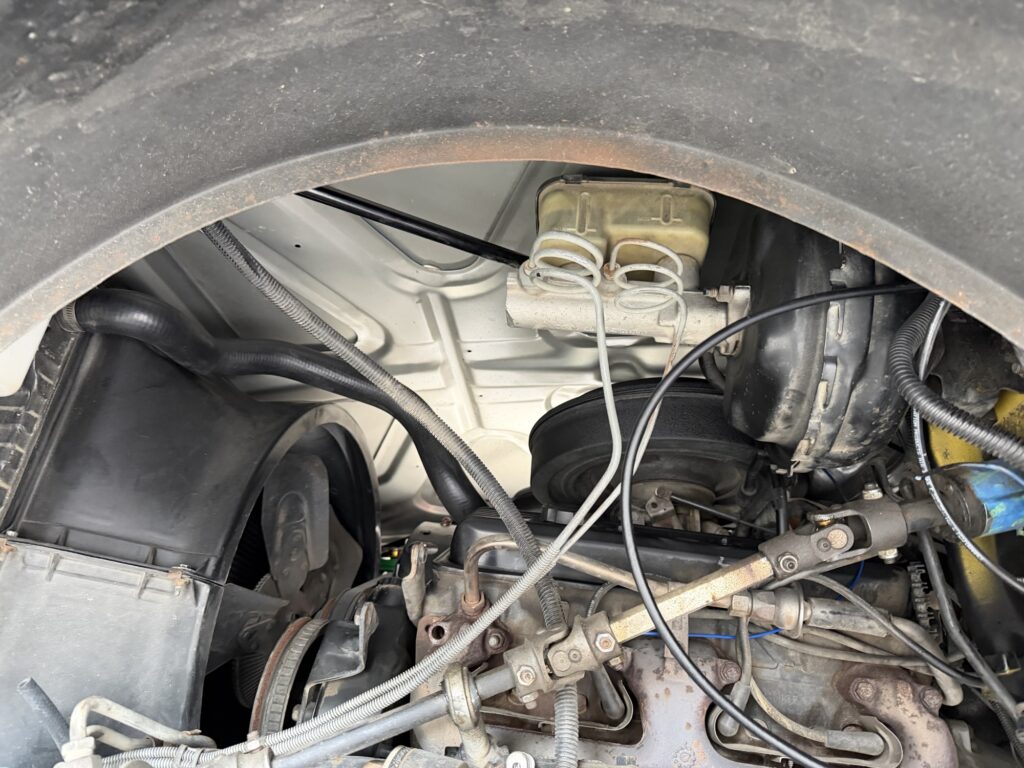
The front suspension is all air lift hardware.
I made the decision to be safe rather than cool looking. I took the Blazer in to the tire shop to have the front tires changed from 245/30R22 to a taller sidewall profile 265/35/R22.
The difference in cool looking rubber band is significant but the idea of damaging a rim due to a deep pothole or uneven road crack was enough for me to make the change.
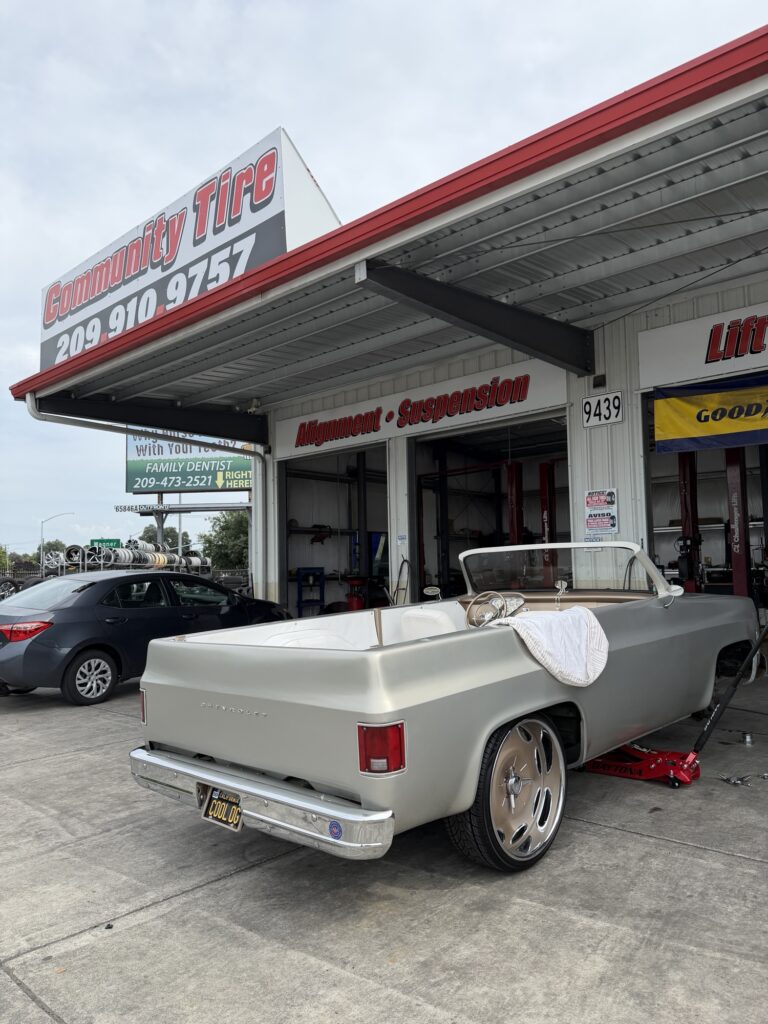
My previous experiences with a “30” sidewall on a 22” wheel wasn’t pleasant. I can’t count the amount of flats and cracked rim due to potholes on the freeway.
I had the rim repaired a couple times and the last repair seems to hold well but a new crack developed on a different section. I ended up buying a brand new rim and that was an expensive fix. After that I became a believer of the 35 series sidewalls. Not as cool, but definitely safer in these fucked up freeways we have here in California.
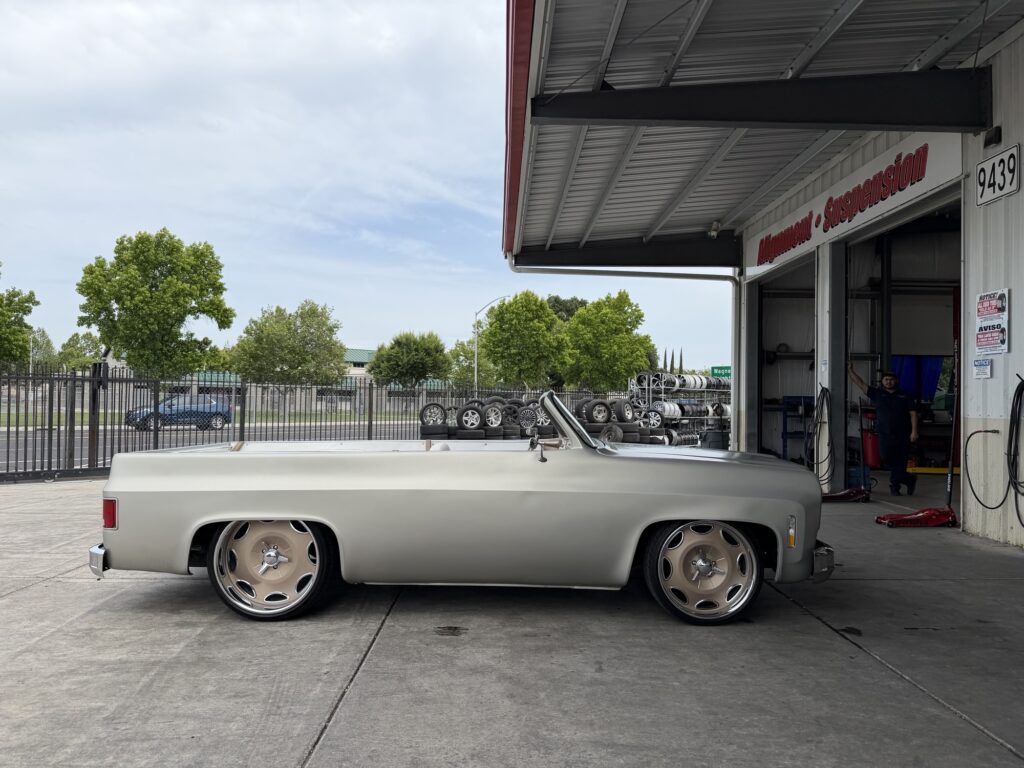
By changing the wheel I am less apprehensive about driving over railroad tracks and potholes.
Update on the HydroDrop display console. The main purpose is to have a center of attention display when you looked inside the Blazer.
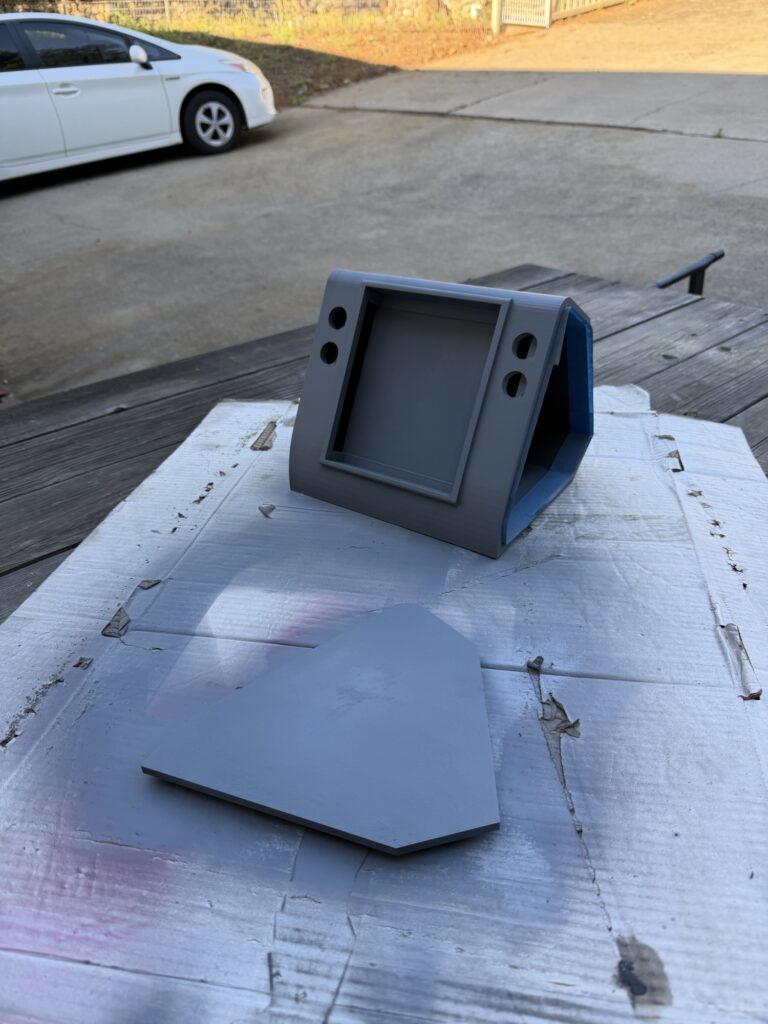
I sprayed a single layer of primer to help with the paint adhesion. The next version of the display console will have a smoother surface and I will apply a layer of epoxy to help with any surface imperfections.
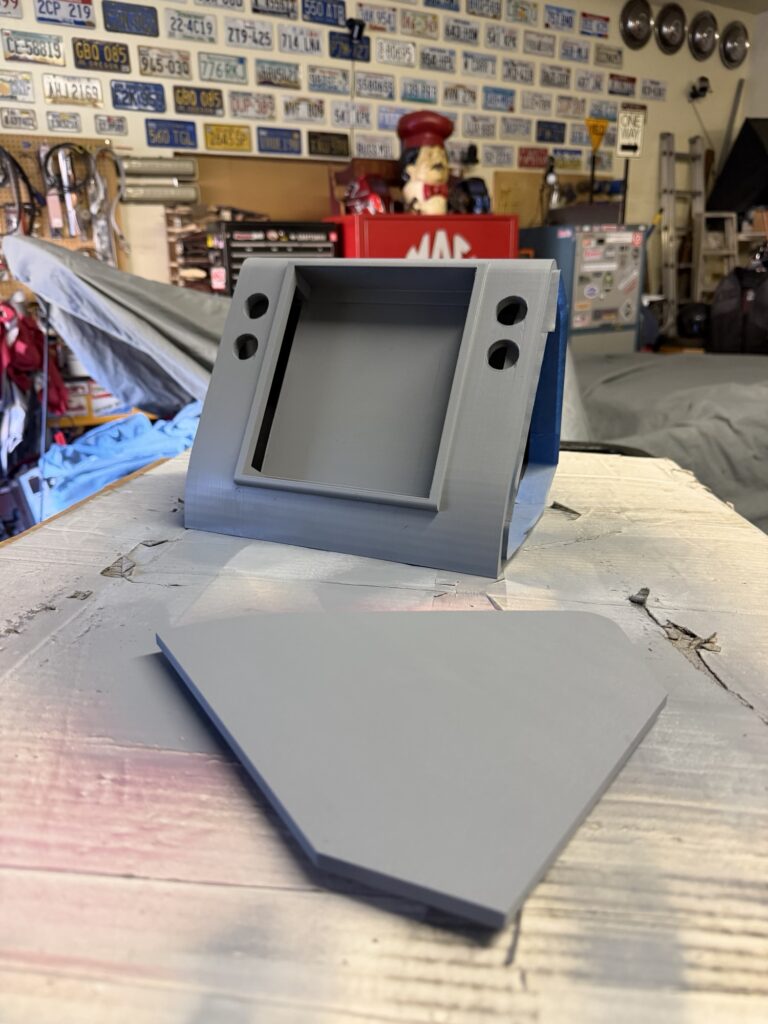
The side panel is friction pressed into place. The corners of the cover were sanded so it wouldn’t be hard to press into place. The lesson learned is to round the corners during design.
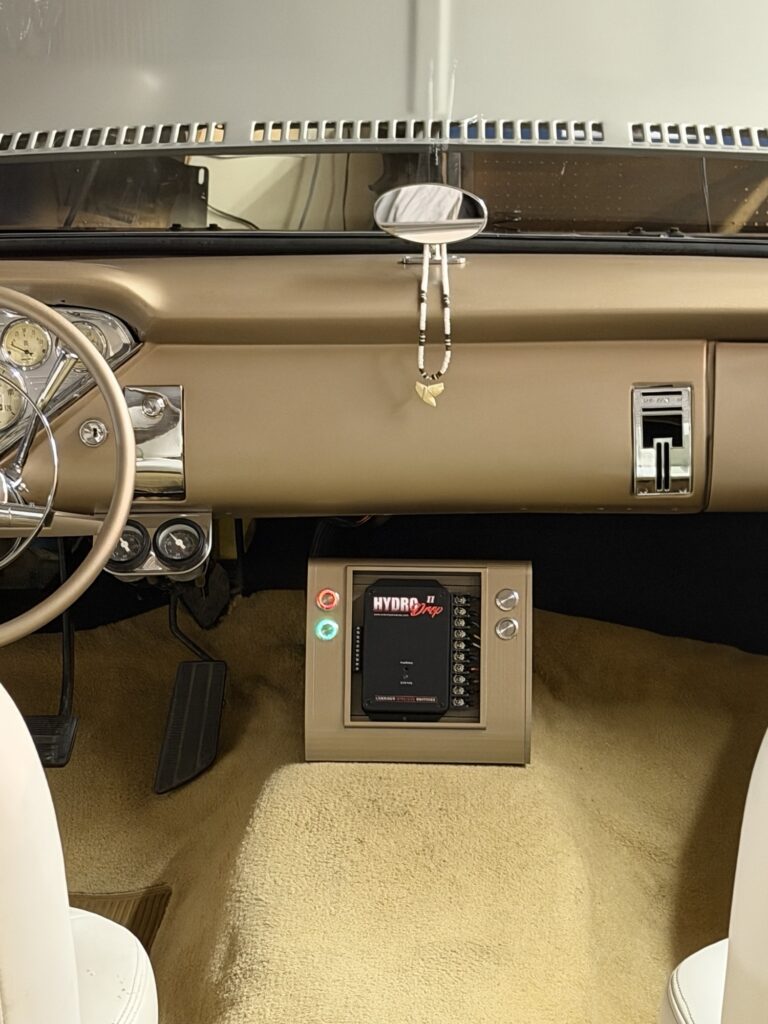
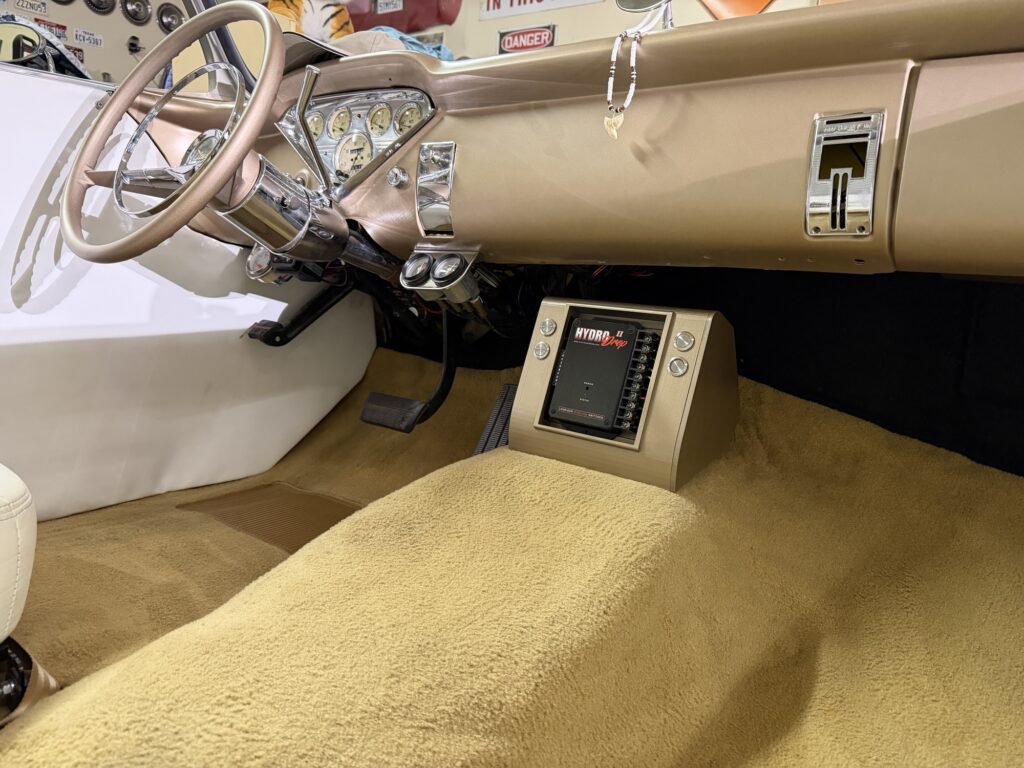
I went to Industrial Automotive Paint located on Weber Ave Stockton, CA. I’ve been going to this business for years whenever I needed color matching paint.
The employee “Angel” performed the computer color matching. He made at least 4 adjustments and testing before he came up with a paint that he felt matched the dashboard.
I honestly thought the first batch mix came out great until he pointed out the lightness and the size of the metal flakes.
This is why the center console display matches so well. I appreciate Angels effort and is why I always go to this business.
The last few days I’ve been learning more about Fusion 360 and how it is the software of choice as I get into the 3D realm.
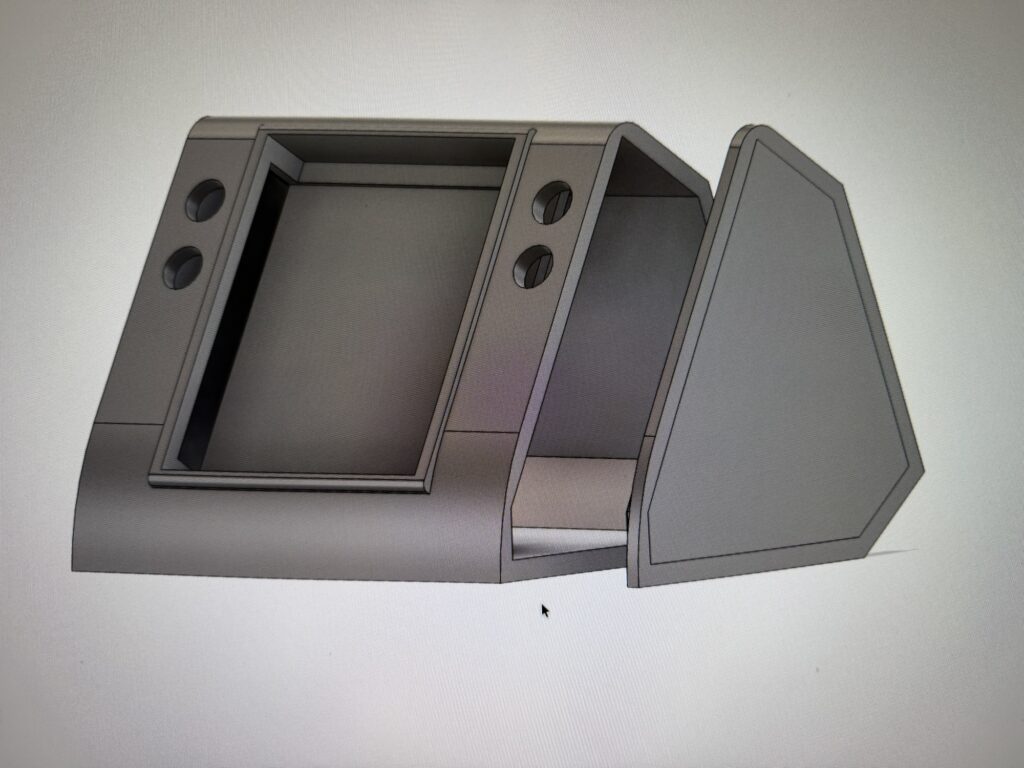
The latest revision has 4 latching buttons with LED rings. These will control key air ride components.
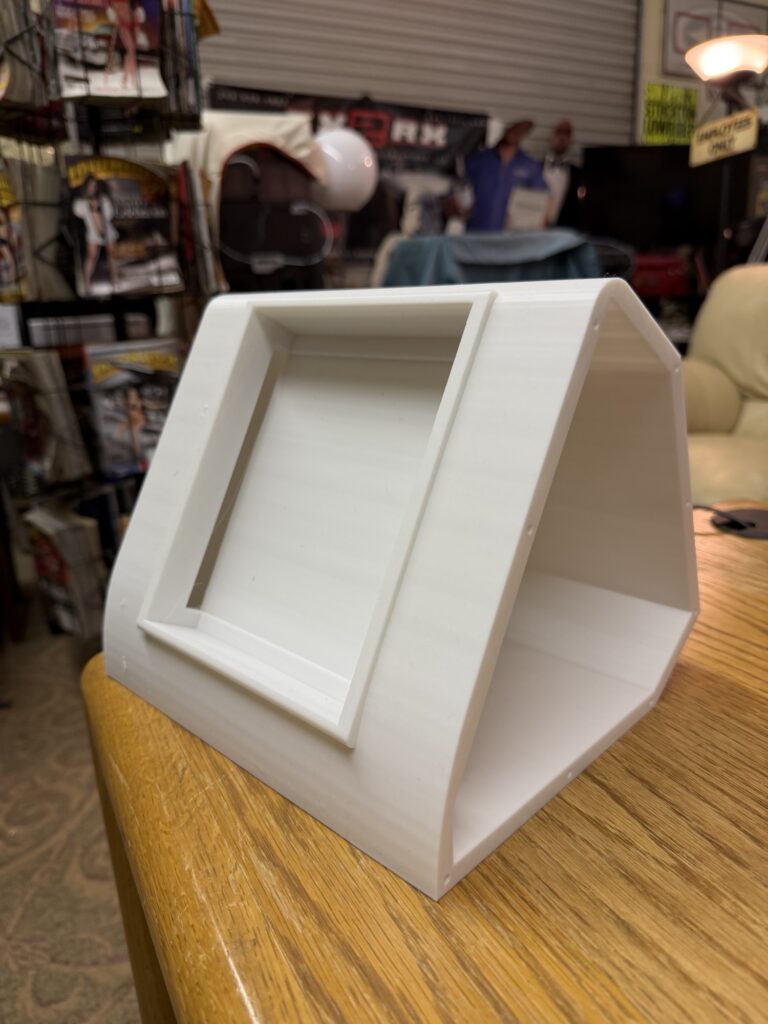
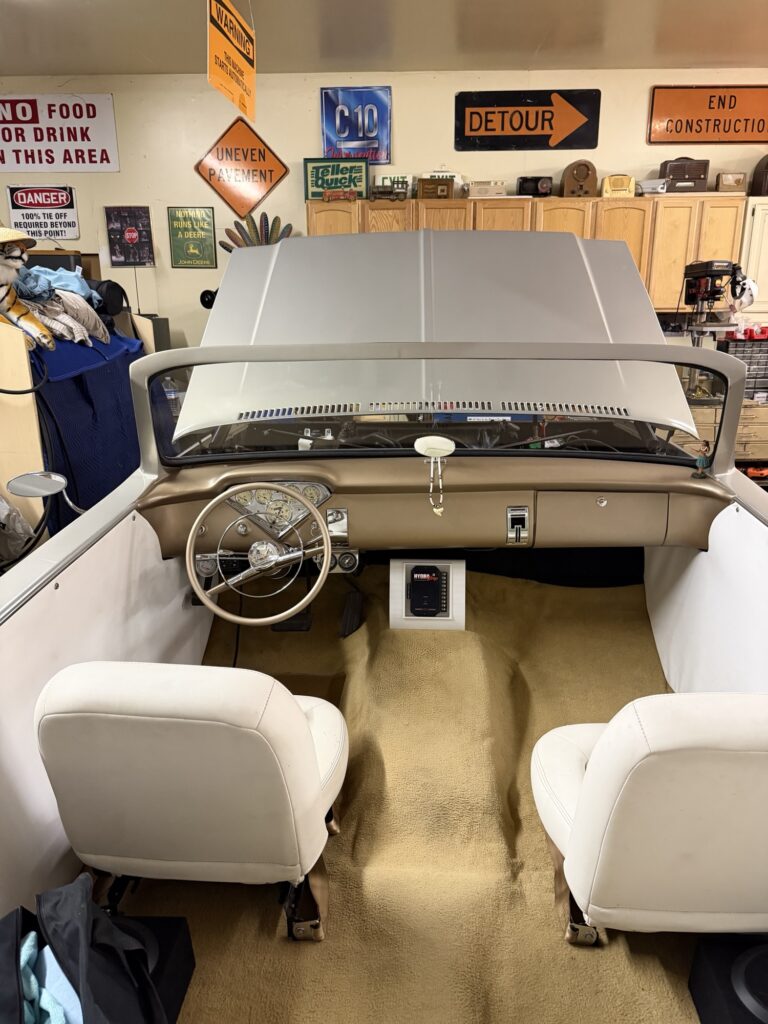
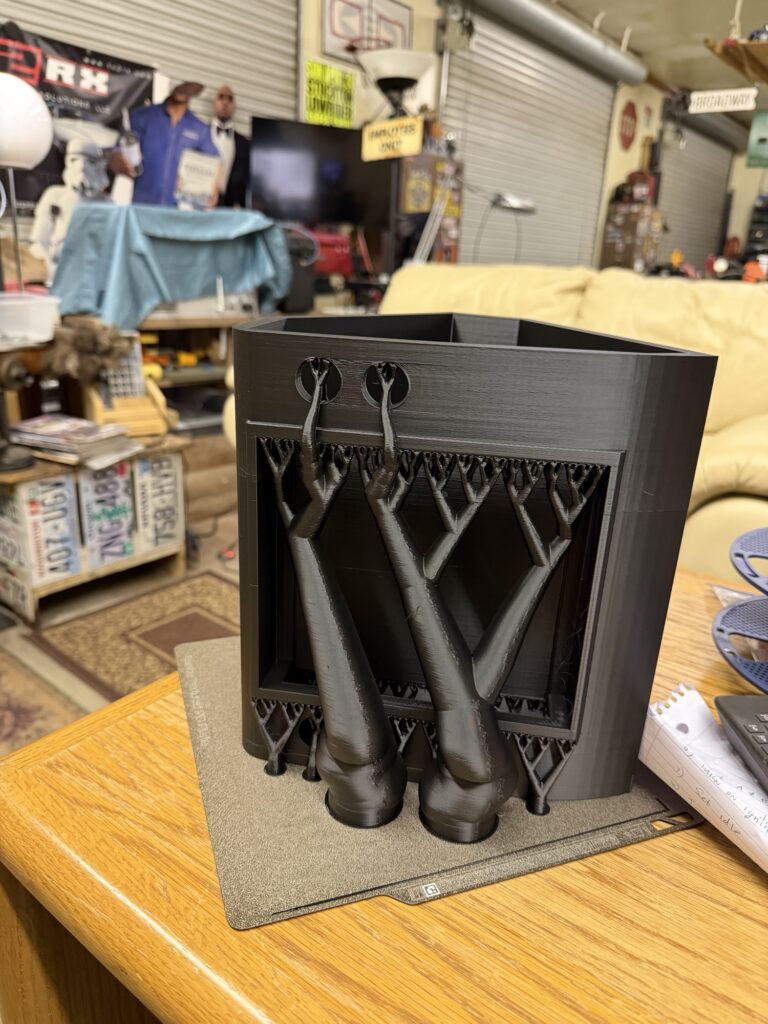
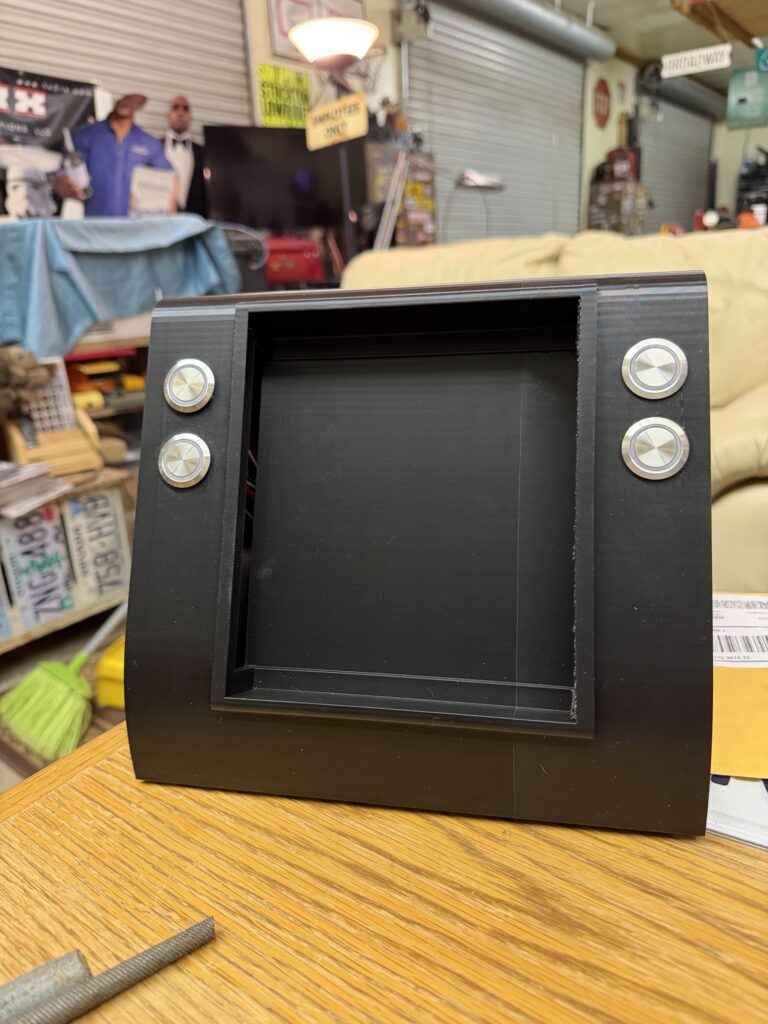
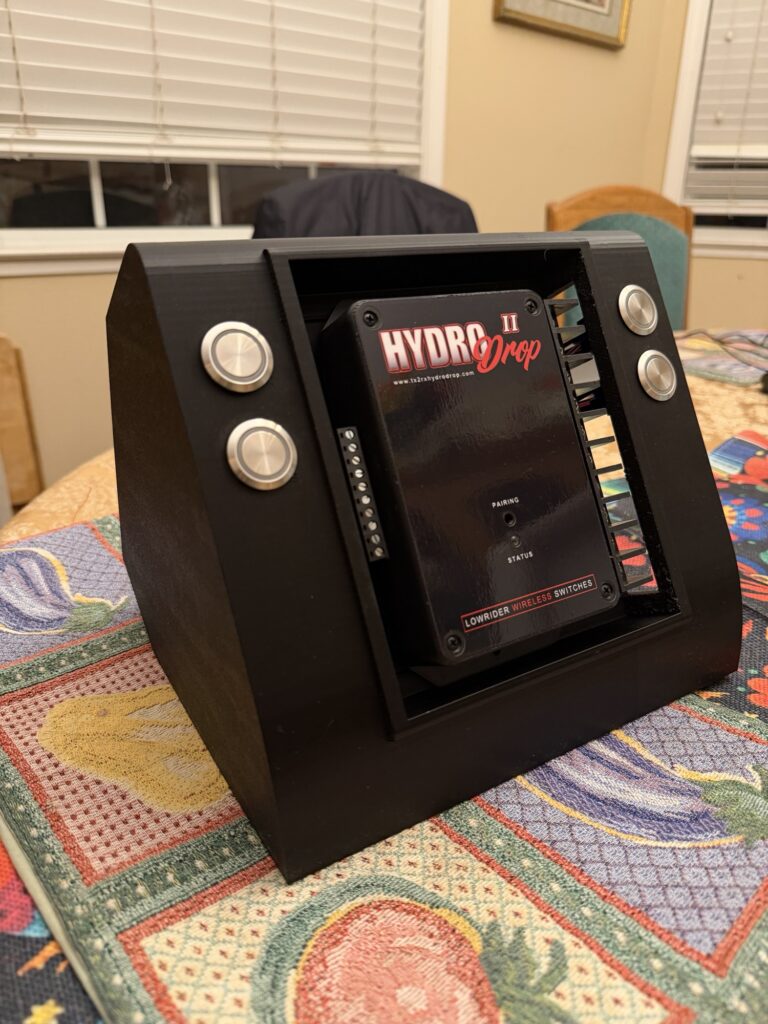
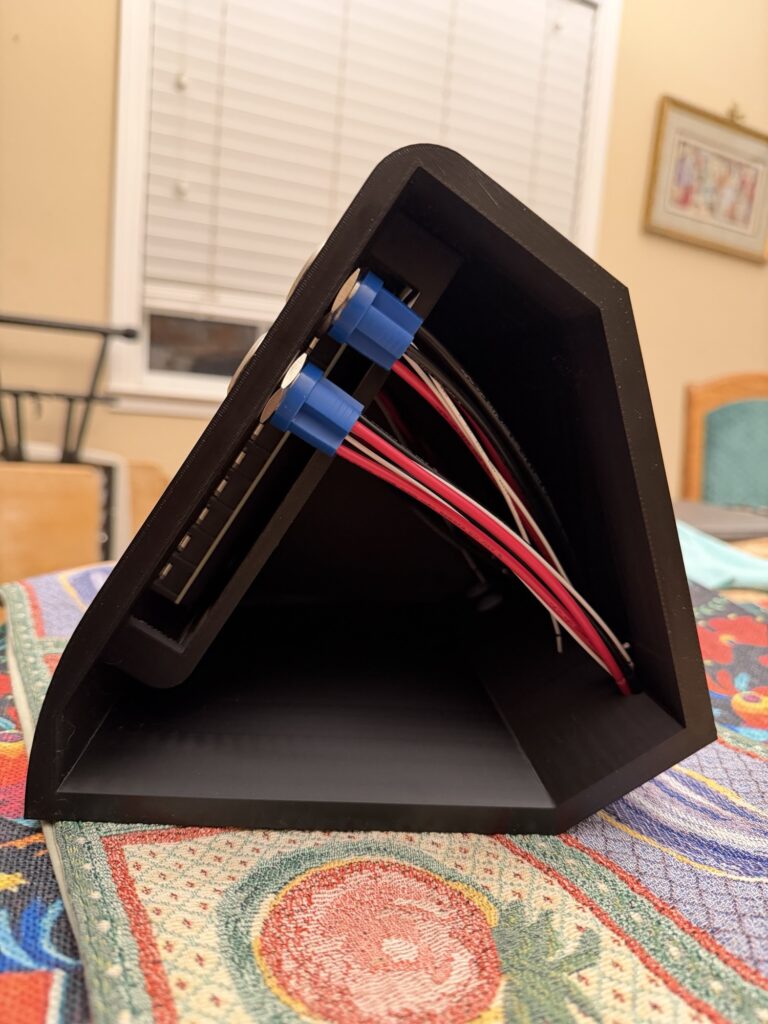
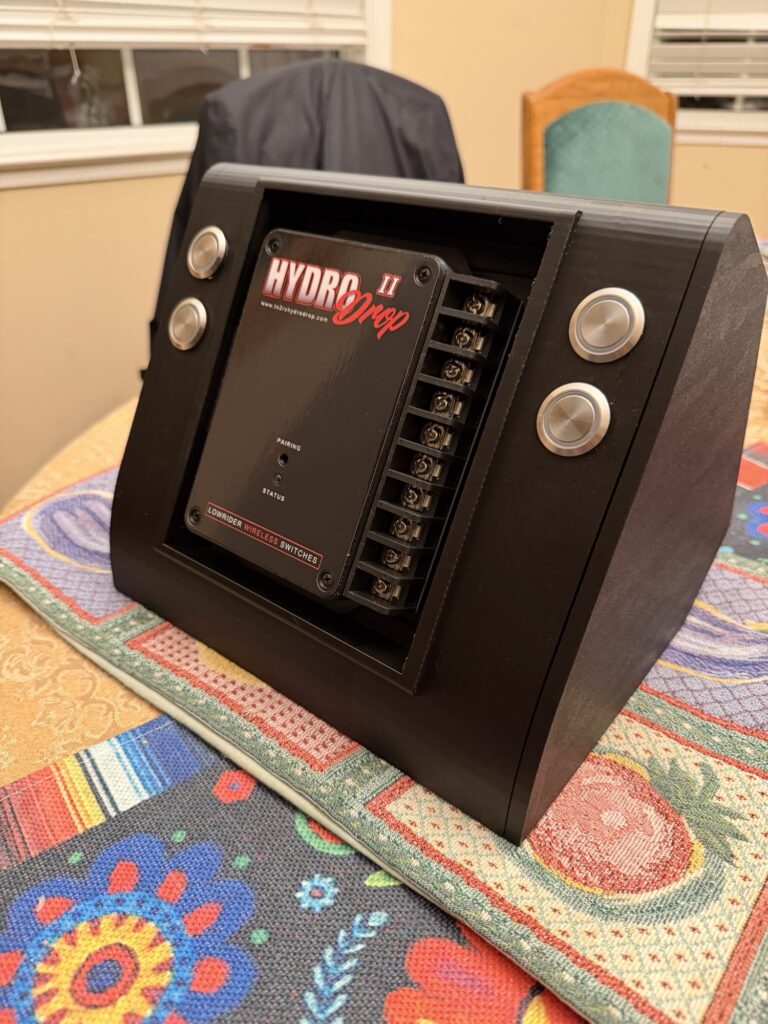
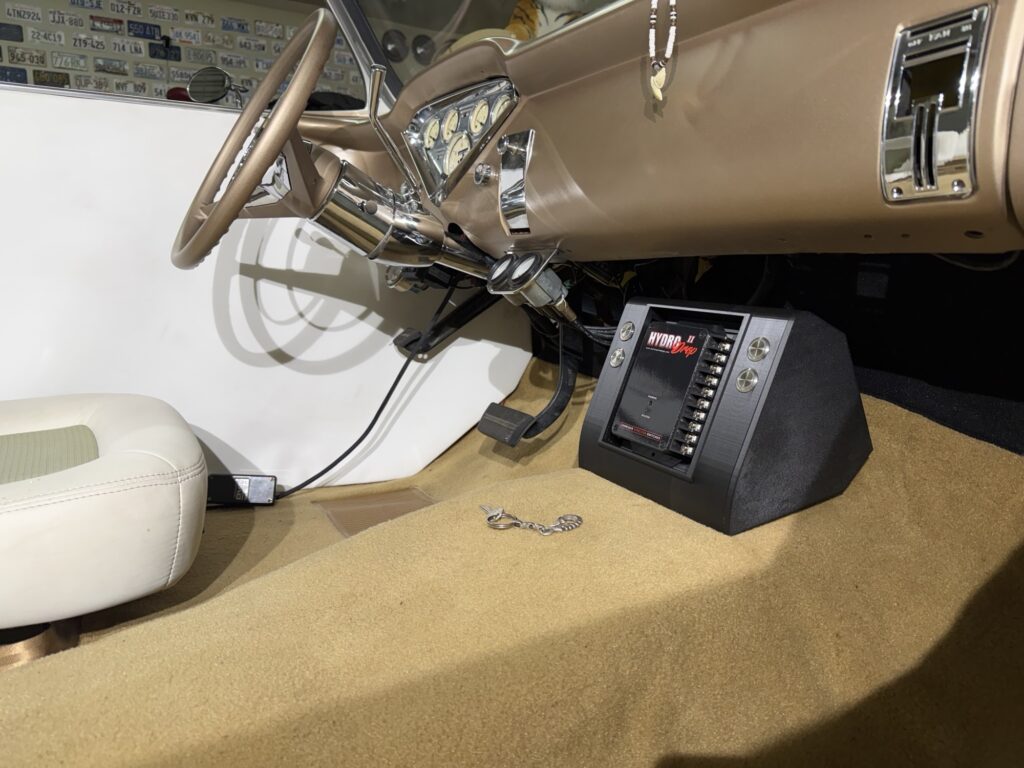
One of the key factors for getting a vehicle with an air ride was the ability to create a demo ride with HydroDrop II Air Ride.
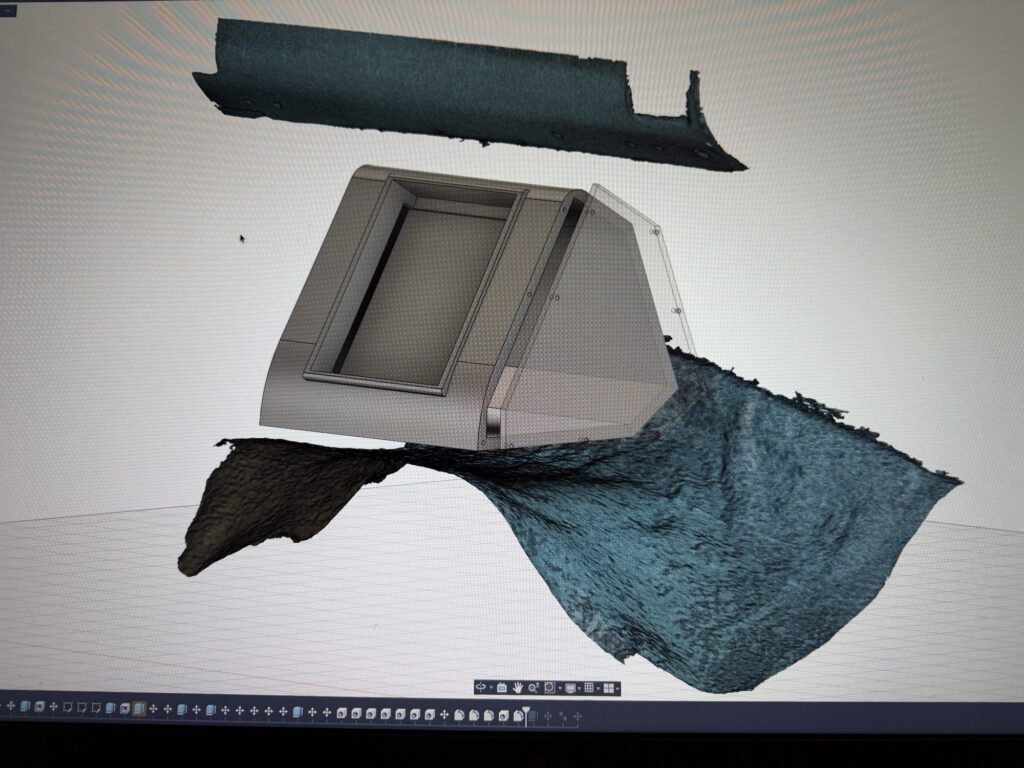
The idea is to have a small console that I could mount HydroDrop II into without taking much space.
I’ve been trying to come up with a center console for the Blazer. I’m not 100% sold on the idea of having a larger console on the top of the tranny hump. It may get in the way of me entering and exiting the drivers seat.
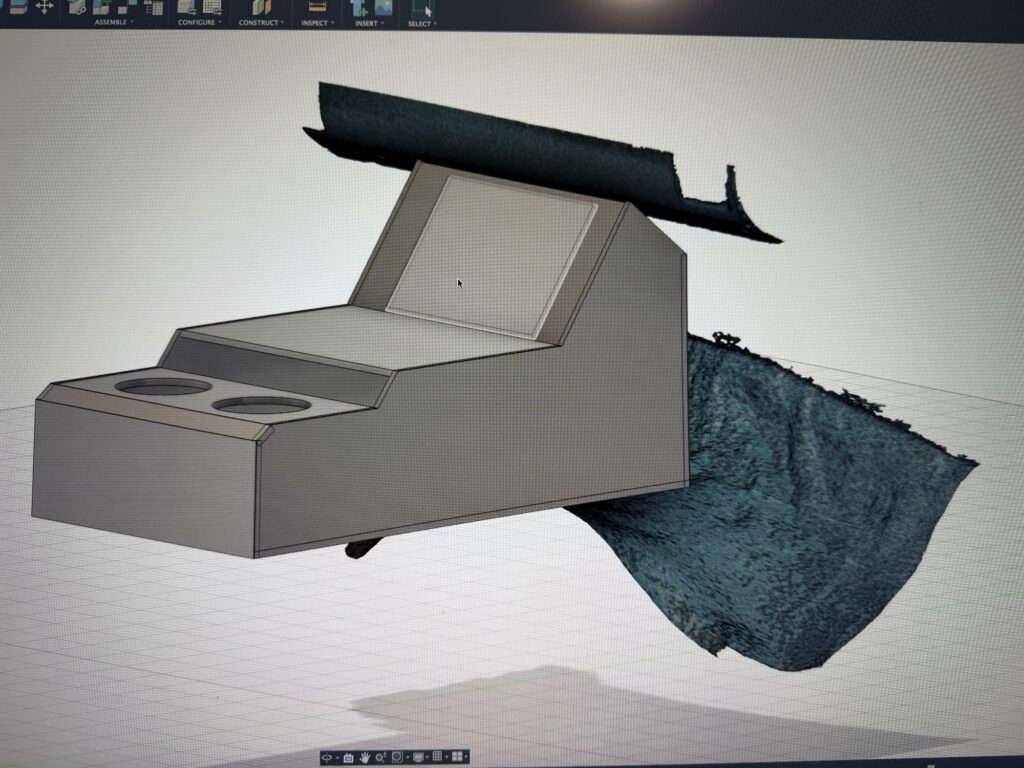
I decided to add music to the Blazer. This system will not be bass bumping, more of a stock stereo sound of that era but using modern technology. It will not have a radio but I can Bluetooth streaming stations using my iPhone app like Sirius XM satellite service which I already subscribe to.
We just need something to listen while cruising around. My Apple Music library is large enough to have a good variety of jams.
The basic setup consist of a Kicker Controller, Crunch compact four channel amplifier and a pair of Fosgate four way 6×9 speaker housed in speaker boxes.
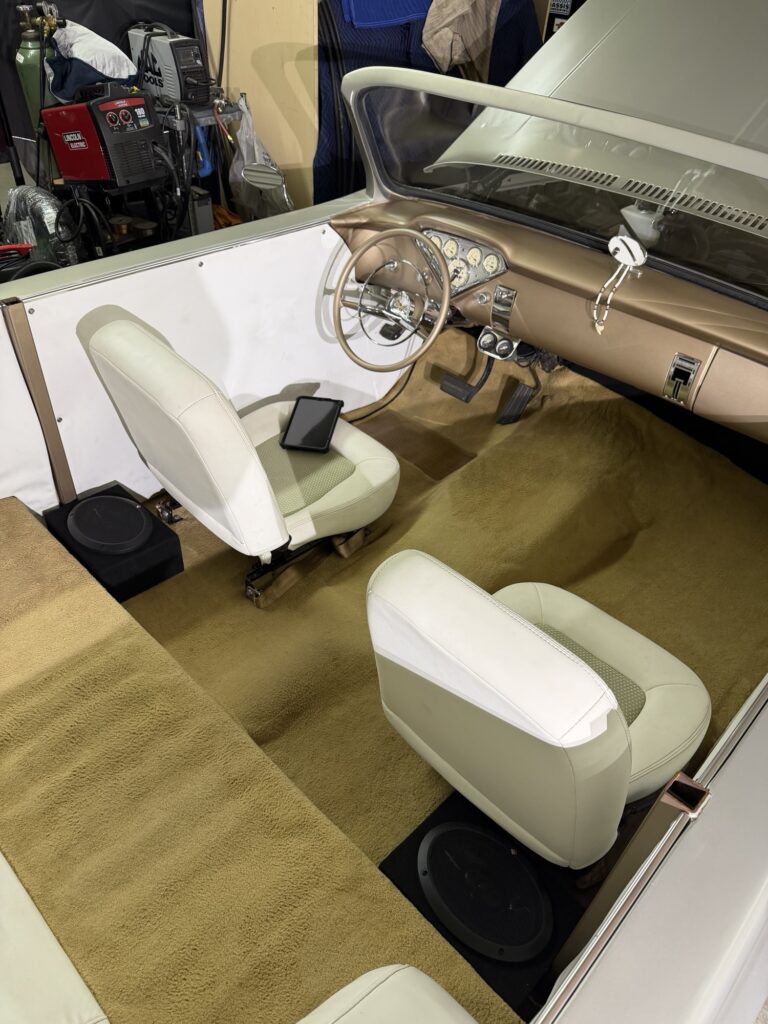
The system setup requires a separate audio source since no deck is being used to keep the interior dash clean.
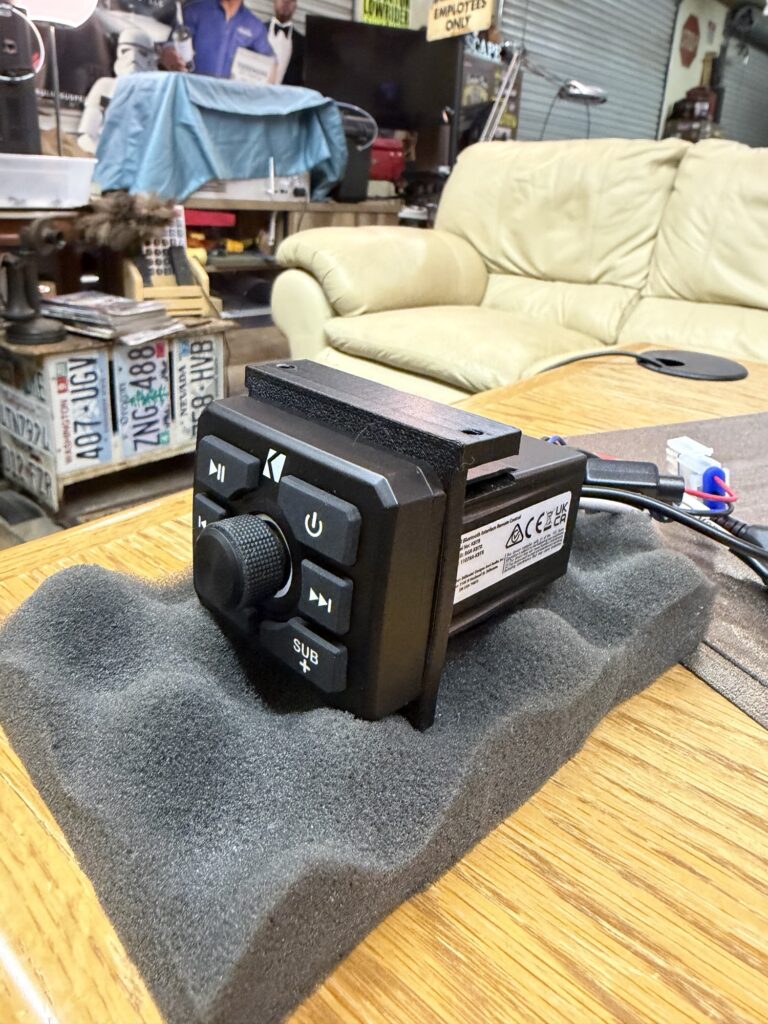
The Kicker 51KBTR module connects via Bluetooth to the audio source. I’m using an iPad mini for my music source. It does have the option to play media using a standard USB-A flash drive.
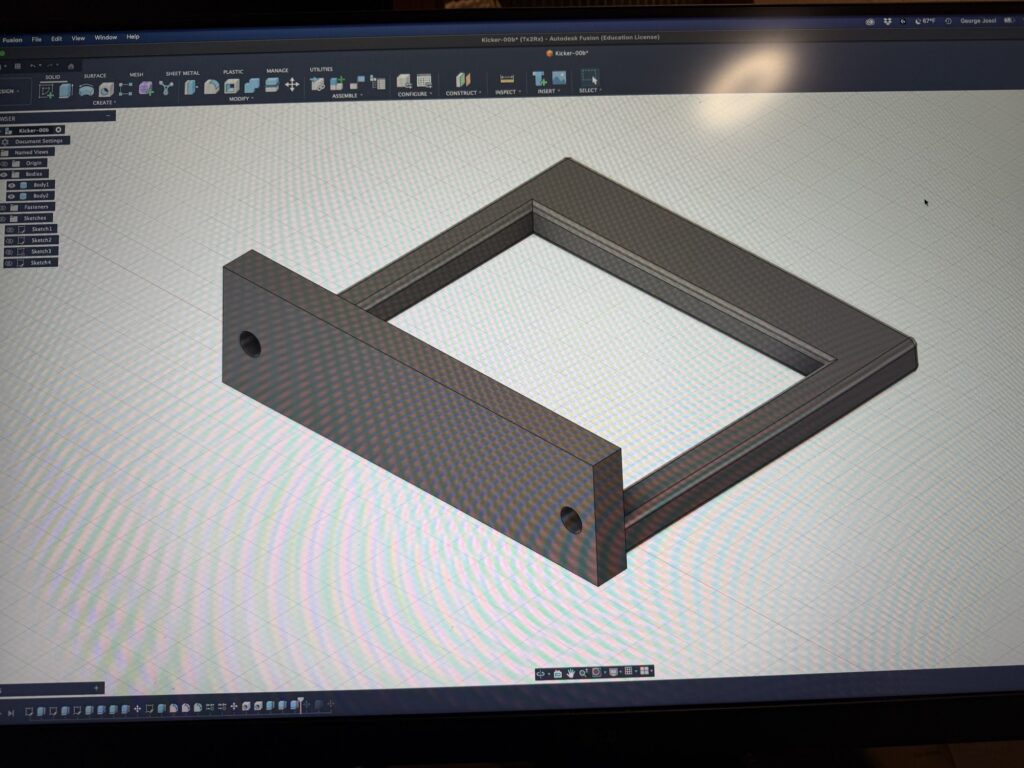
The typical mounting for the Kicker controller would be using 2 knock out switch panel sections. It would slide and lock in place. I definitely wasn’t going to cut a hole in the dash so I had to design a solution.
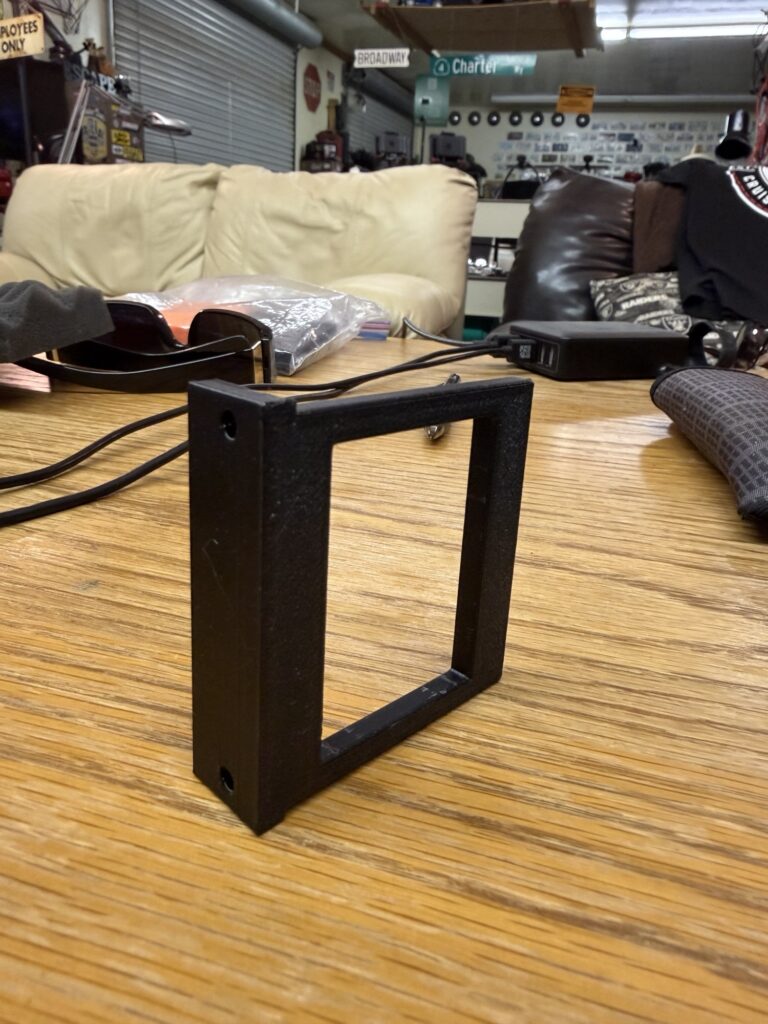
I designed a simple mounting bracket that would house the Kicker controller under the dash. The position is ideal due to the low visibility and convenient reach position.
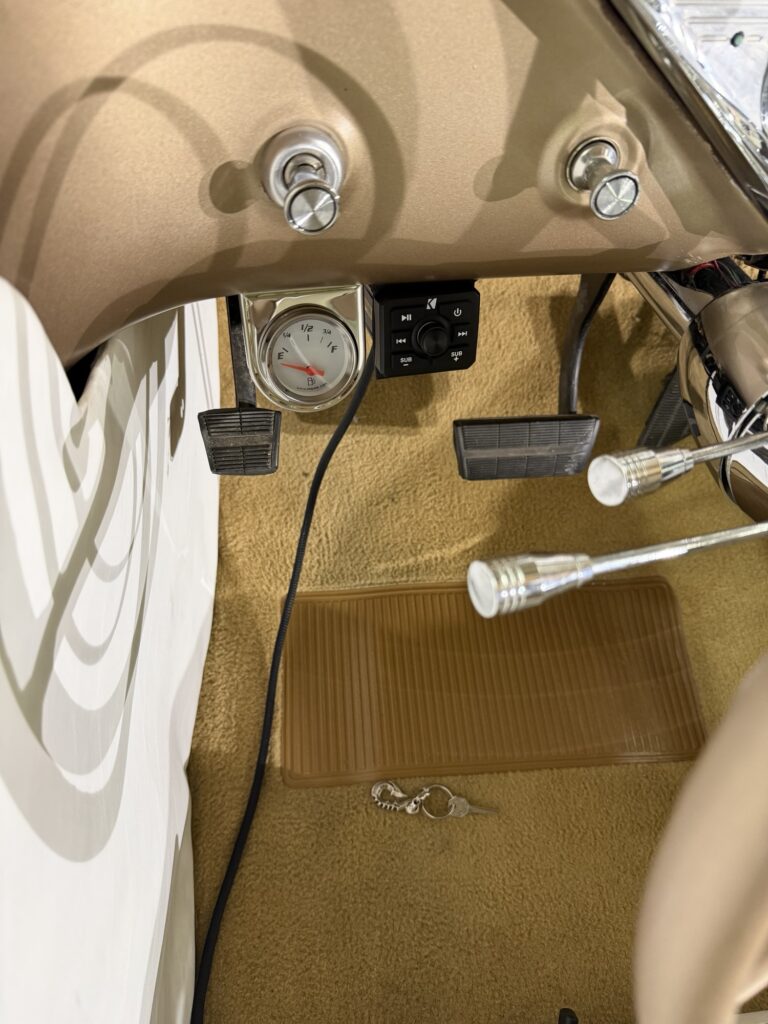
The control has a remote output so you can activate an amplifier when needed. Other features are subwoofer output with separate level control. You can also use auxiliary audio signals if desired.
I still need to work on a secure way for mounting the compact amplifier under the dash.
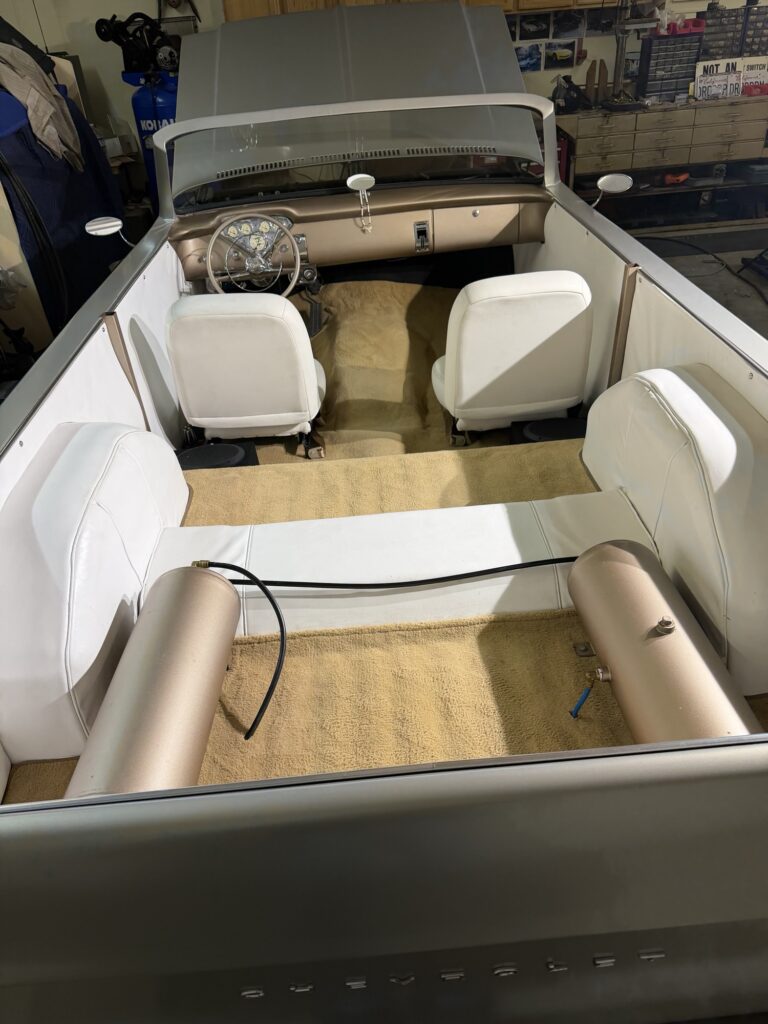
One other mod I want to later is reupholster the speaker boxes with a vinyl wrap that is color matched to the dash board.